33CLEARVU10
SVAT ELECTRONICS
now you can see
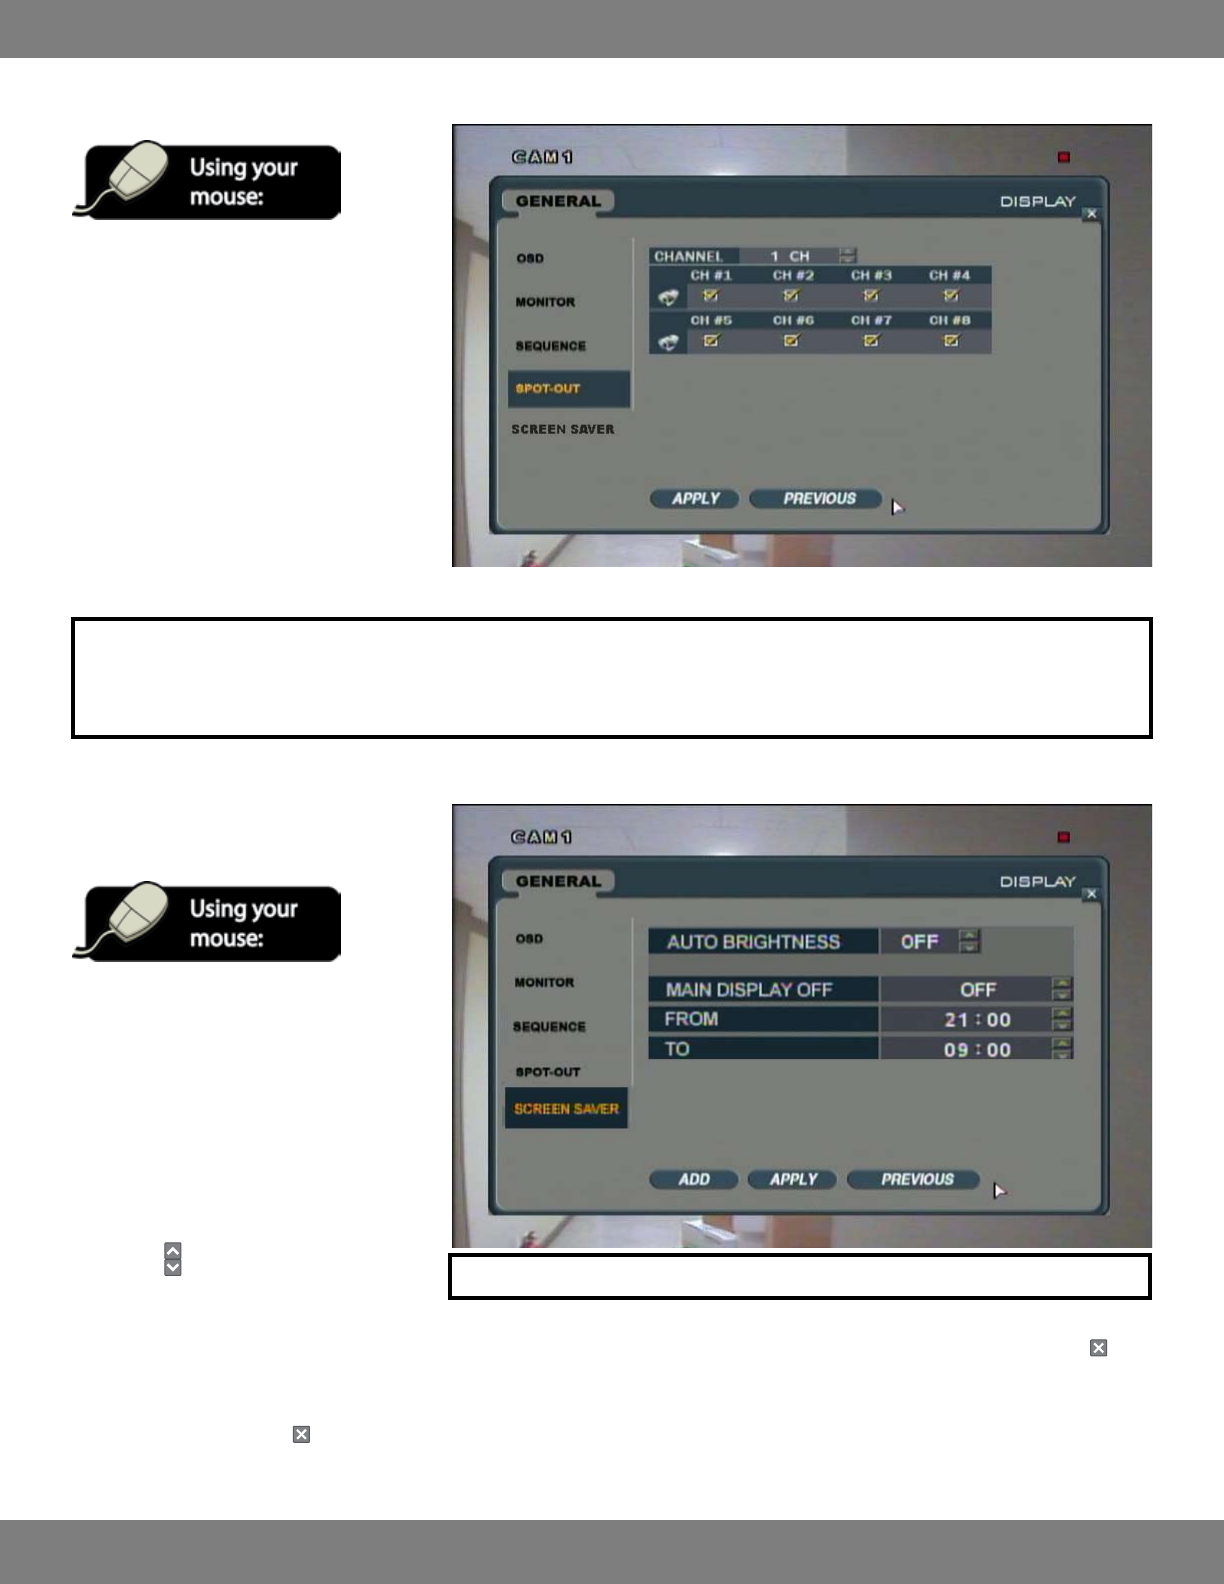
MAKING CHANGES TO THE SPOT-OUT MENU:
1. After saving any desired changes to other
menus, click the SPOT-OUT title on the left
hand side of the window.
2. Click the boxes under each channel number
as needed. A checked box means that the
specic channel will be sent to the
Spot-Out monitor and displayed. If the
checkbox is empty, this camera will NOT be
displayed on the Spot-Out monitor.
3. When you are satised with your settings,
click APPLY.
NOTE: The duration of time that the cameras display and whether or not a camera that detects motion will be displayed in full-
screen on the Spot-Out monitor will reect the current settings under the MONITOR and OSD submenus in the MONITOR menu.
Formoreinformationonthesesettings,seeMAKINGCHANGESTOTHEMONITORMENU,pg.28.
MAKING CHANGES TO THE SCREEN
SAVER MENU:
5. After saving any desired changes to other
menus, click the SCREEN SAVER title on the
left hand side of the window.
6. To navigate through the SCREEN SAVER
menu, use the mouse to click the status
(OFF, ON, etc) of the setting you wish to
change. You will see the outline of the
status turn green.
7. Use the
buttons to choose the preferred
setting.
8. When you have made all the desired changes to the SCREEN SAVER menu, click APPLY. If you wish to exit without saving changes, click in
the top right corner of the window.
9. After clicking APPLY, click in the top right corner of the window to exit the DISPLAY menu and return to the GENERAL menu screen.
NOTE: Each of the settings within the Screen Saver menu are described in detail below.


