


43CLEARVU10
SVAT ELECTRONICS
now you can see
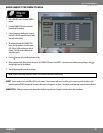
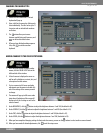
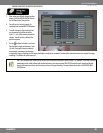
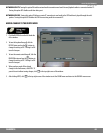
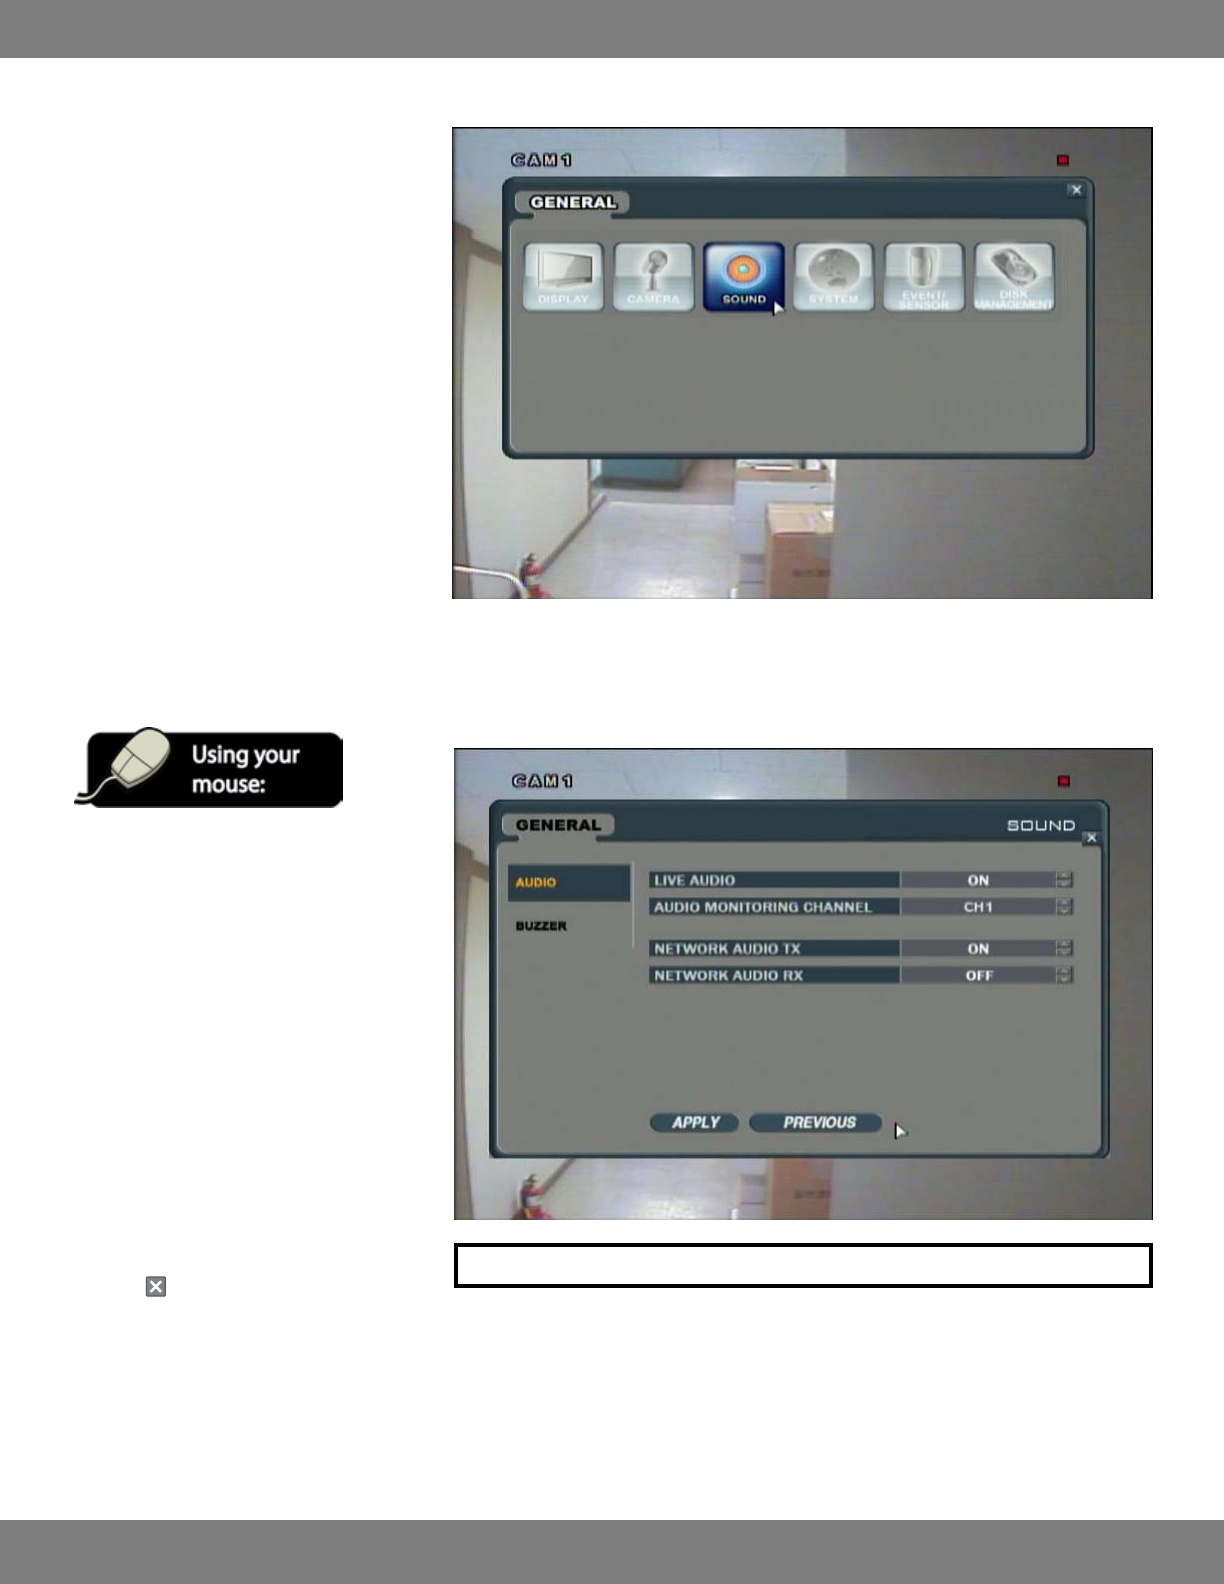
SOUND MENU
The Sound menu contains the AUDIO and
BUZZER submenus. This menu allows you
to make changes to audio settings on the
microphone as well as turn the beeping sounds
of the monitor and remote ON or OFF.
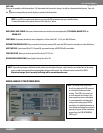
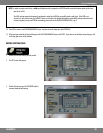
MAKING CHANGES TO THE AUDIO MENU
1. From the GENERAL menu, Click the SOUND
button.
2. Click the AUDIO title on the left hand side of
the window.
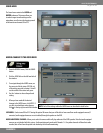
3. To navigate through the AUDIO menu, use
the mouse to click the status (OFF, ON, etc)
of the setting you wish to change. You will
see the outline of the status turn green.
4. Use the buttons to choose the preferred
setting.
5. When you have made all the desired
changes to the AUDIO menu, click APPLY. If
you wish to exit without saving changes,
click in the top right corner of the window.
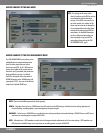
LIVE AUDIO: Can be turned ON or OFF. Turning this option ON means that you will be able to hear sound from audio equipped cameras (if
connected, audio equipped cameras are not included) through the speaker on the DVR.
AUDIO MONITORING CHANNEL: Allows you to select the camera which will play audio out of the DVR’s speaker. Note that audio equipped
cameras are not included with this system. Audio monitoring only works with Channels 1-4. Any other channels will have their audio
recorded, but will not have the option to be hooked up for live audio monitoring.
NOTE: Each of the settings within the AUDIO menu are described in detail below.