21
You are able to click the listed events to view recordings
from the required event in the view.
Note
• The Alerts list displays events occurring in the time period
(approx. 1 day before and after) set in [Time navigation].
Audio
To listen to recorded audio, select the required audio source
in the [Audio] section’s [Audio Sources] list.
To temporarily mute the recorded audio, select the [Mute]
check box.
CAUTION
• The sound may become distorted when audio is played
back with multiple surveillance computers.
• When returning from the [Setup] window to the [Live]
window or [Browse] window, the audio settings becomes
[NONE]. To listen to an audio, reselect an audio from the
[Audio Sources] list.
• The audio will not be outputted at the time of still image
playback and search/frame advance playback other than
feed-forward x1.
• When a recorded image is played back while recording,
the played back audio may break up. (Recording)
Note
• When you select an IP camera that has been set to record
an audio, the specified audio will output.
• Selecting a camera not set to record an audio will output
the most recently played back audio continuously.
• When the recording and recorded image is simultaneously
played back, the image which is played back may pause
and the sound may break up. (There is no effect to the
recording in the system or the additional hard disk.)
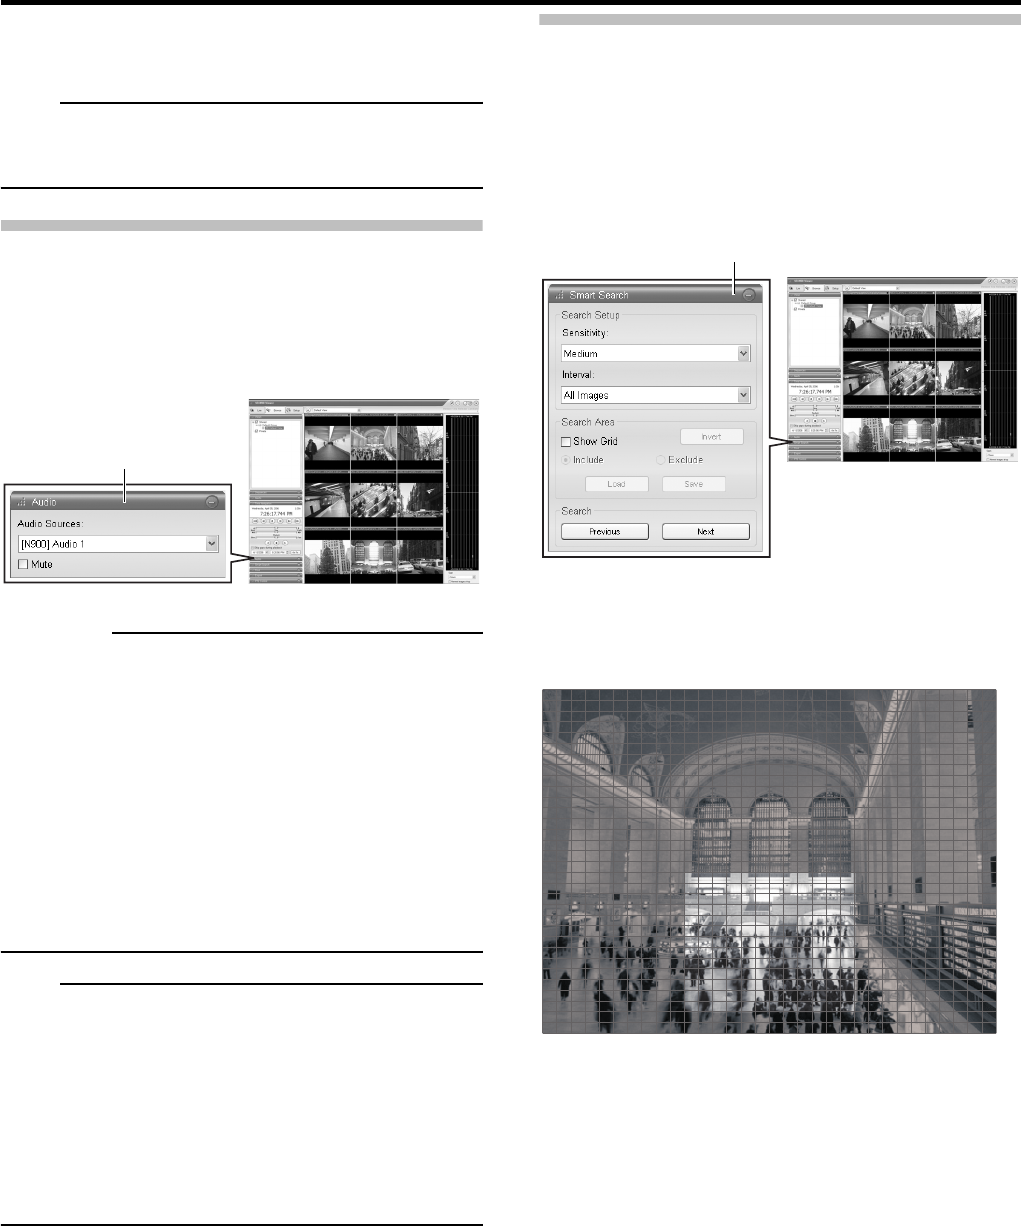
Smart Search
Smart Search lets you specify motion in one or more
selected areas of images from a particular camera.
( Page 54)
1 Double-click the [Smart Search] bar in the
[Browse] window.
2
Select [Show Grid] check box in the [Search Area].
3 Select the required camera.
A blue grid overlay will appear on the image.
4
Click and drag inside the image to select the area
in which you want to perform the Smart Search.
• The areas you select will become visible through the blue
overlay.
• With the [Include] and [Exclude] options, you are able to
toggle between including/excluding areas when you drag.
With the [Invert] button, you are able to quickly invert your
selection.
5 In the [Search Setup] section, select the
required search sensitivity (Very Low - Very
High) in the Sensitivity list.
6 Select the required image interval in the
[Interval] list.
[Browse] window
[Audio] section
☞
[Browse] window
[Smart Search] bar


