Applications
46
Copy:
Let you create a new patrol scheme based on an existing
one. Select the required patrol scheme to copy in the
[Patrol Scheme] list beforehand.
Rename:
Let you change the name of an existing patrol scheme.
Select the required patrol scheme to rename in the [Patrol
Scheme] list beforehand.
Remove:
Let you remove an existing patrol scheme. Select the
required patrol scheme to remove in the [Patrol Scheme]
list beforehand.
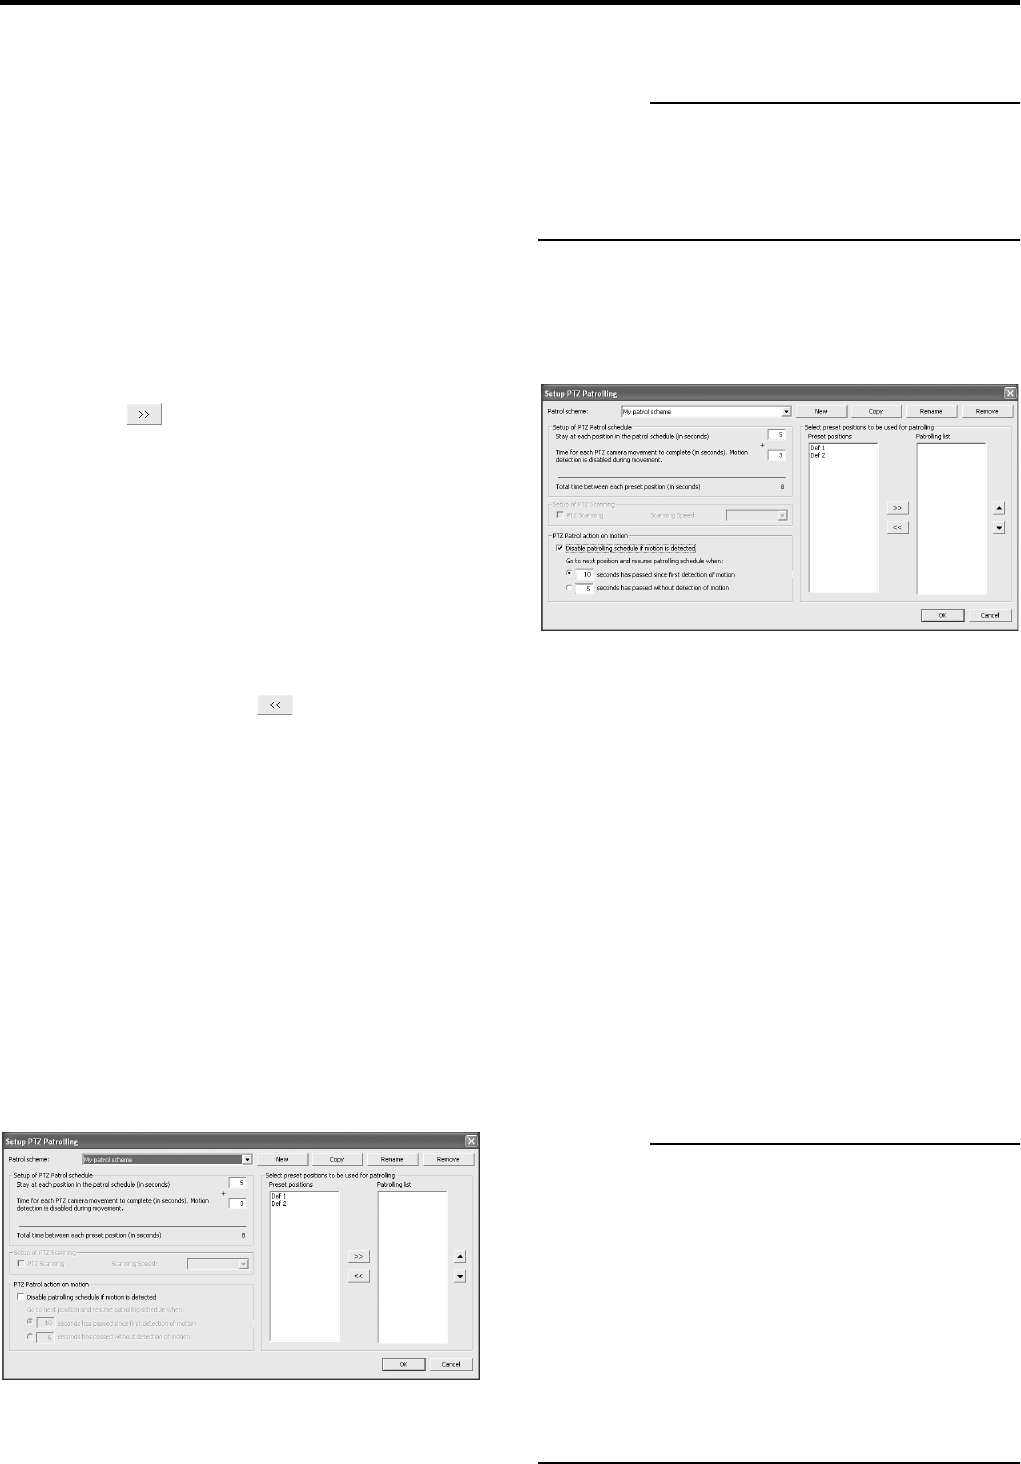
3 In the [Preset Positions] list, select the names
of the preset positions you want to use, then
click the [ ] button.
It will copy the selected preset positions to the [Patrolling list].
A preset position can be used more than once in a patrol
scheme.
The camera will move between preset positions in the
sequence they appear in the [Patrolling list], starting at the
preset position listed first.
If you want to change the sequence of preset positions in the
[Preset Positions] list, select a preset position name, and click
the move up or move down buttons.
To remove a preset position from the [Patrolling list], select
the preset position and click the [ ] button.
● Specifying Timing Settings for a PTZ Patrol Scheme
1 Select the required patrolling scheme in the
[Patrol scheme] list.
2 In the [Stay at each position in the patrol
schedule] field, specify the number of seconds
for which the PTZ camera should stay at each
preset position.
3 In the [Time for each PTZ camera movement to
complete] field, specify the required movement
time for the PTZ camera to move between
preset positions.
In order not to generate false motion alarms, motion detection
for the PTZ camera is automatically disabled while the camera
moves between two preset positions. After the specified number
of seconds, motion detection is automatically enabled again.
CAUTION
• It is important that the camera is able to reach all of the
patrolling scheme’s preset positions within the number of
seconds you specify. If not, false motion is likely to be
detected.
● PTZ Patrolling Actions on Detected Motion
1 Select the [Disable patrolling schedule if
motion is detected] check box.
2 Select whether the PTZ camera should resume
patrolling:
• When a certain number of seconds has passed since first
detection of motion, regardless whether further motion is
detected,
– or –
• When a certain number of seconds has passed without
further detection of motion.
3 Specify the required number of seconds for
selected option.
● PTZ Scanning
If your device supports PTZ scanning, the [Setup of PTZ
Scanning] section lets you enable PTZ scanning and select
a PTZ scanning speed.
CAUTION
• To define a patrol scheme, you must have specified at
least two preset positions. You must also schedule use of
the patrol schemes in the [Camera Record Setting]
→[Scheduler] window.
• The patrolling of PTZ cameras may be interrupted, either
manually or when a particular event occurs. The
[Patrolling Settings] section of the [General Settings]
window in [Camera Record Setting] lets you specify how
many seconds should pass before patrolling is resumed.
The settings in this section will apply for all PTZ cameras
installed in the system. The default setting is 30 seconds.
[Setup PTZ Patrolling] window
[Setup PTZ Patrolling] window
