


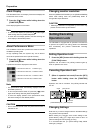

Basic Operation
16
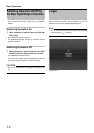
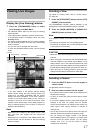
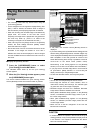
Main Menu Contents
The Main Menu contains the following menus. Select the
required item with the [2/ ] or [8/ ] button and specify the
settings. Press the [ZOOM IN/ENTER] button to save the
settings and press the [ZOOM OUT/CANCEL] button to
close the menu and return to the Main Menu.
• Unit Setting ( Page 64)
Lets you specify VR-N900U settings.
• OS Setting ( Page 65)
Lets you set the time, IP address and other OS settings.
• Flash Memory Utility ( Page 66)
Lets you copy the settings data to the flash memory, etc.
• HDD Utility ( Page 69)
Lets you check the status of the hard disk and format the
hard disk.
• Language Setting ( Page 70)
Lets you specify the language you want to use.
• Returning to Default Settings ( Page 70)
Lets you return settings to their defaults.
• Image Server Setting ( Page 71)
Displays the [Image Server Setting] window.
• Screen Setup ( Page 36)
Displays the [Screen Setup] window.
• Live Viewing ( Page 17)
Displays the [Live Viewing] window.
• Auto Detect Setting ( Page 68)
Lets you specify the IP lease settings and set up the
automatic camera detection feature.
• Camera Record Setting ( Page 44)
Displays the [Camera Record Setting] window.
•Exit
Exits the Main Menu.
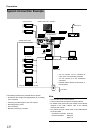
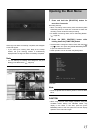
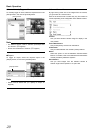
Using the VR-N900 Viewer
You can view live and recorded images with the VR-N900
Viewer. You can also use the VR-N900 Viewer when
monitoring the VR-N900U from a surveillance computer.
( Page 77) Some of the VR-N900 Viewer functions differs
when remote monitoring from a PC.
Note
• The VR-N900 Viewer logs into the Image Server in the
VR-N900U for operation.
• The VR-N900 Viewer logs into the Image Server in the
VR-N900U (http://localhost or http://127.0.0.1). By default,
[Auto Login] to the VR-N900U is set to [On]. For details on
the log in, refer to “Log In to the VR-N900 Viewer”.
( Page 77)
• When the maximum number of clients are connected to
the surveillance computer, the VR-N900 Viewer cannot
log in.
CAUTION
• When you have changed in each setting of the [Camera
Record Setting], log out the VR-N900 Viewer ( Page
78) first, then log in to the VR-N900 Viewer again.
• You can log in to the VR-N900 Viewer by clicking the
[Connect] button in [Connect to Server] window with the
default position. If the setting has been changed, please
refer to step 2 of the [Log In to the VR-N900 Viewer]
instructions ( Page 77).
• When the VR-N900 Viewer has become as described
below, the following conditions may be recoverable by
restarting the VR-N900 Viewer.
- Live Images and Playback Images are all black.
- VR-N900 Viewer operation is slow.
- VR-N900 Viewer does not respond.
• When restarting VR-N900 Viewer, press the [ALARM
CLEAR] and [SELECT] buttons while holding down the
[FUNCTION] button.
• With the VR-N900 Viewer, the image and sound may not
properly synchronize when played back.
• When setting the E-mail ( Page 62), test and verify that
E-mail is sent.
• When an external hard disk is connected, it may take
several minutes for the startup.
☞
☞
☞
☞
☞
☞
☞
☞
☞
☞
☞
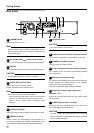
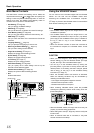
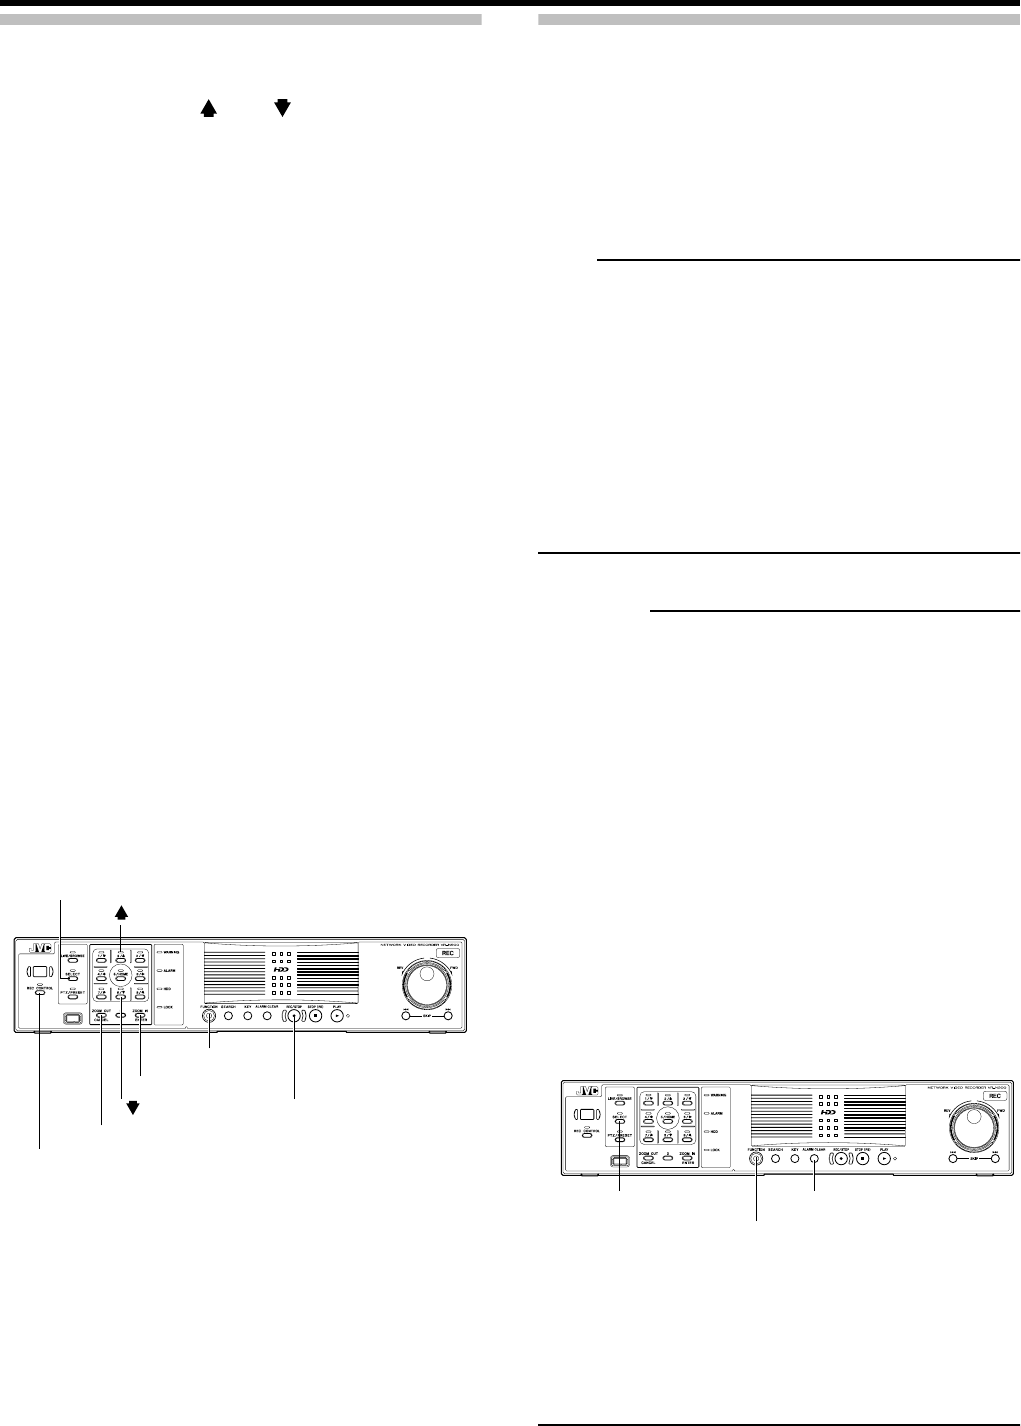
[ZOOM IN/ENTER] button
[REC CONTROL] button
[FUNCTION] button
[REC/STOP] button
[ZOOM OUT/CANCEL] button
[2/ ] button
[8/ ] button
[SELECT] button
☞
☞
☞
☞
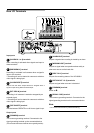
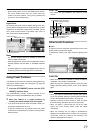
[FUNCTION] button
[SELECT] button [ALARM CLEAR] button
☞