160
<Viewer Part> Applications
You can register frequently-used features as overlay buttons.
● The overlay buttons are displayed when you point the
cursor on camera images and you can click each button to
execute the corresponding feature.
● You can create buttons for each camera image.
● Some features may be unavailable depending on users
due to access limitations of each feature.
● Available features vary depending on the camera.
1 Click the [Setup] tab
2 Select a necessary feature in the [Overlay
Buttons] section and drag an overlay button
onto the preferred camera images
3 Release the mouse button
An overlay button for the features is displayed.
4 Resize and/or rename
● Drag a button handle to resize.
● Double-click the button text and edit the button name.
Press the [ENTER] button on the keyboard after
editing.
● You can also rename the button by right-clicking an
overlay button you want to rename and selecting [Edit].
● To delete an overlay button, right-click the overlay button
you want to delete and select [Delete].
You can display the view as a floating window when, for
example, using multiple monitors.
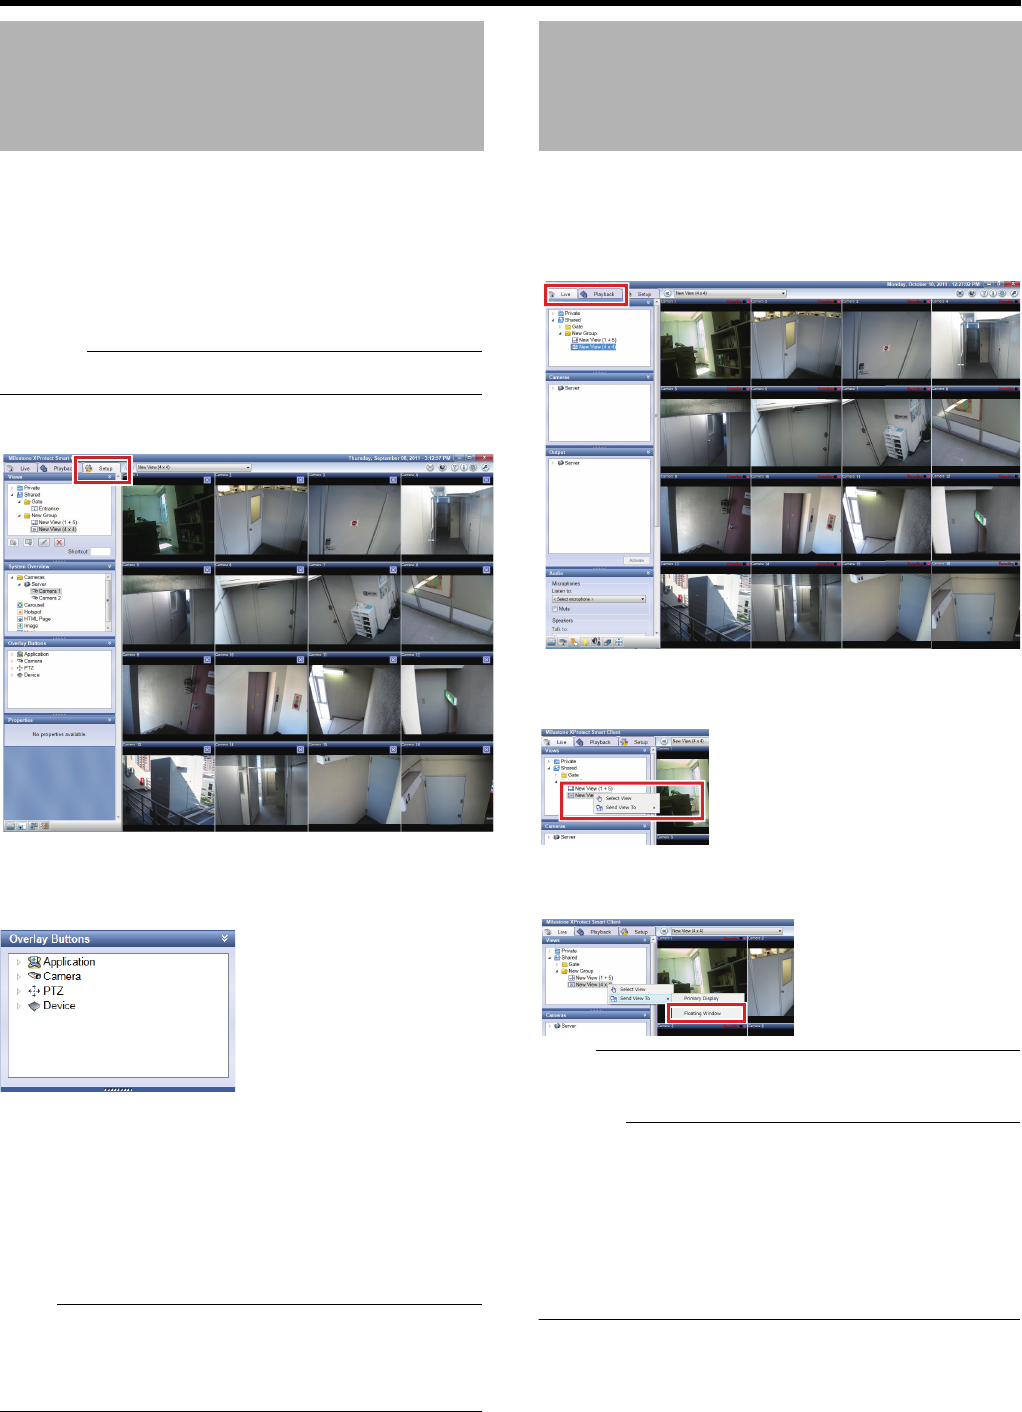
1 Click the [Live] tab or [Playback] tab
2 In the [Views] section, right-click the view you
would like to display as a floating window
3 Select [Floating Window] from [Send View To] in
the popup menu
● Display live images in a floating window even when
displaying the [Playback] tab.
● If many floating windows are used, the load on the CPU
will be increased.
If the CPU meter is red, reduce the load on the CPU by,
for example, lowering the display or recording frame rate.
● You may not be able to move Smart Client after closing
the floating window. In this case, once maximize Smart
Client, and then restore it to enable you to move Smart
Client.
Creating a Frequently-used
Operation Button
Displaying a Floating
Window


