19
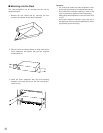
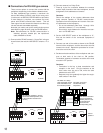
DATA port
• In page 2 of 2 of the SYSTEM SETUP menu, set the
DATA MODE to PC and press the [SET UP/ESC] button
to activate the DATA port on the rear panel.
Then you need to select the parameters of the DATA in
the COM PORT SETUP menu detailed on page 42.
• Use a 6-core modular cable to connect the multiplexer
with the PC.
Caution: Data disruption may occur if you use both
DATA port and RS-232C port at a time. Use only
one port to communicate with the PC.
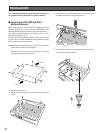
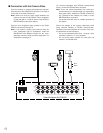
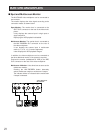
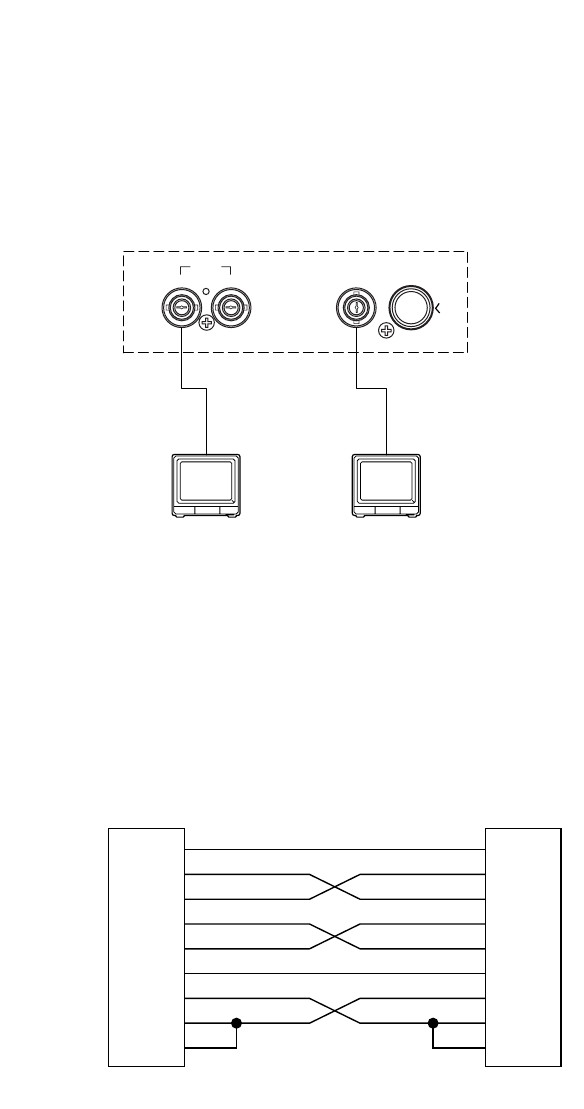
■ Connection with the Monitors
Connect the Monitors to the SPOT OUT connector and
MULTISCREEN OUT connector on the rear of the video
multiplexer with the coaxial cable.
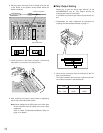
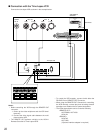
■ Connection with the PC
There are two options to communicate with the PC, the
first is using RS-232C port and the second is via DATA
port.
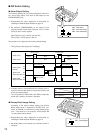
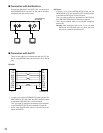
RS-232C
• In page 2 of 2 of the SYSTEM SETUP menu, set the RS-
232C MODE to PC and press the [SET UP/ESC] button
to activate the RS-232C port on the rear panel.
Then you need to select the parameters of the RS-232C
in the COM PORT SETUP menu detailed on page 42.
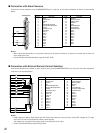
• Use a cross type RS-232C cable to connect the multi-
plexer with the PC.
SPOT
MULTISCREEN OUT
OUT I N
S–VIDEOVIDEO
Video Multiplexer
WJ-FS616C
FG
TxD
RxD
RTS
CTS
SG
DTR
DSR
DCD
1
2
3
4
5
7
20
6
8
PC
FG
TxD
RxD
RTS
CTS
SG
DTR
DSR
DCD
1
2
3
4
5
7
20
6
8
FS616C end


