24
SETUP MENU
The setup menu provides a way for controlling functions
that are not available by a direct operation.
■ Displaying the SETUP MENU
To display the setup menu follow the procedure below.
1. Confirm that the camera and peripherals are connected
correctly and securely and all components are turned
on.
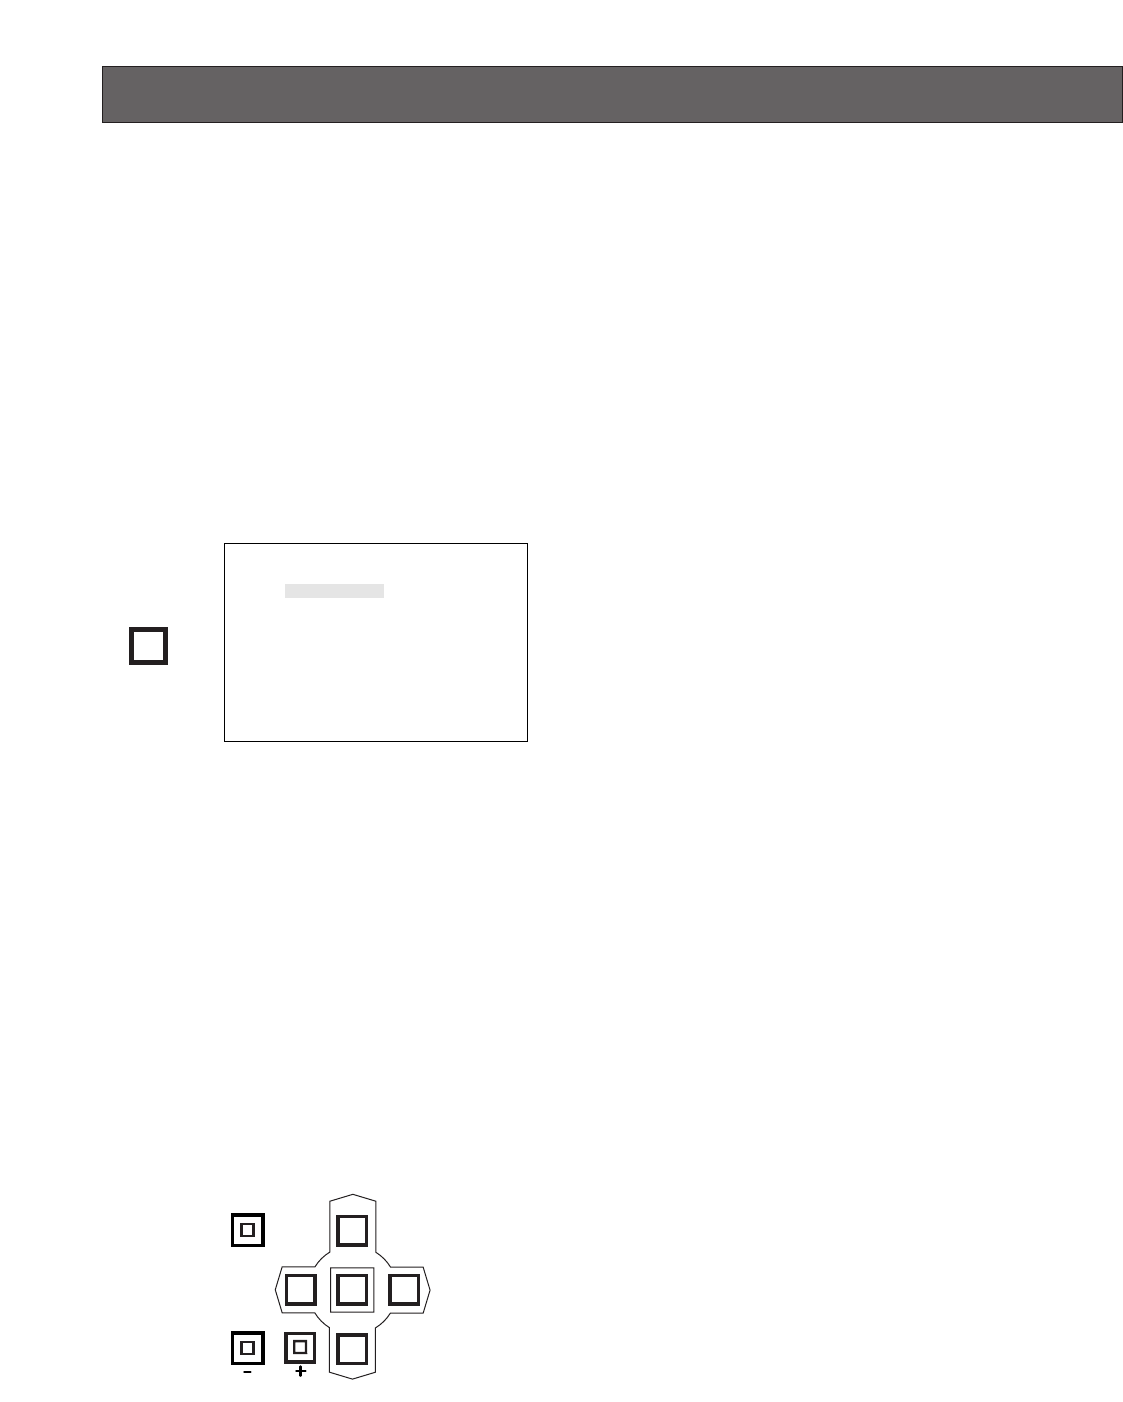
2. Press the [SET UP/ESC] button for 2 seconds or more.
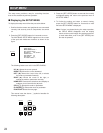
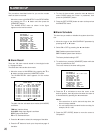
The WJ-FS616C SETUP MENU appears on the screen
of the spot and multiscreen monitors as shown in the
figure.
The following buttons are valid in the SETUP MENU:
UP (D): Moves the cursor upward.
DOWN (C): Moves the cursor downward.
LEFT (A): Moves the cursor to the left, or selects
the mode or parameter forwardly.
RIGHT (B): Moves the cursor to the right, or
selects the mode or parameter reversely.
HOME/SET: Executes the selections and displays a
submenu for an item with the (❋) mark.
STILL (-): Selects the mode or parameter.
EL-ZOOM (+): Selects the mode or parameter.
FUNCTION: Selects the next page.
This manual uses the above ( ) symbols hereafter for
following description.
3. Press the [SET UP/ESC] button to execute the currently
highlighted setting and return to the previous menu in
the SETUP MENU.
4. To finalize the setting and return to normal viewing,
press the [SET UP/ESC] button for 2 seconds or more
while the SETUP MENU is displayed.
Note: If alarm is activated during the setup operation,
the SETUP MENU disappears and the display
returns to the normal images. Any settings previous-
ly made take effect, even if the [SET UP/ESC] but-
ton was not pressed.
WJ-FS616C SETUP MENU
ALARM SETUP *
MULTI OUTPUT SETUP *
SPOT OUTPUT SETUP *
REC/MULTI2 REC OUTPUT *
SYSTEM SETUP *
CAM DOWNLOAD NO
CAM UPLOAD NO
ALL RESET SELECT *
SET UP/ESC
LEFT
RIGHT
UP
DOWN
HOME/SET
EL-ZOOM
STILL
FUNCTION


