


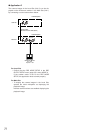
73
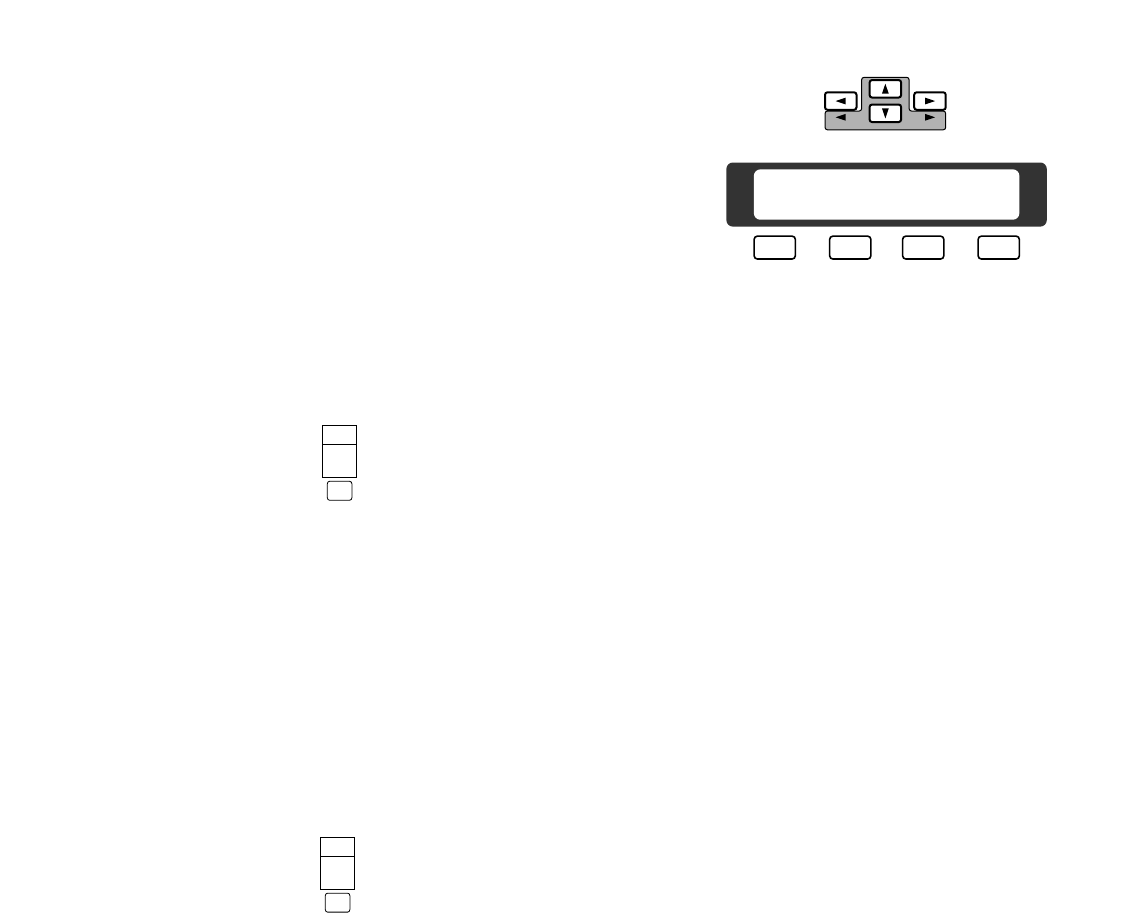
3. Select the desired item by moving the joystick UP or
DOWN, and then select the desired mode by moving
the joystick LEFT or RIGHT.
4. Press the [CAM(SET)] button to execute the setting or
enter a submenu.
5. Press the [F3] button to reset the selected item parame-
ter, or press the [F4] button to reset all functions to the
factory default setting.
6. Press the [MON(UNIT/ESC)] button to execute the set-
ting and returns to the previous setup menu.
7. Press the [CAMERA SET OFFB] button to exit from the
setup mode or menu.
Note: Refer to the operating instructions of the selected
camera for further details.
Caution: Camera addresses are important for RS-485
type cameras.
• Do not use addresses other than 1 through 16 for
individual cameras. (“17” is not allowed)
• Do not set a single address for more than one cam-
era in an RS-485 chain.
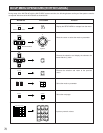
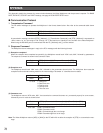
• Simplified preset position setting
The preset position can be set by a simplified proce-
dure.
The following function requires the use of cameras
equipped with the specific feature.
1. Press the [ALT] button while the position setting menu
is displayed on the active monitor.
2. Move the joystick to move the pan/tilt head in the
desired direction.
3. Press the [FOCUS] or [ZOOM] button to adjust the lens
to achieve the desired image.
4. Press the [ALT] button again to restore the joystick’s
cursor control function.
Caution: If camera setup is started with the buttons on
the camera, all settings must also be made with
buttons on the camera’s.
If camera setup is started with a controller, all e set-
tings must be made with the controller.
3. Press the [CAM(SET)] key to move the pan/tilt head to
the preset position on the active monitor.
● Pan/Tilt Control (Home Position)
The following function requires the use of cameras
equipped with the specific feature.
1. Select the desired monitor and camera referring to the
Camera Selection procedure described above.
2. Press the [HOME/–] button to move the camera to the
home position on the active monitor.
● Pan/Tilt Control (Auto Panning )
The following function requires the use of cameras
equipped with the specific feature.
1. Select the desired monitor and camera referring to the
Camera Selection procedure described above.
2. Press the [AUTO/+] button to activate the auto panning
function.
3. To cancel the auto panning function, move the joystick
controller in the desired direction.
Note: When using the combination cameras with auto
panning feature, make sure that the LOCAL/
REMOTE setting is set to LOCAL at the camera site.
If REMOTE is selected, the panning movement is
retained for only one minute.
● Camera Setup
The following function requires the use of cameras
equipped with the specific feature.
1. Select the desired monitor and camera referring to the
Camera Selection procedure described above.
2. Press the [CAMERA SET ONA] button to gain access
to the camera setup menu on the active monitor.
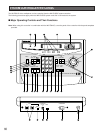
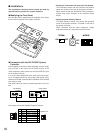
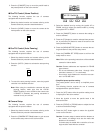
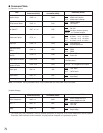
HOME/–
AUX1
AUTO/+
AUX2
F3 F4F2F1
U01 C01 CamSet Up
RES A.RES
T/L MODE
SET UP
PLAYREV
CAMERA
SET ON
CAMERA
SET OFF