2-14
Section 2 — Installation
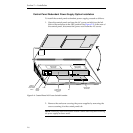
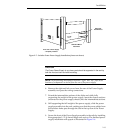
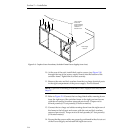
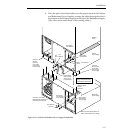
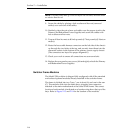
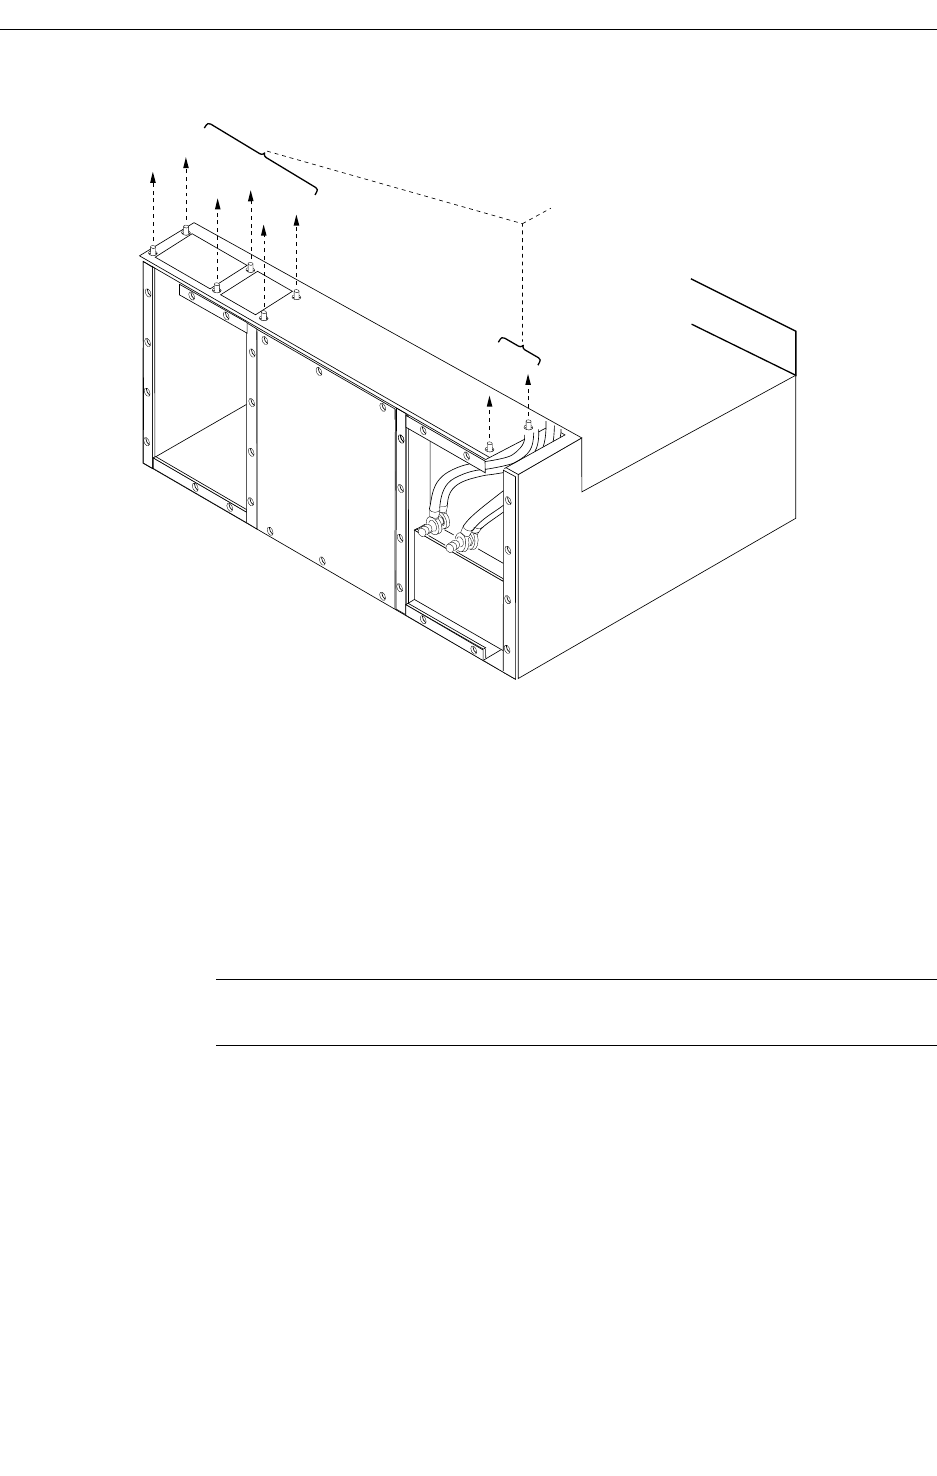
10. At the rear of the unit, install the 8 captive screws (see Figure 2-8)
through the top of the power supply chassis into the bottom of the
switcher frame. Tighten the 8 screws securely.
11. Remove the nuts and lock washers from the two large electrical posts
in the right compartment of the power supply. Do not discard.
NOTE:
If you will be installing a Redundant Power Supply at this time, skip to
Step 15.
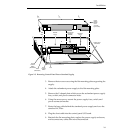
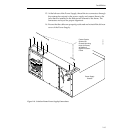
12. Refer to Figure 2-9. Connect the two large black cables running down
from the right rear of the switcher frame to the right post and secure
with the nut and lock-washer removed previously. Torque nut to
80 inch pounds (6.7 foot pounds) (9 Newton meters).
13. Connect the two large red cables running down from the right rear of
the frame to the left post and secure with the nut and lock washers
removed previously. Torque nut to 80 inch pounds (6.7 foot pounds)
(9 Newton meters).
14. Ensure that the power cables are properly positioned in the slot cut out
of the Power Supply and reinstall the right rear cover.
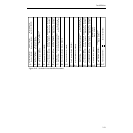
Figure 2-8. Captive Screw Locations, Switcher Frame Power Supply (rear view)
Fasten Captive
Screws into
Chassis Mounting
Holes (8 Places)
at Bottom of
Switcher Frame
Power Supply
Chassis


