2-47
Cable Connections
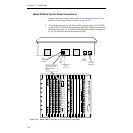
Model 2200-2i Control Panel Connections
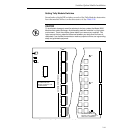
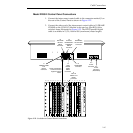
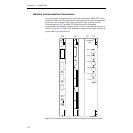
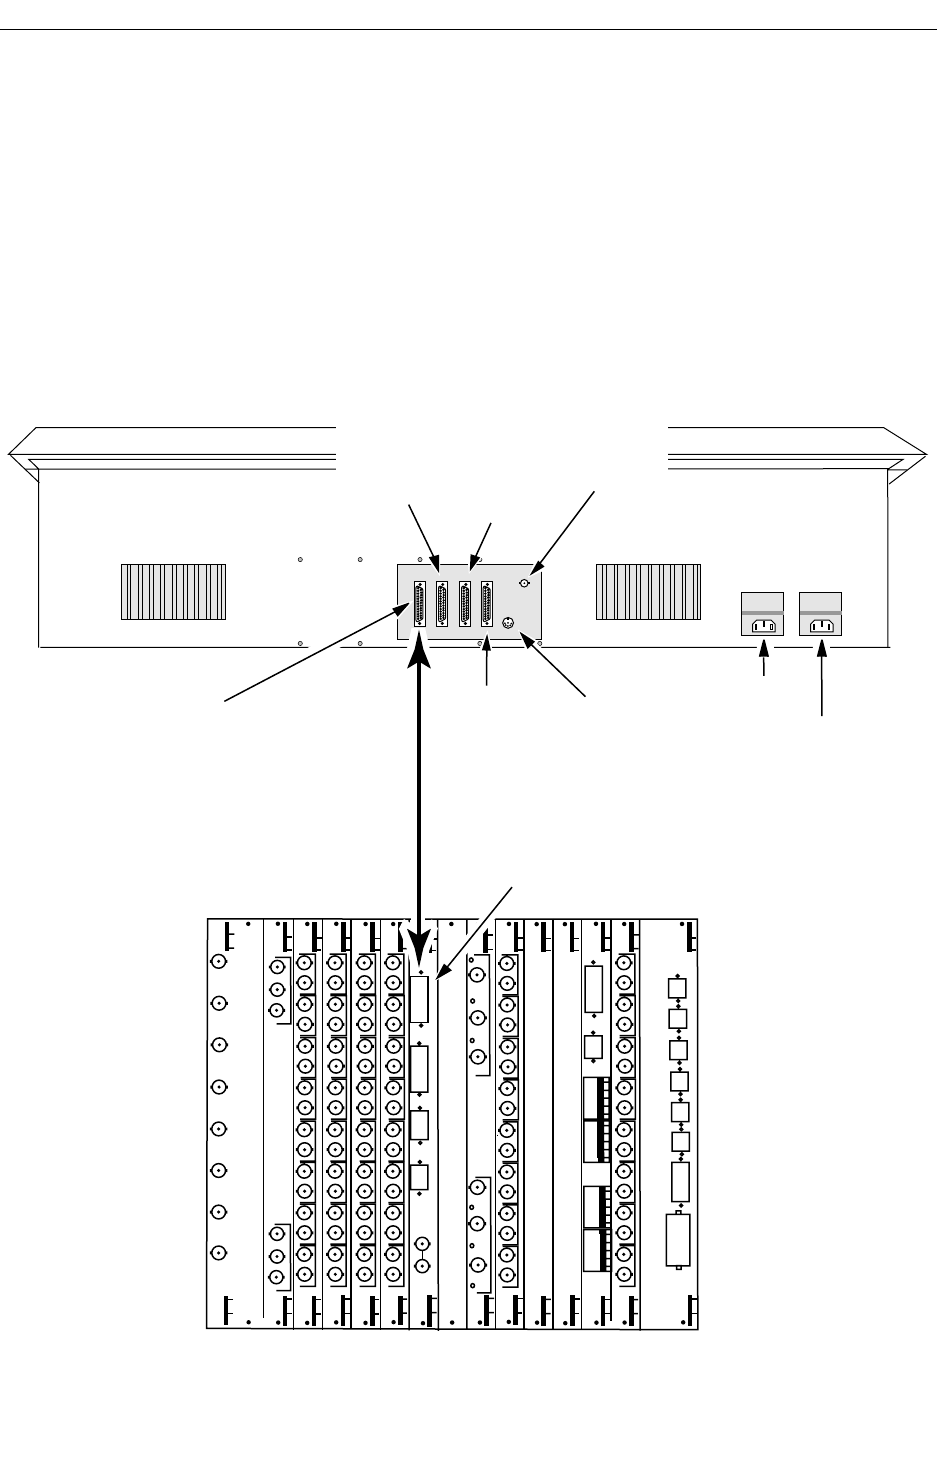
1. Connect the interconnect control cable to the connector marked J1 on
the rear of the Control Panel as shown in Figure 2-22.
2. Connect the other end of the interconnect control cable to J1 (FRAME
COMM) on the COM I/O Module in the rear bay (Slot B10) of the
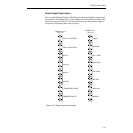
switcher frame illustrated in Figure 2-22. The RP125 parallel digital
cable is available in 15, 50, 100 and 300 (maximum) meter lengths.
CHROMA
KEY
INPUT
G/Y
B/U
R/V
J4
J5
J6
GAIN
GAIN
GAIN
G/Y
B/U
R/V
J1
J2
J3
GAIN
GAIN
GAIN
SERIAL
OUTPUT
J1
J2
J3
J4
J5
J6
J7
J8
J9
J10
J11
J12
J13
J14
J15
J16
J1
J2
J3
J4
J5
J6
J7
J8
J9
J10
J11
J12
J13
J14
J15
J16
J1
J2
J3
J4
J5
J6
J7
J8
J9
J10
J11
J12
J13
J14
J15
J16
J1
J2
J3
J4
J5
J6
J7
J8
J9
J10
J11
J12
J13
J14
J15
J16
J1
J2
J3
J4
J5
J6
J7
J8
J9
J10
J11
J12
J13
J14
J15
J16
SERIAL
OUTPUT
J1
J2
J3
J4
J5
J6
J7
J8
J9
J10
J11
J12
J13
J14
J15
J16
ANALOG
OUTPUT
G/Y
R/V
B/U
J1
J2
J3
PROGRAM
G/Y
R/V
B/U
J4
J5
J6
PREVIEW
SERIAL
REENTRY
SERIAL
REENTRY
COM
I/O
PANEL
EDITOR
AUX BUS
CTL
ANALOG
REF IN
J1
J2
J3
J4
J5
J6
EXPANDED
COM
PORT A1
J1
PORT B1
J2
PORT A2
J3
PORT B2
J4
PORT A3
J5
PORT B3
J6
J7
J8
GPI
MAINTENANCE
TALLY EXP
1
2
3
4
G
GPI INPUTS
J1
+5
J2
1
2
3
4
G
+5
TB1
TB2
GPI OUTPUTS
TB3
1
2
3
4
G
TB4
1
2
3
4
G
G
G
SERIAL
INPUT
SERIAL
INPUT
SERIAL
INPUT
SERIAL
INPUT
TIMED
AUX
OUTPUT
J1
J3
J5
J7
J9
J11
J13
J15
C17 C16 C15 C14 C13 C12 C11 C10 C9 C8 C7 C6 C5 C4 C3 C2 C1
J1
FRAME COMM
Port
DB-25
Connector
J4
DPM
RS232
PORT
DB-25
Connector
J1
Com I/O
PANEL Port
DB-25
Connector
J5
KEYBOARD
Connector
Serial Link between
Control Panel and
Signal Processor
Frame.
AC
Power
Connector
(Redundant)
AC
Power
Connector
J2
POINTING
DEVICE
DB-25
Connector
J6
ETHERNET
50-Ohm BNC
Connector
J3
STATUS/
DIAGNOSTIC
TERMINAL
DB-25
Connector
Figure 2-22. Switcher to Control Panel Connections


