Operation
100
8. Clicking on the left side closes the toolbar. If you want to display the toolbar
again, position the mouse pointer at the bottom of the screen. Change the toolbar
location by clicking the empty space on the left side of the toolbar and drag it to
where you want it located on the screen. Use the arrow buttons on the toolbar to
pan or tilt the camera in the direction you want. The other controls on the toolbar
perform as described below:
Image Adjustment
Note It is important that cameras and monitors are correctly installed
and adjusted prior to making any image adjustments using the
DVR’s controls.
If a user who has Color Control authority logs in, the user can adjust the image.
Pressing and holding a camera button for a few seconds displays an image adjustment
dialog. You can control brightness, contrast, hue and saturation for each camera.
Note Any image adjustments you make will be applied to both the live
video on the monitors and the recorded video.
Event Monitoring
When an event occurs, the DVR will display the camera associated with the event if
Event Monitoring On is selected in the Display setup screen, OSD tab (see Display
Screen, page 66).
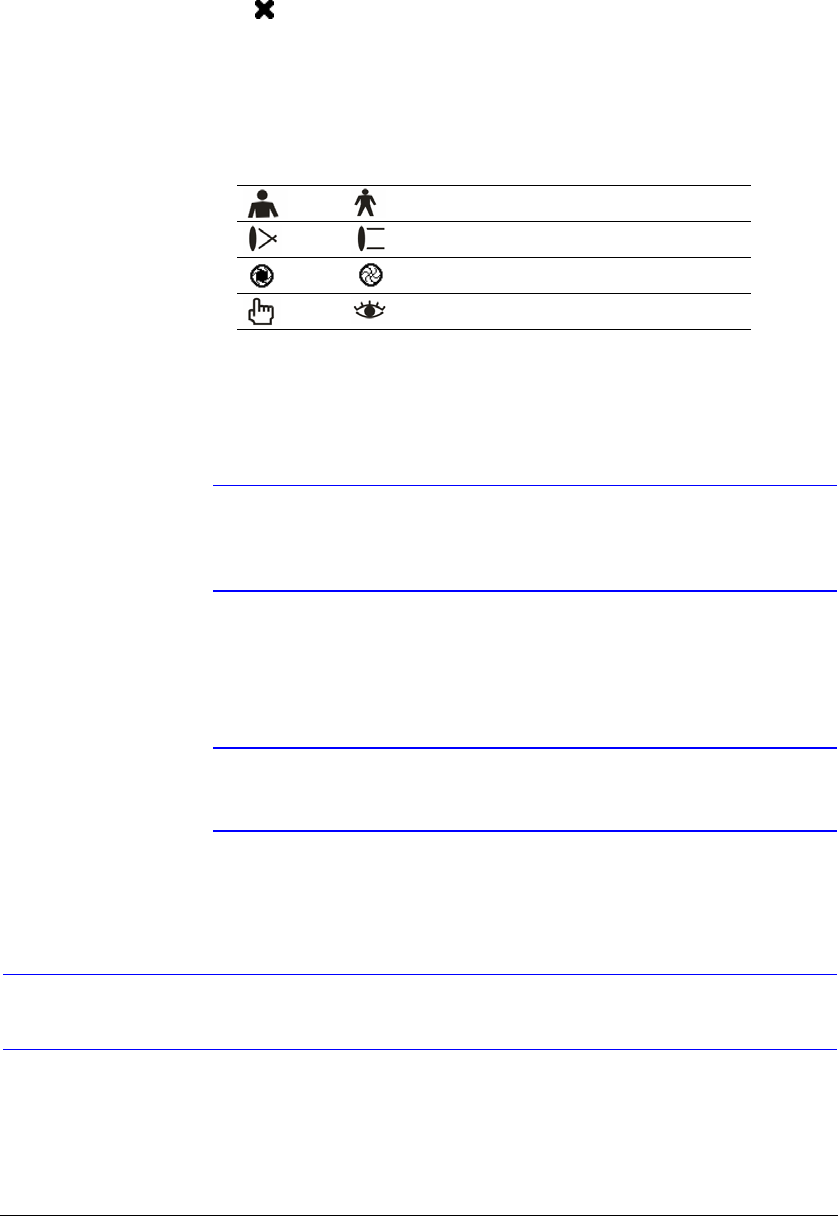
Table 4-1 PTZ Controls
Zoom In/Out
Focus Near/Far
Iris Open/Close
Set/Load Preset


