Operation
116
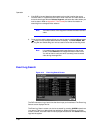
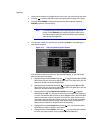
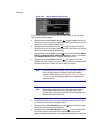
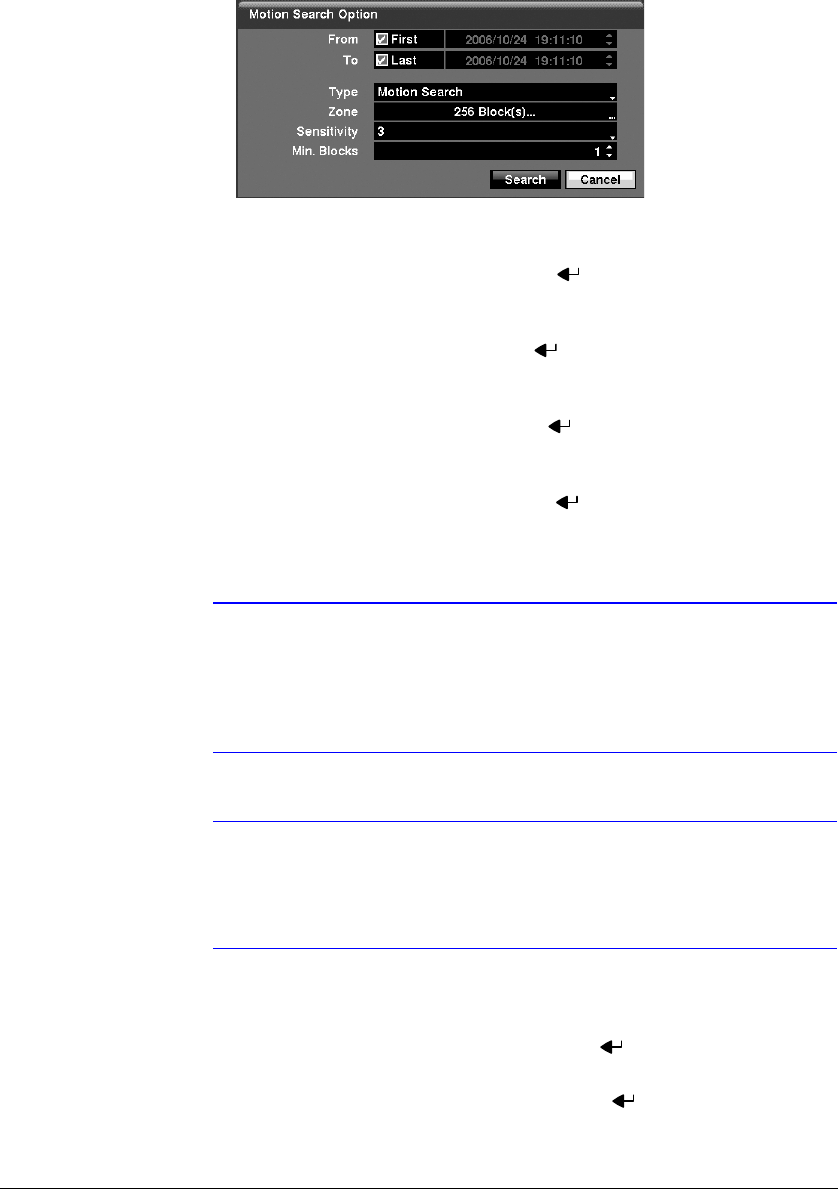
Figure 4-19 Motion Search Option Screen
You can search video from the first to last recorded images, or you can set the
start and stop times and dates.
a. Highlight the box beside From and press to toggle between On and Off.
When set to Off, you can enter a specific Date and Time. When set to On, the
search will be from the first recorded image.
b. Highlight the box beside To and press to toggle between On and Off.
When set to Off, you can enter a specific Date and Time. When set to On, the
search will be from the last recorded image.
c. Highlight the box beside Type and press . You can select between Motion
Search and Museum Search. Motion Search detects motion in the defined
area. Museum Search detects if a defined object has moved.
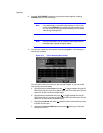
d. Highlight the box beside Zone and press . An image from the video
appears with a grid overlaid. You can turn sensor blocks On and Off to define
the area of the picture in which you want to search for motion.
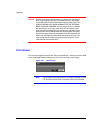
Note Defining the area of the image in which you want to search for
motion is nearly identical to setting up the DVR for Motion
Detection. Please refer to Motion Detection Screen in Chapter 3,
Configuration for more detailed instructions on setting up the
detection blocks.
Note When setting the Museum Search Zone, the zone should be
placed inside of the border line of the target object. If the
selected block is placed on the border line, the sensitivity of the
Museum Search may decrease.
e. For Museum searching, the zone should be placed or focused on the center
or, at least, within the outline of targeted object.
f. Highlight the box beside Sensitivity and press . You will be able to select
from 1 (low sensitivity) to 5 (high sensitivity).
g. Highlight the box beside Min. Blocks and press . You will be able to set
the number of sensor blocks that must be activated for motion to be
detected. Setting the Min Blocks is only available if Motion Search is selected.


