


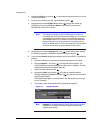


Configuration
Document 900.0856 Rev 3.00 43
11/07
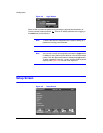
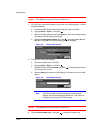
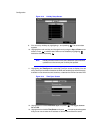
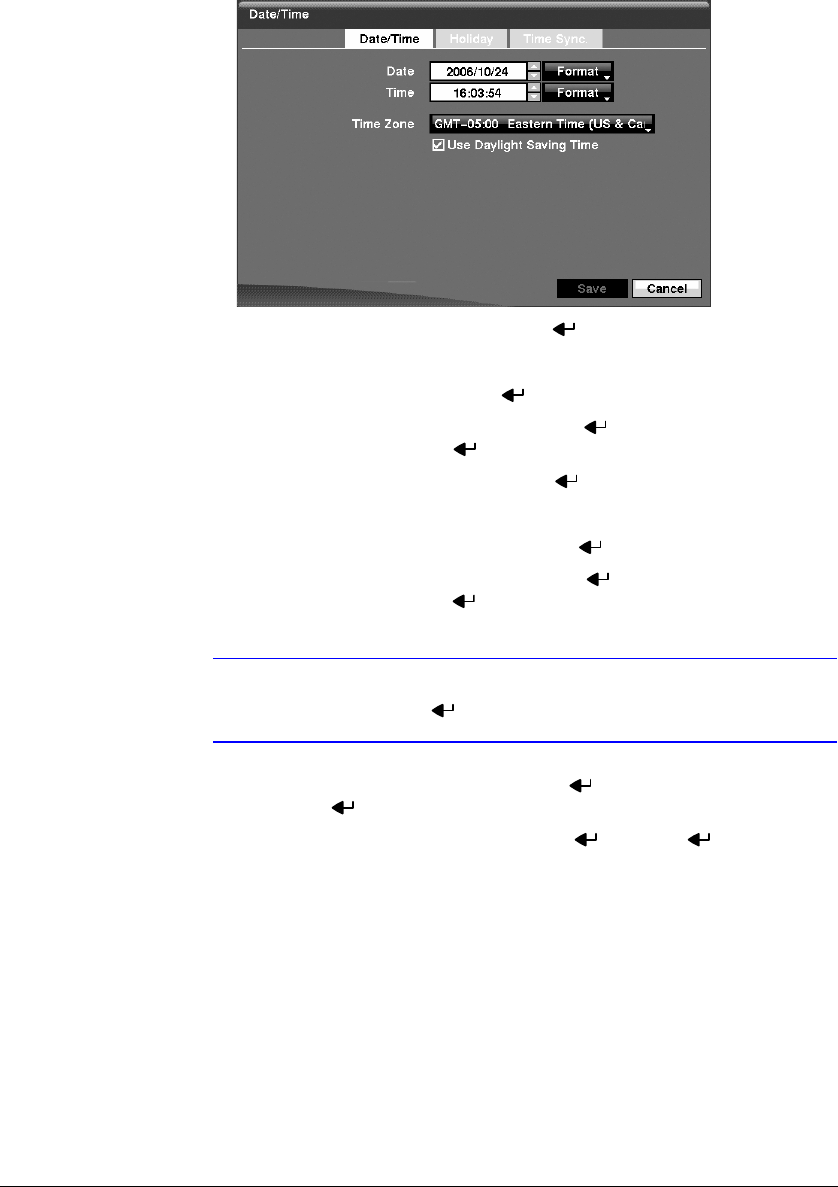
Figure 3-11 Date/Time Setup Screen
2. Highlight the first box beside Date and press . The individual sections of the
date will highlight. Use the Up and Down arrow buttons to change the number.
Use the Left and Right arrow buttons to move between month, date and year.
Once you have the correct date, press .
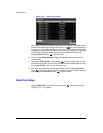
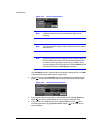
3. Highlight the Format box beside Date and press . Select from the three
available date formats and press to save your selected format.
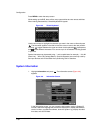
4. Highlight the first box beside Time and press . The individual sections of the
time will highlight. Use the Up and Down arrow buttons to change the number.
Use the Left and Right arrow buttons to move between hour, minutes and
seconds. Once you have the correct time, press .
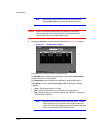
5. Highlight the Format box beside Time and press . Select from the three
available time formats and press to save your selected format.
Note The clock will not start running until you have highlighted Save
and pressed .
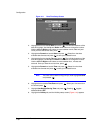
6. Highlight the box beside Time Zone and press . Select your time zone from
the list and press .
7. Highlight Use Daylight Saving Time and press . Pressing toggles
between On and Off.
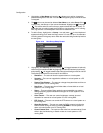
8. Highlight the Holiday tab, and the Holiday setup screen (Figure 3-12) appears.