


Configuration
Document 900.0856 Rev 3.00 81
11/07
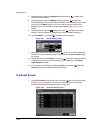
10. Highlight the box beside Daytime and press . Use the Up and Down arrow
buttons to set the Daytime range. The DVR will consider the remaining time range
as the Nighttime.
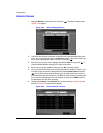
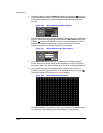
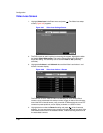
11. Highlight the Actions 1 and Actions 2 tabs and the Motion Detection Actions 1
(Figure 3-65) and Actions 2 (Figure 3-66) screens display.
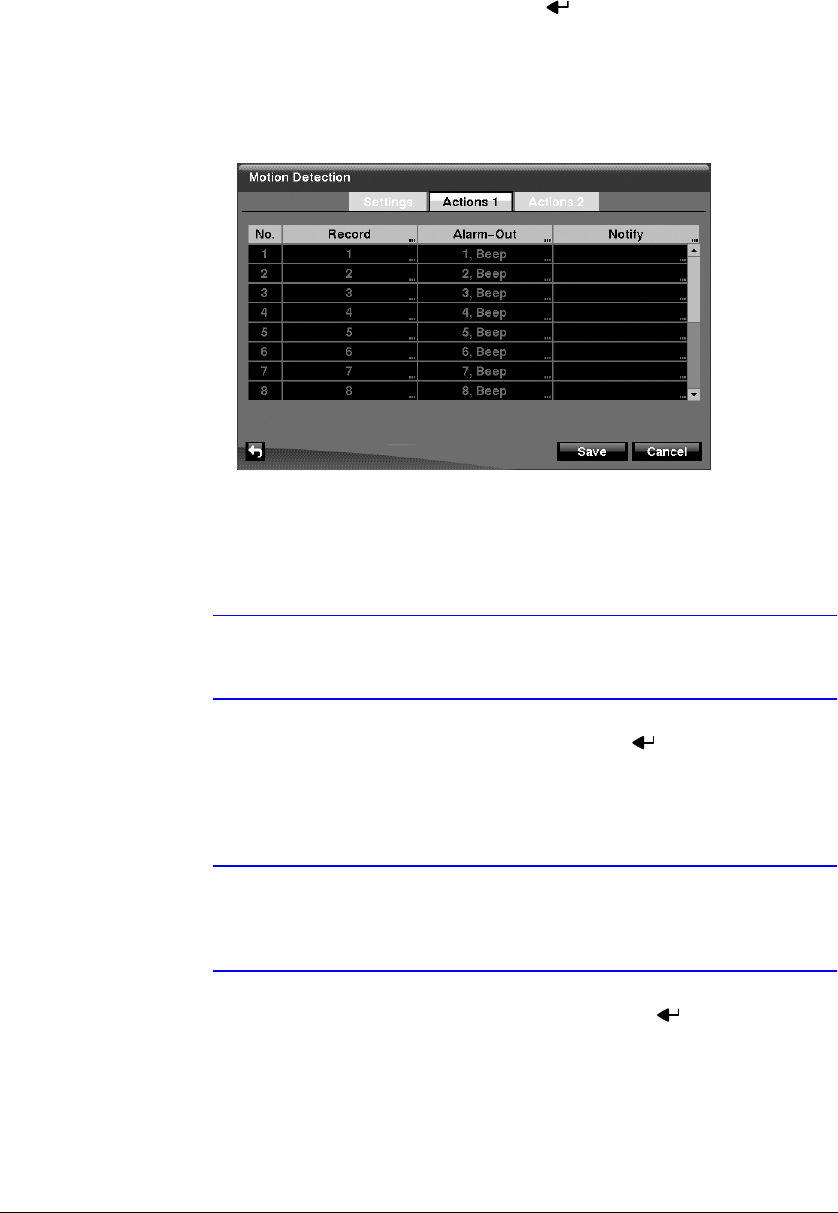
Figure 3-65 Motion Detection Actions 1 Screen
The DVR can be set to react to motion detection differently for each camera. Each
camera can be associated with another camera, trigger an Alarm-Out connector,
sound the DVR’s internal buzzer, notify a number of different devices, move PTZ
cameras to preset positions, and/or display a camera on a SPOT monitor.
Note You can associate multiple cameras with a camera that detects
motion.
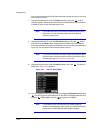
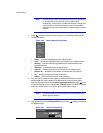
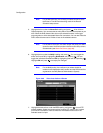
12. Highlight the box under the Record heading and press . A list of cameras
appears. You can associate as many cameras with that camera as you wish. If the
DVR detects motion on the selected camera, it starts recording video from all the
associated cameras.
Note For the Record action, the camera you select should be set to
the Event or Time & Event recording mode in the Record
Schedule setup screen.
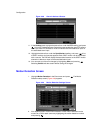
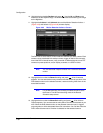
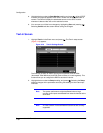
13. Highlight the box under the Alarm-Out heading and press . A list of Alarm
Outputs appears. You can associate as many Alarm-Outs with that camera as you
wish. When the DVR detects motion on the selected camera’s input, it triggers
output signals on all the associated Alarm-Out connectors. You can also have the
DVR’s internal buzzer sound if motion is detected on the selected camera.