


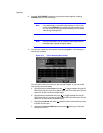


USB Hard Disk Drive Preparation
122
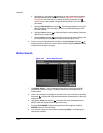
After formatting is complete, the USB-IDE hard disk drive will be added to My
Computer.
7. Connect the USB-IDE hard disk drive to the DVR.
Preparing the USB-IDE Hard Disk Drive in Windows 98
Note Preparing a USB-IDE hard disk drive under Windows ME is
almost identical to Windows 98.
1. Connect the USB-IDE hard disk drive to your computer using the USB Cable.
2. Turn on your computer. The Add New Hardware wizard window will appear.
3. Install the device driver for the USB backup device following the instructions
provided with your USB hard disk drive.
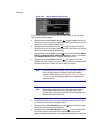
4. If the USB-IDE hard disk drive is partitioned or contains data, it will show up in My
Computer as a hard disk drive icon. Check the file system in Properties >
General > File System. If the file system is NOT FAT32 format, format the
USB-IDE hard disk drive with FAT32 format.
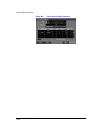
5. Run the FDISK utility by clicking Start then RUN. Type fdisk and click OK.
6. When the MS-DOS command prompt appears, type Y and hit the enter key.
7. In the FDISK Option menu, choose 5. Change current fixed disk drive.
8. Choose the appropriate letter corresponding to the USB-IDE hard disk drive.
9. In the FDISK Option menu, choose 1. Create DOS partition or Logical DOS
Drive.
10. In the Create DOS Partition or Logical DOS Drive menu, choose 1. Create
Primary DOS Partition. Type Y to use all available space and press the enter key.
Press ESC to exit the screen after the USB-IDE hard disk drive partition is created.
11. Restart your computer and verify the newly created drive is in My Computer.
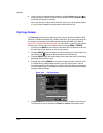
12. Right-click the newly created hard disk drive icon and select Format.
13. In the Format Screen, select Full as the Format type and click Start.
14. After formatting is complete, connect the USB-IDE hard disk drive to the DVR.