


Configuration
Document 900.0856 Rev 3.00 61
11/07
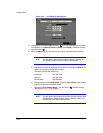
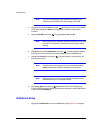
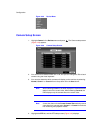
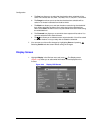
Figure 3-34 Notification Callback Setup Screen
10. Highlight LAN and press to toggle between On and Off. When LAN is turned
On you can change the IP addresses.
11. Highlight the IP Address box that you want to change and press . Enter the IP
address of the computer you want contacted during an event. You can enter up to
five IP addresses.
12. Highlight the box beside Retry and enter the number of times you would like the
DVR to try contacting the computer(s). You can select from 1 to 10 retries.
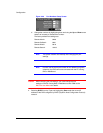
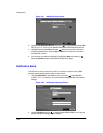
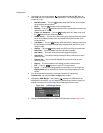
13. If the modem was enabled in the Network screen, you can set up the DVR to
contact a computer running RAS. Highlight Modem and press to toggle
between On and Off. When Modem is turned On you can enter a telephone
number.
14. Highlight the box beside Remote Server Phone Number and enter the telephone
number of the computer running RAS.
15. Highlight the box beside Outside Line Call and enter any numbers that must be
dialed for an outside line to function on your telephone system; for example, 9.
16. Highlight the box beside Callback Phone Number and enter the telephone
number of the DVR.
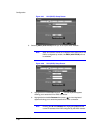
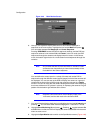
17. You can save your Notification changes by highlighting Save and pressing .
Selecting Cancel exits the screen without saving the changes.
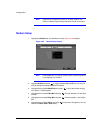
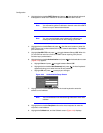
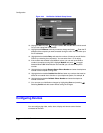
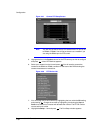
Configuring Devices
You can configure the video, audio, alarm, display and remote control devices
connected to the DVR.