37
206-4256
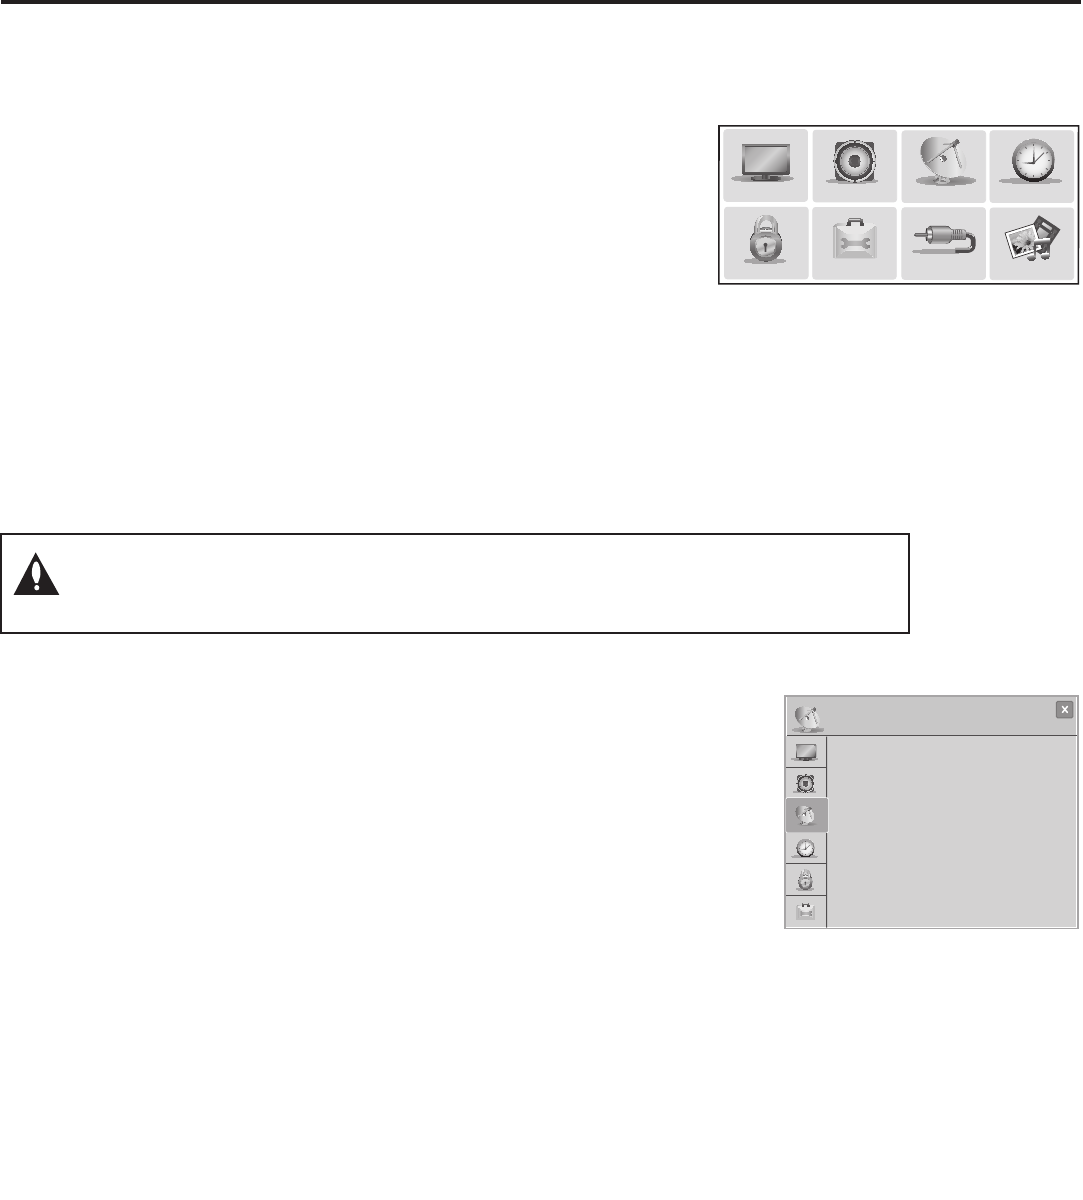
Use the STB setup menus to set
the display features to the desired
configuration for the end user.
PICTURE
AUDIO
INPUT
OPTION
TIME
SmartShare
CHANNEL
LOCK
Custom Master STB Setup (Cont.)
CHANNEL
•Auto Tuning
•Manual Tuning
•Channel Edit
•Channel Label
(Optional) Use Channel Menu options
to run Auto Tuning, edit channels, and
select channel icons.
(Continued on next page)
4. (PTC cloning only / Optional) Run Auto Tuning.
Note: If you run Auto Tuning with the intention to clone the resulting
channel lineup and the Target STB(s) is/are to remain in Pass-through
Mode, you MUST use a TLL file for this cloning purpose.
a) Use the Installer Remote to access the Channel Menu. Then, select
Auto Tuning and follow the on-screen instructions to search for all
available analog and digital channels.
b) Use the Channel Edit option in the Channel Menu to edit the channel
lineup, as necessary. Add/delete channels per your system requirements.
c) Use the Channel Label option in the Channel Menu to select the
appropriate trademark/icon for each channel’s Channel-Time on-screen
display. Icons are available for familiar channels, such as ABC, CBS,
NBC,etc.Identiablelabels(icons)shouldenabletheendusertoreadily
know what common networks are available.
Note: If Installer Menu item 103 ATSC TUNE MODE is set for Physical
Channel tuning (default and recommended setting), channels with minor
channel numbers higher than 255 will not transfer correctly in step 5. If item
103 is set for Virtual Channel tuning and either the major or minor channel
numbers are higher than 255, the channel(s) will not transfer correctly in step 5.
Note: You can add the channel icons in this step or as described in step 6.
Also in step 6, you can add custom text labels for channels without icons.
(Continued from previous page)
3. Set up STB/display panel features.
On-screen setup menus control the features of the STB/display. Press
MENU on the Installer Remote to access the STB setup menus, and
then set Channel, Picture, Audio, Time, etc. options to the desired
configurations. See “Clonable STB Setup Menu Features” list on page
35 and also notes below.
Note: IfyouintendtouseaTLXleforcloningpurposes,andyou
wish to use the Zoning feature(s) on this STB, make sure to assign the
appropriate TV Zone # and/or Wi-Fi Zone # at this time as described in
Reference section, “Using the STB’s Zoning Features.”
Note: If you intend to clone the PTC, remember that only one STB
source’s clonable setup menu settings will be cloned. Thus, the setup
menu settings should be applicable to the analog or digital channel or
Aux input to which the Target STB will be set during Teaching.
Note: If desired and if appropriate depending on the cloning method
to be used (see “Cloning Methods” on page 35), you can run Auto
Tuning (see step 4) prior to completing this step.
Note: The next three steps (4 to 6) are applicable for PTC cloning only (i.e., cloning
using a TLL le). If you intend to use a TLX le for cloning purposes, proceed directly
to step 7 to verify the STB setup.


