HD24/96 Technical Reference 68
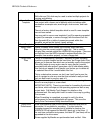
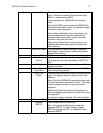
times) will snap to cue points on the Marker Bar.
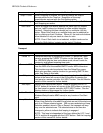
Snap To Grid When Snapping is enabled, the various pointers will snap to
discrete points on the Time bar. Resolution of the snap
timesintervals areis set with the Grid Setting option.
Grid Setting Selects the resolution of the “snap-to” times when Snap To Grid
and Snapping are active.
Solo Latch This is an toggle that selects whether the track Solo (S) buttons
work as “radio” buttons (not latched) or allow multiple selection
(latched). Selecting this item checks (on) or unchecks (off) this
option. When Solo Latch is on, multiple tracks can be selected for
solo by clicking on their S buttons. When off, the track solo buttons
allow selection of only one track at a time for solo.
NOTE: Even if Solo Latch is not selected, multiple tracks can be
soloed by Shift-clicking / swiping on the tracks’ S buttons.
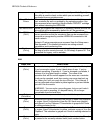
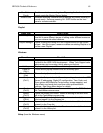
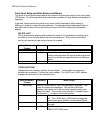
Transport
Menu Item What It Does
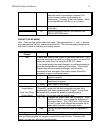
Chase TC Functions identically to toggling the CHASE TC button the Tools
panel or pressing the CHASE TC button on the front panel. Sets
the HDR24/96 into the time code chase mode, where it waits for,
locates to, and follows incoming time code.
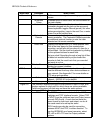
Generate MTC Enables the MTC time code generator function, sending time code
from the MIDI oOut the enabled SMPTE and/or MIDI connectors.
This function may also be selected from the Setup/Sync menu,
which also provides a similar function for generating SMPTE time
code. See Setup in this table.
All Input Selects All Input Monitor mode. Same as toggling the ALL INPUT
button at the lower left corner of the GUI screen or pressing the
front panel or remote controller ALL INPUT button. See the Monitor
section of this manual for further details.
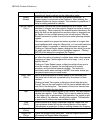
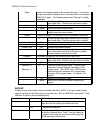
Auto Input Selects Auto Input Monitor mode. Same as toggling the AUTO
INPUT button at the lower left corner of the GUI screen or pressing
the front panel or remote controller AUTO INPUT button. See the
Monitor section of this manual for further details.
Use Preroll Adds the amount of Preroll time (set from the
Windows|Setup|Locator-MMC menu) to any Locate or Cue Start
point.
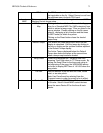
Loop Selection Allows quick a temporary setting of loop start and end points.
When Loop Selection is enabled, loop points are set to the start and
end of an I-Beam selected region. With an area selected and Loop
Selection enabled, when in Play or Record, the transport will loop-
play over the selected area. The selected area on the time bar
changes to yellow to indicate that looping is engaged.
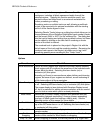
NOTE: This loop is independent of the loop defined by LOC 1 and
LOC 2 and that is engaged with the LOOP button. See the Looping
section of this manual for further details.


