HD24/96 Technical Reference 73
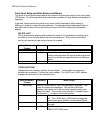
Front Panel Setup and Utility Buttons and Menus
The group of front panel buttons above the transport controls open menus in the front panel
LCD screen. The following table list the selections available for each button and explains its
operation.
In general, buttons which are active in any menu will be illuminated, either steady or
blinking, to guide you toward the next operation. Pressing the illuminated menu button, or
any other menu button, will exit the menu and return the LCD to the project information
display.
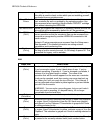
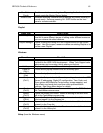
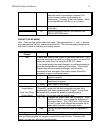
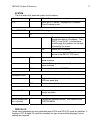
DELETE LAST
This is a destructive process which cannot be undone. It is equivalent to backing up in
the History List to the step before the last recording pass. This is most useful when
you’ve just recorded a take and you know it’s no good.
Menu Selection /
Prompt
Submenu What It Does
Are You Sure? This indicates a destructive process which cannot be undone.
OK Deletes the last recording pass. If there has been
nothing recorded since the last time the project was
saved, you will be prompted that there is nothing to
delete.
Cancel Cancels the Delete Last operation.
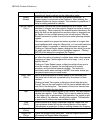
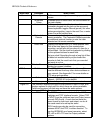
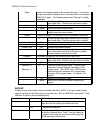
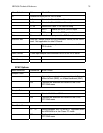
TRACK (OPTIONS)
Displays the track numbers (without the tens digits). Tracks which are muted are
indicated by an asterisk (*) below the track number. The (-)DEC and (+)INC buttons
change the mute status of the selected track.
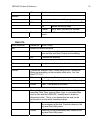
Menu Selection /
Prompt
Submenu What It Does
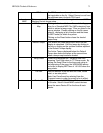
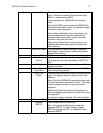
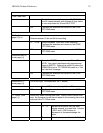
Set Virtual Sets the virtual track or “take” for recording or playback. Two
rows of numbers are displayed. The top row is the track
number, the bottom row is the currently selected virtual track
under that track. The current cursor position is indicated by an
Underscore “(_”) in place of the track number.
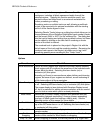
<< Moves the track number cursor one position to the
left. The (-)DEC and (+)INC buttons change the
virtual track (take) number for the selected track.
>> As above. Moves the cursor one track position to
the right.
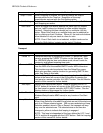
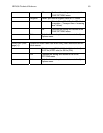
OK Sets the virtual tracks as selected and returns to the
TRACK OPTIONS menu.


