Polycom® RMX 1800 Administrator’s Guide
18-4 Polycom, Inc.
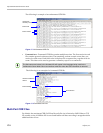
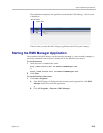
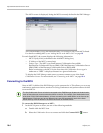
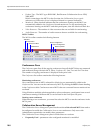
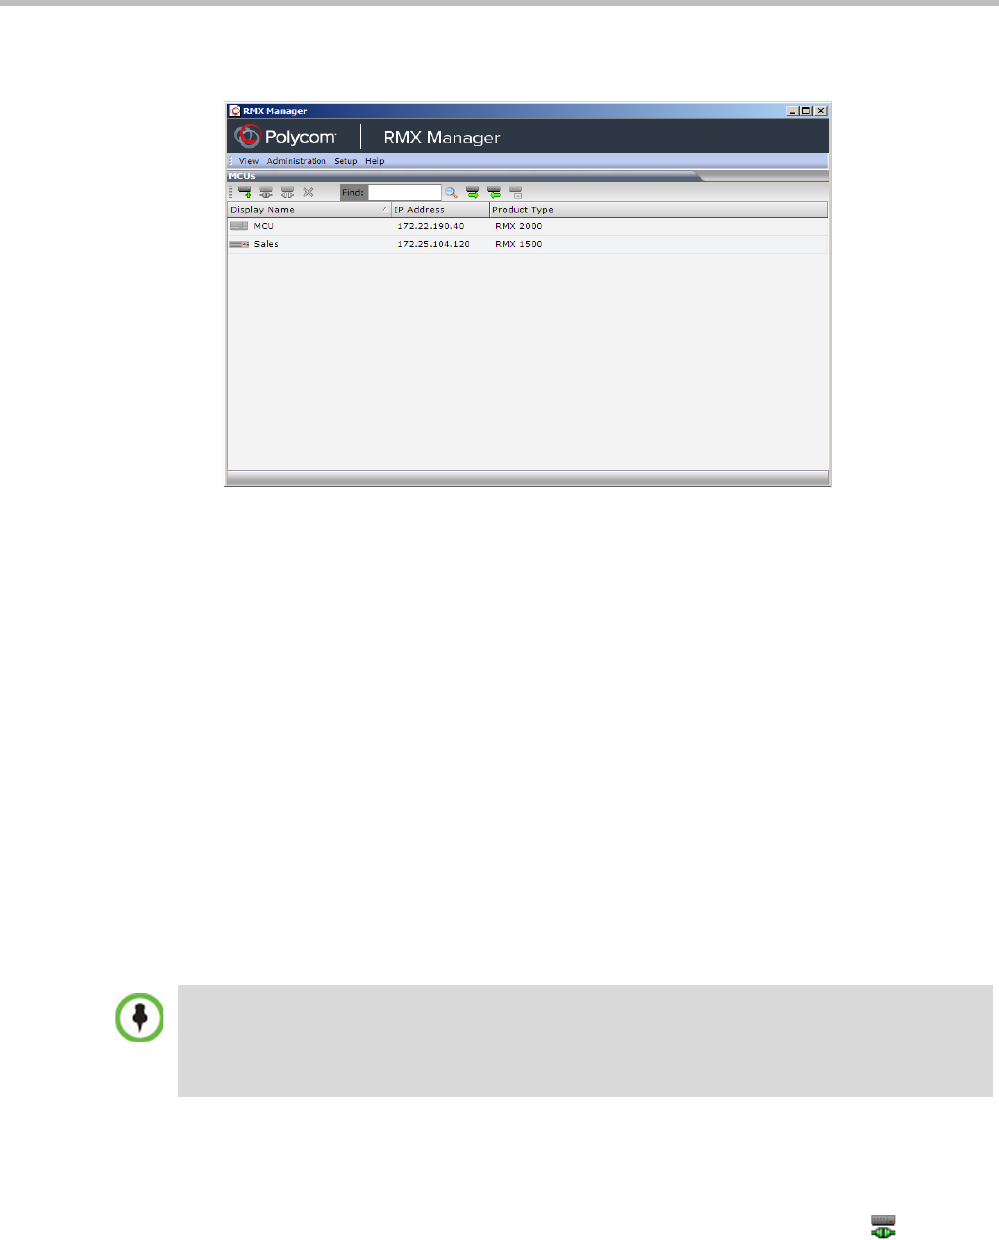
The MCUs screen is displayed, listing the MCUs currently defined in the RMX Manager.
This screen enables you to add additional MCUs or connect to any of the MCUs listed.
For details on adding MCUs, see “Adding MCUs to the MCUs List” on page 10.
For each listed MCU, the system displays the following information:
— MCU Display Name (as defined in the Add MCU dialog box).
— IP Address of the MCU’s control unit
— Product Type - The MCU type: RealPresence Collaboration Server 800s,
RealPresence Collaboration Server (RMX) 1500, RealPresence Collaboration Server
(RMX) 2000, or RealPresence Collaboration Server (RMX) 4000.
Before connecting to the MCU for the first time, the Collaboration Server type is
unknown so “RMX” is displayed instead as a general indication.
To display the RMX Manager main screen you must connect to one of the listed
Collaboration Servers. For more details, see "Connecting to the MCU” on page 18-4.
Connecting to the MCU
Once an MCU is defined, the RMX Manager can be connected to it. This allows you to set up
conferences, make reservations, monitor On Going Conferences and perform other activities
on several MCUs.
To connect the RMX Manager to an MCU:
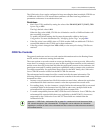
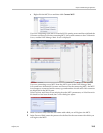
1 In the MCUs pane or screen, use one of the following methods:
a Double-click the MCU icon.
b Select the Collaboration Server to connect and click the Connect MCU button.
The first Collaboration Server unit that is connected to the RMX Manager dictates the Authorization
Level of Users that can connect to the other MCUs on the list. For example, if the Authorization level
of the User POLYCOM is Administrator, all Users connecting to the other MCUs on the list must be
Administrators. Each user can have a different login name and password for each of the listed
MCUs and they must be defined in the Users list of each of the listed MCUs.


