


54 Registering a Remote Party – Phone Book
PCS -1/1P
3-207-456-12 (1)
I:\3207456121PCS1WW\04SET.FM
masterpage:Left
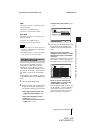
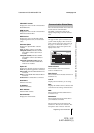
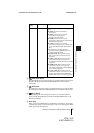
7 Use the V, v, B or b button to select
“Save”, then press the PUSH ENTER
button.
The settings are registered in the Phone
Book.
To connect to the remote party
without using BONDING
If the videoconferencing system of the
remote party is not equipped with the
BONDING function, entering one telephone
number does not allow you to connect all the
line numbers used to connect to the remote
party. To connect to the remote party by
entering all the ISDN line numbers used,
you can set the connection without using the
BONDING function of this system.
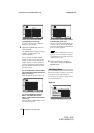
Set “More Options Enable” to “On” in the
Dial Setup menu (page 39), select the More
Options button at the lower part of the List
Edit menu to open the Dial Setup menu, then
set “Bonding” to “Auto”. The A1, A2, B1,
B2, C1 and C2 text boxes appear in the List
Edit menu. Enter all the telephone numbers
for the ISDN lines selected by “Number of
Lines”. Up to 6B-channel connection is
available when using this method.
To set up more detailed options
When “More Options Enable” is set to “On”
in the Dial Setup menu, the More Options
button is shown at the lower part of the List
Edit menu.
Select the More Options button with the
V,
v, B or b
button and press the PUSH
ENTER button to open the Dial Setup menu.
You can change the settings of the desired
items.
The contents set with the More Options button
have priority over those set in the Dial Setup
menu.
You can change the telephone number, IP
address, name or setting registered in the
Phone Book.
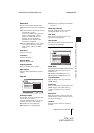
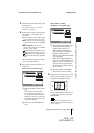
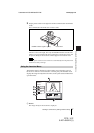
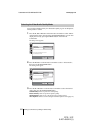
1 Open the Phone Book menu.
2 Use the V, v, B or b button to select
the remote party to be changed in the
Phone Book menu, then press the
PUSH ENTER button.
The submenu appears.
3 Press the V or v button to select
“Edit”, then press the PUSH ENTER
button.
The List Edit menu appears.
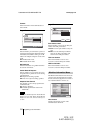
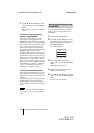
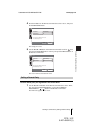
4 Change the telephone number, IP
address, name or setting.
5 Use the V, v, B or b button to select
“Save”, then press the PUSH ENTER
button.
The correction is completed.
Note
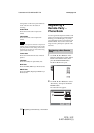
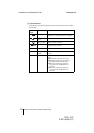
Changing the Contents of the
Phone Book
Dial
Edit
Copy
Delete