


PCS -1/1P
3-207-456-12 (1)
I:\3207456121PCS1WW\06OPE.FM
masterpage:Left
97Saving Still Images to a “Memory Stick”
Chapter 4: Videoconference With Optional Equipment
Saving Still Images to a “Memory Stick”
You can save the picture shot by the local camera or input picture from the
connected equipment or the remote picture during conference in a “Memory
Stick”.
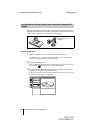
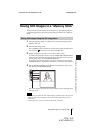
1 Insert the “Memory Stick” in which you are saving the images into the
Memory Stick slot.
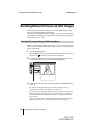
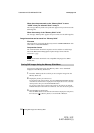
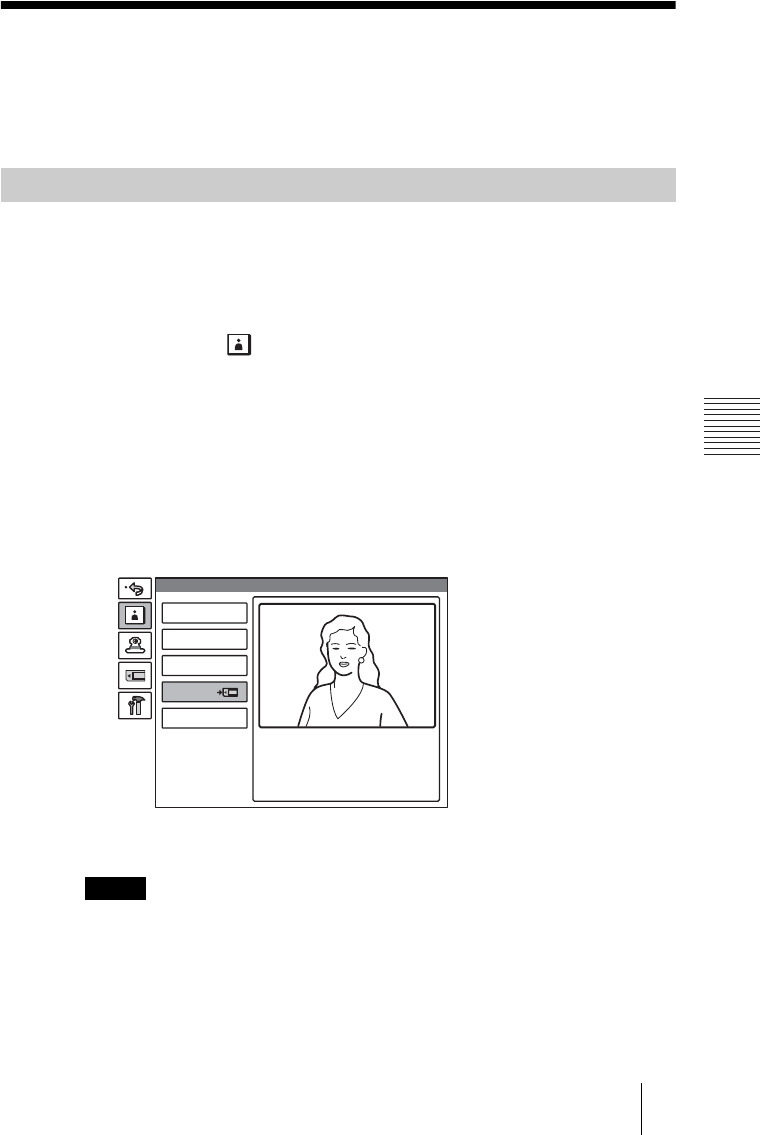
2 Open the Still Image menu.
Press the MENU button on the Remote Commander to display the Setup menu,
then select the (still image) icon with the V or v button.
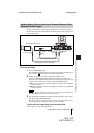
3 Display the picture you want to save on the monitor screen.
To switch the input on the local site, press the VIDEO INPUT SELECT button
on the Remote Commander to display the Video Input Select menu, select the
desired picture, then press the PUSH ENTER button.
To save the remote picture, switch to the picture on the remote site with the
FAR/NEAR button on the Remote Commander, and select the desired picture.
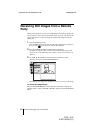
4 Use the V, v, B or b button on the Remote Commander to select “Save”,
then press the PUSH ENTER button.
The picture displayed on the monitor screen will be saved as a still image to the
“Memory Stick”.
• Do not remove the “Memory Stick” until the data is completely loaded. If you do, the
“Memory Stick” may be damaged or the Communication Terminal may cause a
malfunction.
• A still image file is saved as a new file. It will not be overwritten.
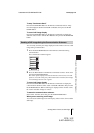
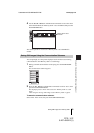
Saving Still Images Using the Still Image Menu
Notes
Send
Continuous Send
Clear
Save
Send Object
Still Image