


18
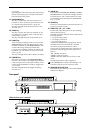
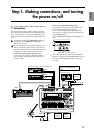
3 Connect your input devices.
Connections for recording analog sources
• Guitar, bass guitar ↔ [GUITAR IN] jack
• Mic (XLR) ↔ [INPUT 1]–[INPUT 4] jacks
• Synthesizer etc. ↔ [INPUT 1]–[INPUT 8] jacks
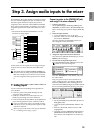
For details on assigning the audio inputs to mixer
channels and auditioning the input sound, refer to
p.23.
A guitar or bass guitar that is being sent
through a compact effect device can be con-
nected to [INPUT 1]–[INPUT 8].
When inputting in stereo, you should select
two adjacent inputs (1–2, 3–4) so that track
editing can be performed more efficiently.
If you are recording from a connected mic,
locate the mic at a sufficient distance from the
D1600 so that it does not pick up noise.
Connections for recording digital sources
• Optical digital (S/P DIF) output of a digital out-
put device such as DAT or MD [S/P DIF IN] jack
of the D1600 (use an optical digital cable for con-
nection)
For details on assigning the audio inputs to mixer
channels and auditioning the input sound, refer to
p.23.
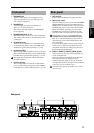
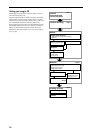
4 Make other connections.
Connections for mixdown
Here’s how to make connections when the song
created on the D1600 will be mixed down on an
external recording device (DAT, MD, tape recorder,
etc.)
• Optical digital (S/P DIF) input of a digital
recording device such as DAT or MD ↔ [S/P
DIF OUT] of the D1600
• AUX IN inputs of an analog recording device
such as a cassette tape recorder ↔ [MASTER
OUT L/R] jacks of the D1600
Connections when using external effects
If you wish to apply an external effect to the signal
from [AUX OUT] send output, use the [INPUT 1]–
[INPUT 8] jacks to receive the return signal(s).
In this case, you can choose whether the signal(s)
will be returned to the mixer channel(s) in the same
way as a conventional input, or sent directly to the
master bus. (→p.48)
Connections when using a foot switch to perform
manual punch recording, or playback/stop etc.
Connect the pedal switch (separately sold option:
PS-1) to the [FOOT SW] jack.
Connections when using a foot pedal to control
effects
Connect the expression pedal (separately sold
option: EXP-2, XVP-10) to the [EXPRESSION
PEDAL] connector.
If a volume pedal is connected, it will not oper-
ate correctly.
Connections when controlling effects or switching
scenes from an external MIDI device
Connect the MIDI OUT connector of the external
MIDI device ↔ [MIDI IN] connector of the D1600.
(→p.73)
Connections when synchronizing the D1600 and a
MIDI sequencer etc.
Connect the MIDI IN connector of the sequencer
etc. ↔ [MIDI OUT] connector of the D1600. (use a
MIDI cable)
Connect the MIDI OUT connector of the sequencer
etc. ↔ [MIDI IN] connector of the D1600. (→p.73)
Connections when saving or backing up data on an
external hard disk or removable disk
SCSI connector of the external SCSI device ↔
[SCSI] connector of the D1600 (use a SCSI cable to
make connections). (→p.67)
2. Turning the power on/off
Turning the power on
Use the following procedure to turn on the power of
the D1600 and of the devices connected to it.
Before turning the power on, be sure to lower the
volume of each device to the minimum position,
and turn the devices on beginning with the first
device in the signal chain (i.e., devices that produce
audio signals).
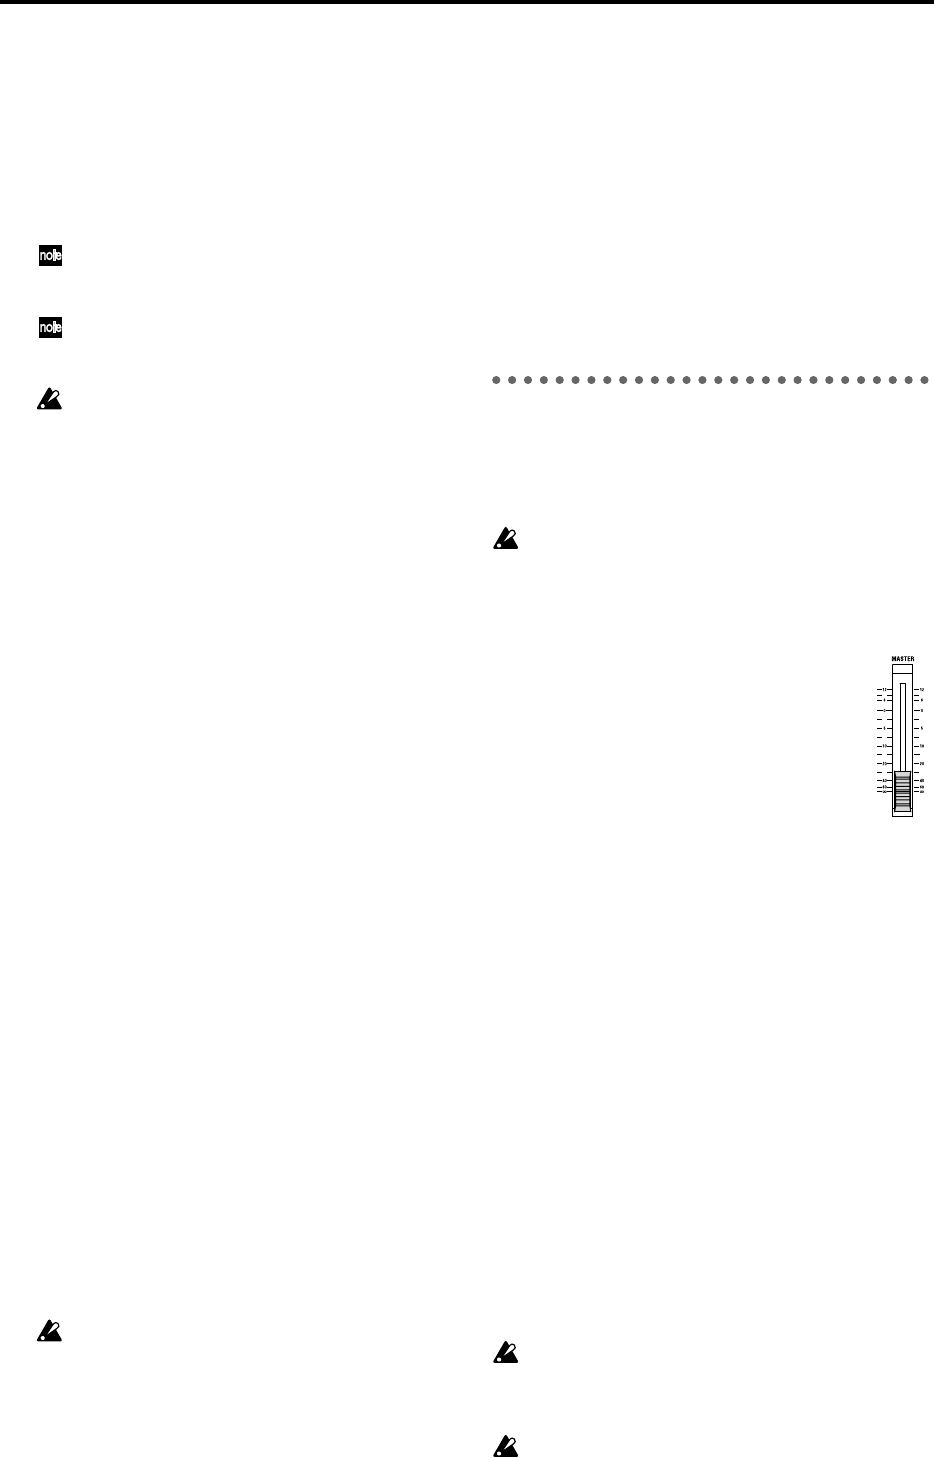
1 Lower the D1600’s [MASTER] fader to the
– ∞ position. Also turn down the volume
of each connected device.
2 Turn on the power of the external input
device, such as a keyboard connected to
the D1600. If an external drive is con-
nected, turn on the power of the external
drive.
3 Turn on the [Main power] of the D1600.
The STANDBY LED will light. The D1600 will be in
“standby” mode.
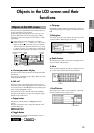
4 Press the [POWER] key of the D1600 to turn on
the power.
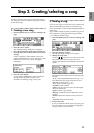
The opening message will appear in the LCD
screen, and then the [SONG] “SelSong” tab page
will appear. The selected song will be the one that
had been selected when the power was last turned
off.
5 Turn on the power of your external equipment,
such as the monitor system to which audio is
being sent from the D1600.
Turning the power off
When you are finished playing or recording a song,
turn off the power. If you will not be using the D1600
for an extended (e.g., when you have finished work for
the day), be sure to turn off the main power so that the
power is turned off completely. Use the following pro-
cedure to turn off the power of the D1600 and of the
connected devices.
Before turning off the power, turn the volume of all
devices down to the minimum position, and turn
off the power switches beginning with the devices
that are at the end of the audio signal chain.
When you wish to turn off the power, you must
perform the shutdown operation. Never turn off
the [Main power] switch or disconnect the power