88
3. Rename..................................................................
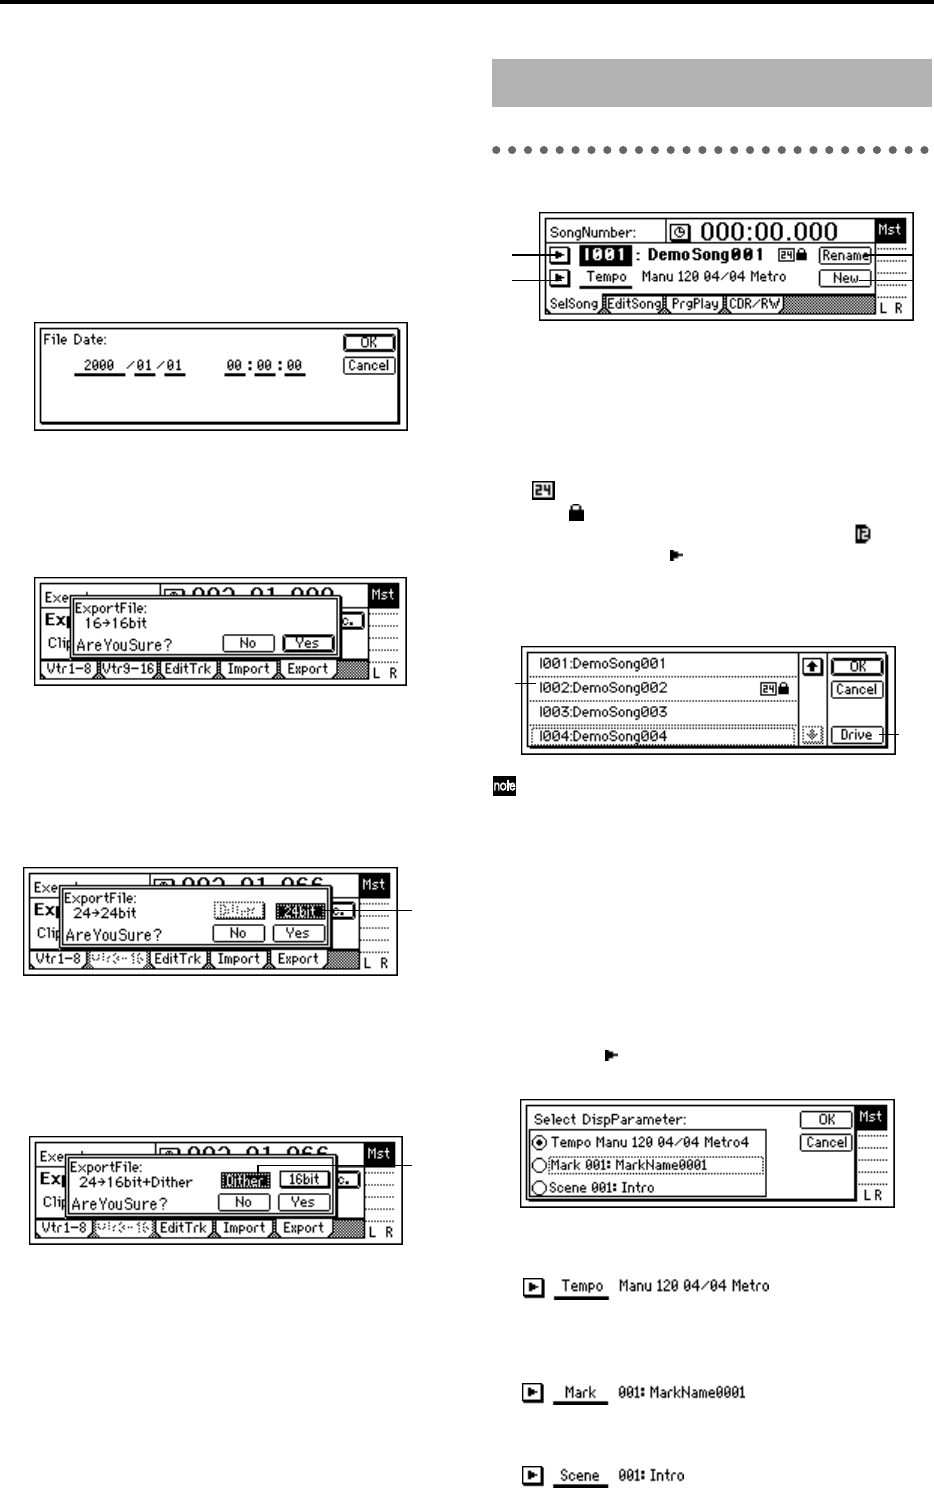
Press the “Rename” button to access the dialog box,
and specify a name for the WAV file. Up to eight
characters can be used for WAV file name.
4. Date .......................................................................
Input the date of the WAV file being exported. Press
the “Date” button to access the dialog box, and
specify the date and time at which the WAV file was
created. Directly press the date or time field that
you wish to change, and use the [VALUE] dial to
modify the value.
Press the “OK” button to finalize the setting. Alter-
natively, press the “Cancel” button to cancel any
changes you made.
5. Exec. (Execute)........................................................
Execute the WAV file export.
5a. Export Size ....................................[16bit, 24bit]
This can be selected only if the clipboard contains
24 bit data.
Specify whether the 24 bit data copied to the clip-
board will be exported as a 16 bit WAV file or as a 24
bit WAV file.
5b. Dither SW.......................................... [ON, OFF]
This can be selected only for 24 → 16 bit.
Specify whether dithering will be performed when
the 24 bit data copied to the clipboard is exported as
a 16 bit WAV file.
ON: Dithering will be performed in order to make
quantization noise less obtrusive.
OFF: Dithering will not be performed.
P1 SelSong: Selecting a song
1. SongNumber............................ [I, A…G/001…100]
Select the song.
The display shows the drive, song number, and
song name.
If a 24 bit song is selected, the display will indicate
“ .” If the song is protected, the display will indi-
cate “ ” (→p.60). If a song from a D12 playable
disk is selected, the display will indicate “ .”
You can press the “ ” button and choose from a list.
If you wish to select a different drive, press the
“Drive” button in this list and select the desired
drive.
You can also select songs by holding down the
[STOP] key and pressing the [FF] key or [REW] key.
(→p.22)
1a. Drive....................................................[I, A…G]
Select the drive.
When you press this button, a dialog box will
appear. Select the drive, and press the “OK” button.
(→p.22)
2. Select DispParameter...............[Tempo, Mark, Scene]
Select whether the LCD display will show the cur-
rent tempo, mark, or scene settings.
Press the “ ” button, and you will be able to select
from a list.
Tempo: The display will show the tempo source,
tempo, time signature, and rhythm of the song.
Mark: The display will show the number and name
of the mark at or immediately before the current
location in the song.
Scene: The display will show the number and name
of the scene for the current location in the song.
5a
5b
5. SONG
13
4
2
1
1a


