28
3. Playback while recording addi-
tion tracks: Overdubbing
The process of listening to previously-recorded tracks
while you record additional tracks is called overdub-
bing. For example, this can be used to record a solo
while you listen to previously-recorded backing tracks.
1 Select the playback tracks.
Press the [TRACK STATUS] keys of the tracks that
you wish to play back, to set them to PLAY mode
(LED lit green).
2 Select the recording track.
Press the [TRACK STATUS] key of the track that
you wish to record, to set it to REC mode (LED
blinking red).
3 Lower the faders of tracks you are not using.
Press the [TRACK STATUS] key of the tracks that
are not being recorded or played, to set them to
MUTE (LED dark). This will silence the tracks that
are not being recorded or played.
4 Adjust the recording level of the input device,
and record.
Refer to “1. Analog inputs” and “1. Adjust the
recording level, and record” (→p.23, 27)
In the [RECORD] “RecMode” tab page, set “Select
Rec Mode” to “Input.”
4. Re-record part of a perfor-
mance: Punch-in/out
If you make a mistake during part of your recorded
performance, or are not completely satisfied with your
performance, you can re-record just the unsatisfactory
portion without having to record from the beginning of
the song.
“Punch-in” is when you switch the song from playback
to record, and “punch-out” is when you switch the
song from record back into playback.
Manual punch-in/out
Manual punch-in/out is when you manually switch
between punch-in and punch-out.
On the D1600, manual punch-in/out can be performed
by pressing the [REC] key or a PS-1 foot switch (sepa-
rately sold option) during playback to begin recording,
and pressing the [REC] key, [PLAY] key, or foot switch
to end recording.
1 Connect the input device, and adjust the record-
ing level.
Refer to “1. Analog inputs” and “1. Adjust the
recording level, and record” (→p.23, 27).
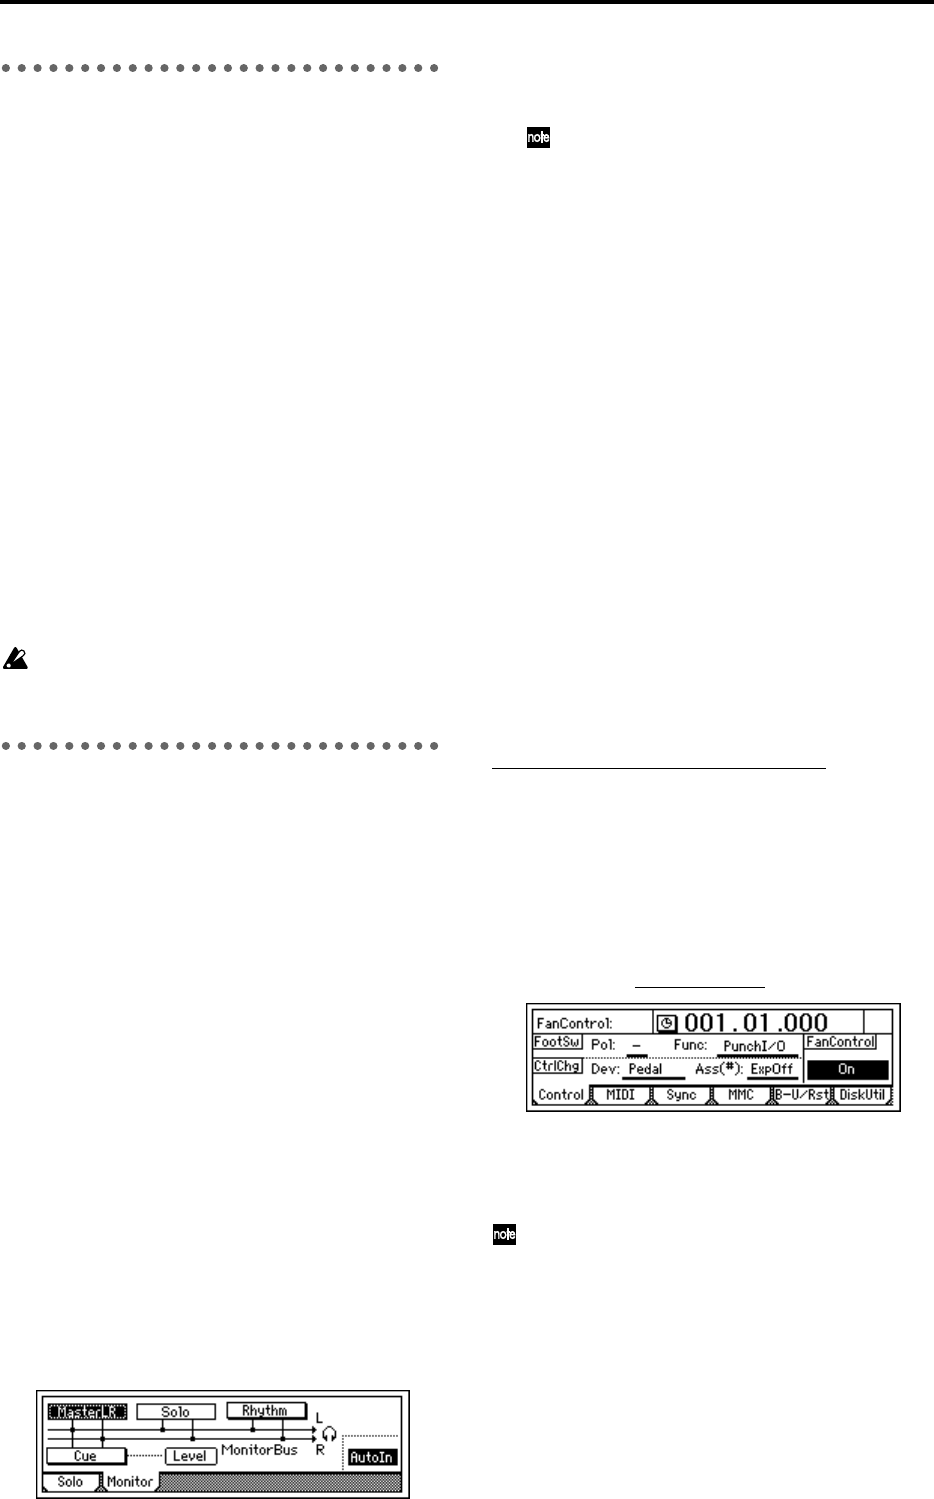
2 Make monitor output settings.
• Access the [SOLO/MONITOR] “Monitor” tab
page.
• Select the signal that you wish to monitor.
(→p.110)
• Turn the “AutoIn” button “On.” (→p.110)
If the “AutoIn” button is “Off”, you will
always hear the input signal that is assigned to
the recording track. If it is “On”, the sound
recorded on that track will be heard during
playback, and the assigned input signal will
automatically be heard during recording.
3 Move the current time to a location earlier than
the point where you wish to begin re-recording.
(→p.35)
4 Press the [PLAY] key to begin playback.
The song will play back, and you will hear the
sound of the playback tracks and the track selected
for recording.
5 At the point where you wish to begin re-record-
ing, press the [REC] key.
Recording will begin (manual punch-in), and you
will begin hearing the external input signal.
6 At the point where you wish to stop re-recording,
press the [REC] key or [PLAY] key.
Recording will stop, and the track will switch back
to playback (manual punch-out). You will begin
hearing the track playback.
7 Press the [STOP] key to stop.
After recording, move the current time to a point
earlier than where you began recording, and check
that the recording was satisfactory.
Manual punch-in/out using a foot switch
You can switch between playback and recording by
pressing a PS-1 foot switch (separately sold option).
This allows you to switch between playback and
recording while you are performing on an instrument,
or when you are at a distance from the D1600.
1 Connect a foot switch to the [FOOT SW] jack.
2 Access the [SYSTEM] “Control” tab page.
3 Specify the function of the foot switch.
Select “Func (FootSwFunction
)” to “PunchI/O.”
4 In “Manual punch-in/out” steps 5 and 6, per-
form manual punch-in/out by pressing the foot
switch instead of the [REC] key (you may use
either).
You can also use the foot switch to record from the
beginning of the song.
• Set the “Func” parameter of step 3 to “Play/
Stop.”
• Press the [REC] key at the beginning of the song
(LED will blink), and press the foot switch to
start recording.


