


37
Step 7. Using the mixer
Here you can adjust various mixer settings such as, vol-
ume, tone, pan, recording and playback, to create the
most desirable levels for your song.
For details on adjusting the effects, refer to p.43
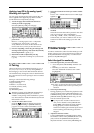
1. Adjusting the volume
The input or recording/playback volume is adjusted by
the [CHANNEL] faders. Raise or lower the faders to
adjust the volume. (→p.112)
The volume can be adjusted from silence (–∞) to unity
gain (0 dB) to +12 dB gain.
Normally, you should set the faders at unity gain
(the position where the input signal is output at the
same volume) and then lower the faders for any
channels that are too loud, rather than raising the
faders of channels that are too soft. This will reduce
the possibility of clipping at the final stage, and is
the most effective way to mix.
• When Pairing is on, use the odd-numbered channel
fader to make adjustments. (→p.38)
• Volume settings can be registered in a scene. (→p.39)
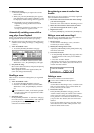
2. Adjusting the stereo position
Rotate the [PAN] knob to adjust the stereo position of
each channel.
Channel 1–16 [PAN] knobs
Rotating the knob toward the L position will place the
sound toward the left, and rotating it toward the R
position will place the sound toward the right.
Normally, vocals and bass are located in the center,
guitar at the left or right, and piano at the opposite
side from guitar.
• When Pairing is on, use the odd-numbered channel
knob to make adjustments. (→p.38)
• These settings can be registered in a scene. (→p.39)
If the pan is paired (=Balance) for channels 1/2–
15/16, set the odd-numbered [PAN] of the paired
channels to the center when you wish to input to
tracks 1/2–15/16 and record in stereo.
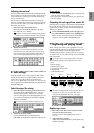
3. Using EQ to adjust the tone
The tone of each channel can be adjusted by a three-
band equalizer (EQ).
• To adjust the input sound (analog), use the Input EQ
([INPUT] “InEq1–4,” “InEq5–8” tab pages).
This will affect the sound that is recorded.
• To adjust the track playback sound, use the EQ
([EQ/PHASE] “Eq1–4,” “Eq5–8,” “Eq9–12,” “Eq13–
16” tab pages).
EQ can be used to cut a frequency range in which
unwanted noise (hiss) is heard, or to boost/cut the
low or high range to correct the tone.
Normally, you should make EQ settings so that the
audio is heard more clearly.
If you use EQ excessively by boosting the EQ gain
of a channel to the maximum setting, the overall
mix will become unbalanced. EQ can be used in the
“cut” (Minus) direction as well.
Applying EQ to the track playback
• When Pairing is on, use the odd-numbered channel
“Eq” to make adjustments. (→p.38)
• These settings can be registered in a scene. (→p.39)
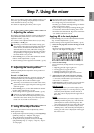
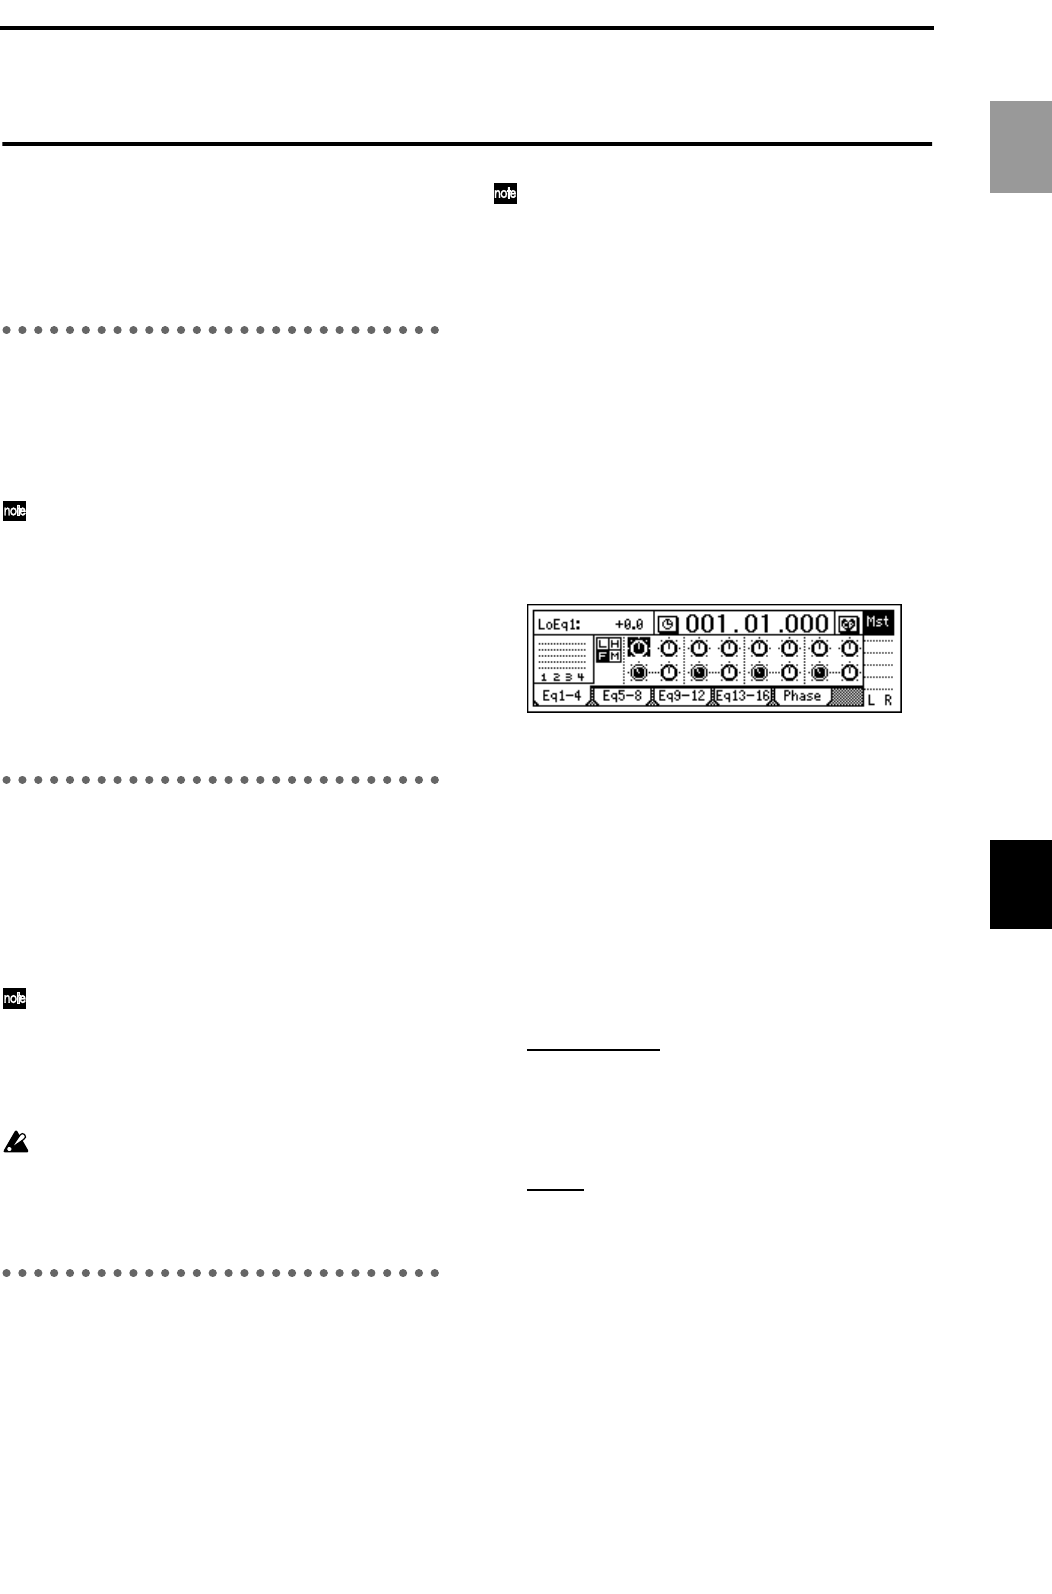
1 Select the tab page that contains the EQ you wish
to adjust.
Select from the [EQ/PHASE] “Eq1–4,” “Eq5–8,”
“Eq9–12” and “Eq13–16” tab pages.
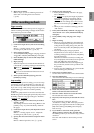
2 Select the desired EQ.
For each channel, the EQ controls are arranged as
follows.
• High EQ gain (H): upper right icon
• Low EQ gain (L): upper left icon
• Mid EQ gain (M): lower right icon
• Mid EQ cutoff frequency (F): lower left icon
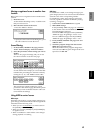
3 Adjust the gain and cutoff frequency settings.
Gain will be cut as you increase the value in the
“–” direction, and boosted as you increase the
value in the “+” direction.
Cutoff frequency will be raised as you increase the
value, and lowered as you decrease the value.
High EQ, Low EG
• For the channel that you wish to adjust, select
“High EQ Gain (H)” or “Low EQ Gain (L),” and
rotate the [VALUE] dial to set the amount of
gain. The value is displayed in the upper left of
the screen.
Mid EQ
• For the channel that you wish to adjust, select
“Mid EQ Cutoff Frequency (F),” and rotate the
[VALUE] dial to set the cutoff frequency. The
value is displayed in the upper left of the screen.
• For the channel that you wish to adjust, select
“Mid EQ Gain,” and rotate the [VALUE] dial to
set the gain. The value is displayed in the upper
left of the screen.
Basic operation
Using the mixer