


92
If you use “4X” to write, you must use a drive
that supports 4X speed writing.
If you press the “Abort” button while writing,
writing will be stopped. However, the disc will
be incomplete.
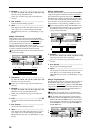
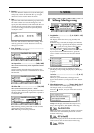
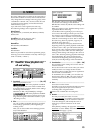
6. CD......................................... [Abs–Song, Abs–Total]
Select the display method for the CD-R/RW play-
back counter.
Abs–Song: Display the elapsed time for a single
song.
Abs–Total: Display the elapsed time for the entire
disc.
7. CD Monitor.............................................................
This specifies whether the CD audio output will be
sent to the monitor bus when an audio CD is placed
in the internal CD-R/RW drive.
On: The sound of an audio CD placed in the inter-
nal CD-R/RW drive will be sent to the monitor bus.
At this time, other audio will not play from the
monitor out.
Off: CD monitoring will be off. The sound of the
internal CD-R/RW will not be sent to the monitor.
If the audio output of the internal CD-R/RW drive
has been assigned to a mixer channel in the
[INPUT] tab page, you can listen to the sound of the
CD even if “CD Monitor” is turned off. In this case,
you will hear the sound that has been routed
through the mixer (with EQ and effects, etc.).
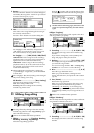
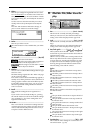
8. CD-R/RW transport keys
Use these keys to play, stop, and select songs on an
audio CD you created.
: If you are in the middle of a song, this key
moves to the beginning of that song. If you are at
the beginning of a song, this key moves to the
beginning of the previous song.
: This key moves to the beginning of the
next song.
: This key alternately starts/stops
playback.
The playback sound will be output from the audio
outputs of the CD-R/RW drive.
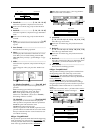
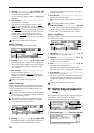
You can store a time location for a registration to a
locate, scene, or mark.
When you press the [STORE] key the location is put
into a memory buffer, and can be registered by pressing
one of the registration destination keys: (IN/LOC1,
OUT/LOC2, TO/LOC3, or END/LOC4). If you press
the [STORE] key once again instead of pressing a regis-
tration destination key, the store operation will be can-
celled. For details on these functions and on the
registration procedure, refer to Locate (→p.35), Scene
(→p.39), and Mark (→p.36).
You can register a specific time location in a Mark, and
then jump instantly to that location when desired. Since
you can assign a name to each mark, you can use them
to indicate sections within your song. (→p.36)
A maximum of 100 marks can be registered in each
song.
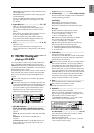
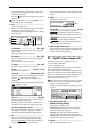
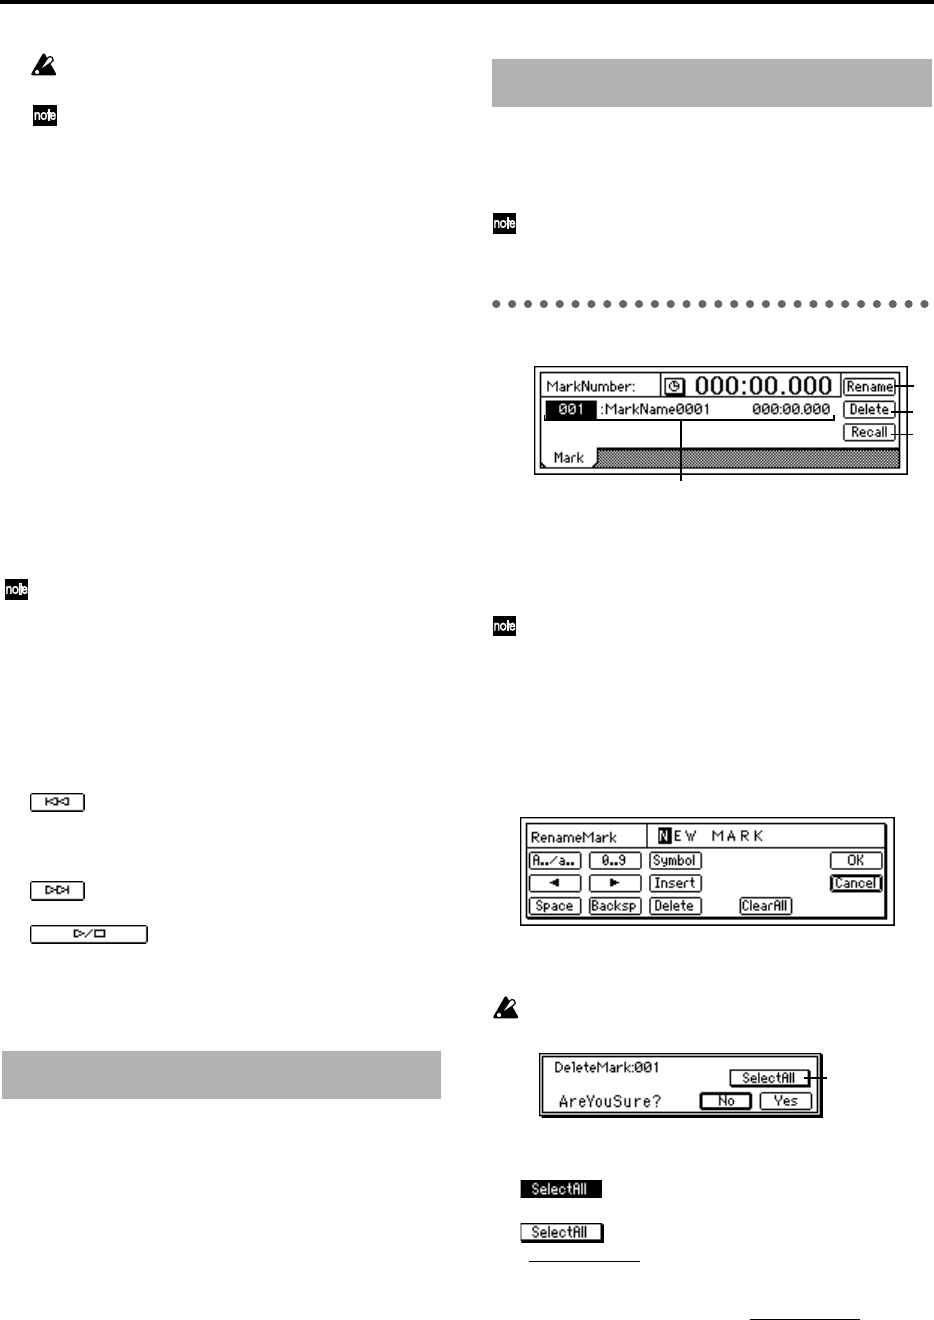
P1 Mark: Editing marks
1. MarkNumber .........................................[001…100]
Select the mark number. Beside the mark number,
the display shows the name of the mark, and the
registered time location.
Mark numbers are updated in order of their time
location.
2. Rename ..................................................................
Modify the name of the mark.
Select the mark whose name you wish to modify,
press the “Rename” button to access the dialog box,
and modify the name. You can input a name of up
to sixteen characters. (→p.21)
3. Delete.....................................................................
Delete a mark.
The Undo function is not available after deleting a
mark.
3a. SelectAll...............................................[On, Off]
Select all marks for deletion.
On: All marks will be subject to deletion.
The mark number will be displayed as “***.”
Off: The single mark selected by
“MarkNumber
” will be selected for deletion.
4. Recall......................................................................
Recall the mark selected by “MarkNumber
,” and
move the current time to that location.
6. STORE
7. MARK
2
3
4
1
3a