English
9
LOGGING IN/LOGGING OFF/DISPLAY LANGUAGE SETTING
■ Logging In
1
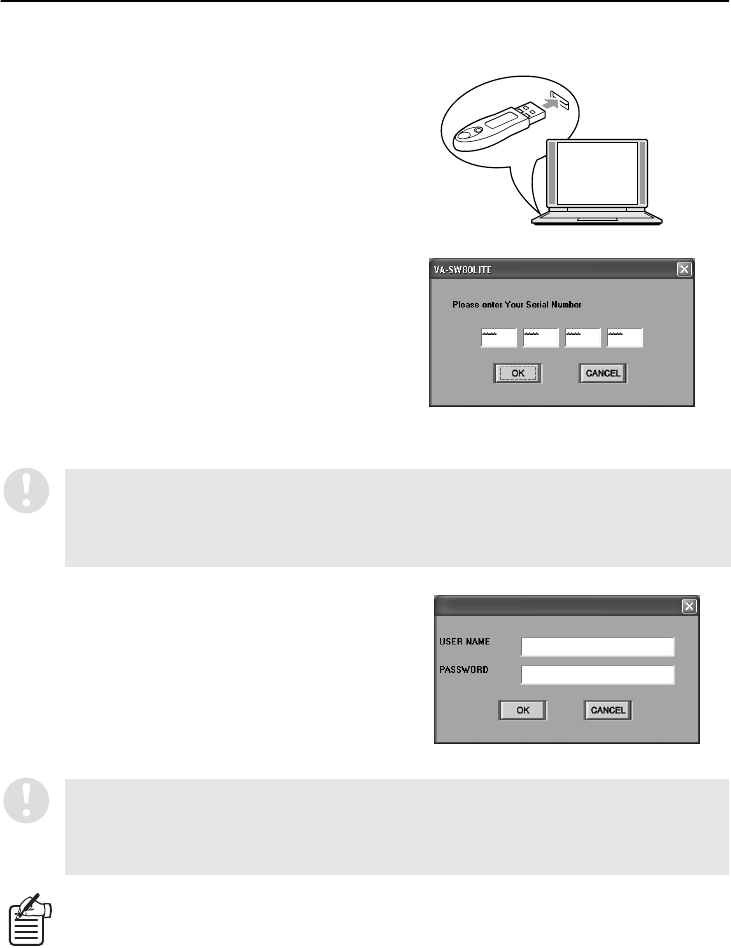
Hardware key installation
Insert the accessory hardware key into the USB
port of the computer.
If the hardware key is not installed, the software
will operate as the Lite version, and some
functions will be disabled. (P.8, 11)
2
Serial No. input (VA-SW80LITE)
When the software is run for the first time after
installation, the serial number input dialog box will
be displayed. Type in the specified serial number.
If the hardware key is installed, the serial number
dialog box will not be displayed again the next
time the software is run.
However, the serial number must be typed in at
the following times.
•
When the hardware key is not installed
•
When running VA-SW80LITE (limited function
version)
3
Authentication check
When the software is run, the window for entering
the user name and the password will be displayed.
When logging in, type your user name into the
“USER NAME” box and type the password for
verification into the “PASSWORD” box. Then click
[OK] or press the [ENTER] key. (Refer to
username and password on page 8.)
If the number entered does not satisfy the checksum conditions, the input dialog box will be
displayed again. If an incorrect serial number is typed in three times in succession,
“AUTHENTICATION ERROR” will be displayed and the only available operation will be to exit (log
off).
The serial No. is listed on the label that is affixed to the pocket of the VA-SW80LITE CD-ROM disk.
If the password typed in is incorrect, the window for entering the user name and the password will
be displayed again and you will need to type the password in once more. In addition, if you click a
button to use an operation that is not permitted by the user level that you have logged in at, the
window for entering the user name and the password will be displayed again and you will be
required to type in the user name and password corresponding to the user level for that operation.
After the software has been started, you can change the password in the “SETUP”
window. (P.19)
