30
English
MENU SETTINGS (MENU WINDOW) (User Level: ID4)
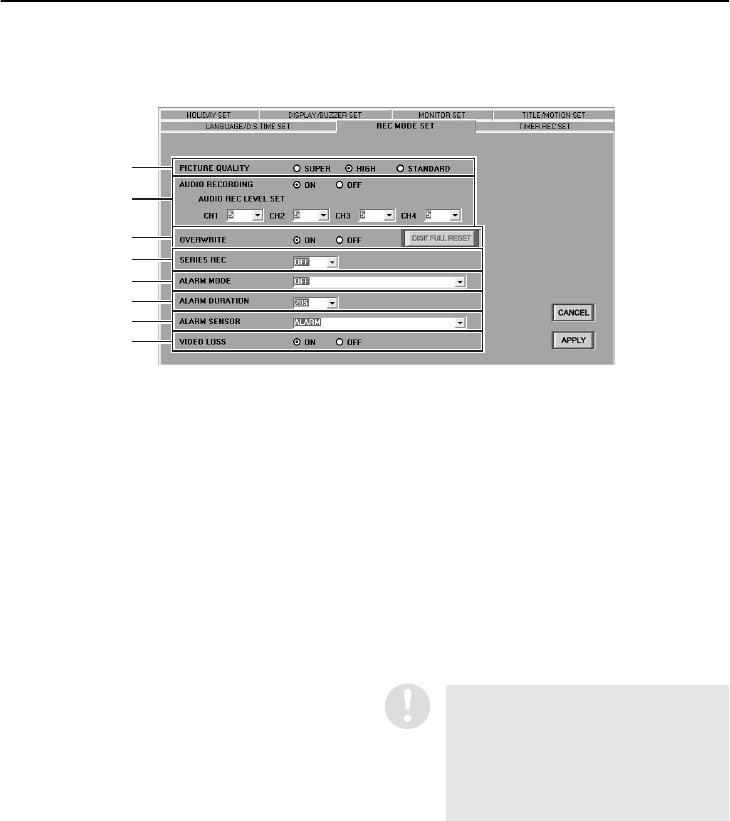
■ REC MODE SET tab
Click on the DVR to be set in the “TARGET” window to select it. The display color for the selected DVR
will change to blue.
1
PICTURE QUALITY (Default setting: HIGH)
This sets the quality of the images that are
recorded by the DVR. The higher the quality
of the images, the shorter is the possible
recording time capacity. Select the desired
quality and then click [APPLY].
Available settings:
•
SUPER: Super-high quality (84 recording
hours or more)
•
HIGH: High quality (168 recording hours or
more)
•
STANDARD: Standard quality
(336 recording hours or more)
The possible recording times are for
reference only, and are based on a 120 GB
hard disk.
2
AUDIO RECORDING (Default setting: ON)
This sets whether audio is to be recorded at
the same time as images (when alarm
recording is not in progress). Select “ON” or
“OFF” and then click [APPLY].
Available settings:
•
ON: Audio signals are also recorded.
•
OFF: Audio signals are not recorded.
If [AUDIO RECORDING] has been set to
[ON], set [AUDIO RECORDING LEVEL] for
each channel.
Available settings: 1–10 (Default setting: 5)
1
2
3
4
5
6
7
8
If the computer does not have a sound
card installed (or if the sound card is
disabled), it will not be possible to
monitor DVR images which have
[AUDIO RECORDING] set to [ON] or to
play back the audio portions of
recordings.
