


18
Chapter 1: Getting Started
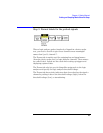
Probing and Sampling Mode Selection Steps
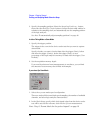
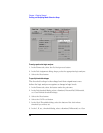
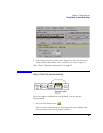
3. Specify the sampling position. Select the Sampling Positions... button,
then select the Run Eye Finder button to locate the data valid window in
relation to the sampling clock, and automatically set the sampling position
of the logic analyzer.
See Also “To automatically adjust sampling positions” on page 49
In either Timing Mode or State Mode
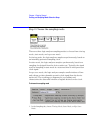
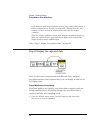
1. Specify the trigger position.
The trigger is the event in the device under test that you want to capture
data around.
Specify whether you want to look at data after the trigger (Start), before
and after the trigger (Center), before the trigger (End), or use a
percentage of the logic analyzer's memory for data after the trigger (User
Defined).
2. Set the acquisition memory depth.
If you need less data and want measurements to run faster, you can limit
the amount of trace memory that is filled with samples.
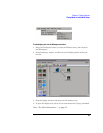
If you chose Eye Scan Mode
1. Select the eye scan mode speed configuration.
There are trade-offs between high-speed sampling, the number of available
channels, and other logic analyzer characteristics.
2. In the Clock Setup, specify which clock signal edges from the device under
test will be used as the reference clock for the eye scan measurement.
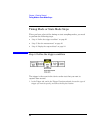
Next: “Step 3. Format labels for the probed signals” on page 19