


Clarity Visual Systems
September 1999
32
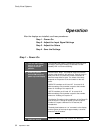
Operation
After the displays are installed, use these procedures:
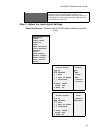
Step 1 - Power-On
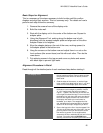
Step 2 - Adjust the Input Signal Settings
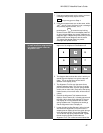
Step 3 - Adjust the Colors
Step 4 - Save the Settings
Step 1 – Power-On
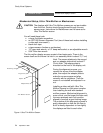
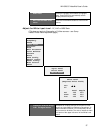
1. Turn the main power
switch on the power
supply to the ON
position
The Standby LED flashes, indicating the power up cycle
has begun. Wait approximately 30 seconds until the
Standby LED is on and not flashing.
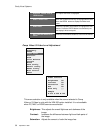
2. Press the remote
control ON button to
power up each Display
You will hear a ‘beep.” The lamp will come on, but it will
require a few minutes to fully warm up. There is a built-in
delay from when you press the remote’s ON button to
when the lamp starts to ignite. The extent of the delay
depends on the position of the Unit switch on the rear
panel.
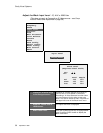
GROUP ID numbers are 0-9 and A-F for a total of 16
different settings. Each number is equal to that number
times 16. A setting of 3 is equal to 48.
UNIT ID numbers are 0-9 and A-F for a total of 16
different settings. Each number is equal to that number
times one. A setting of C equals 12.
The Monitor ID number is the combination of the Group ID
plus the Unit ID. A Group ID number of 2 and a Unit ID
number of 5 equals a Monitor ID of 37 decimal, 25
hexadecimal.
The delay time between an “on” command to the display
and the ignition of the lamp is approximately 1 seconds
times the Unit ID
number.
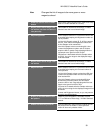
3. Check for normal
Observe the LED on the rear of each unit. When the