WN-5230-S VideoWall User’s Guide
67
panels or the front screen removed from the unit, except when required
for servicing. Operating the display with access panels or the front
screen removed can expose service or operating personnel to
ultraviolet burns and high electrical voltages. Always wear ultraviolet-
blocking eyewear with side guards when servicing the display.
For Standard Screens, removing the screen provides service access to
other replaceable modules from the front of the display. Service access
for units with Ultra-Thin Mullion Screens is from the rear only.
Lamp Replacement, Front, Standard Mullion Screens
CAUTION For the standard screens, with the wider mullion, the screen
may be removed by hand from stand-alone displays without
damaging the screen. Where screen edges are adjacent to
each other in a video wall, removing the screen without
a
screen removal tool may damage the female part of the screen
latch. In video wall configurations, use the SRT-100 Screen
Removal Tool (see instructions below and Options on page 2)
to prevent damage to the screen.
Follow these steps to remove the standard, wider mullion screen and
replace the lamp, if the display unit is not built into a video wall. Read all
the steps before starting.
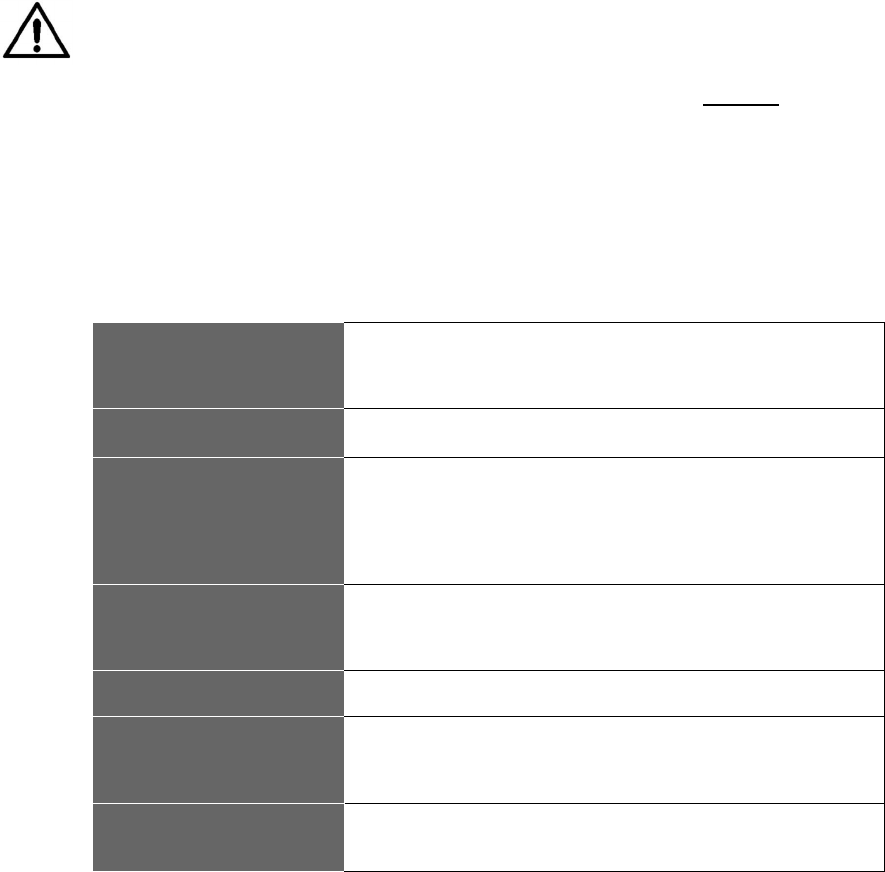
1. Turn off the power
Switch off the WN-5230-S using the remote and allow the
cooling cycle to complete (30 seconds) before switching off the
AC power at the rear-panel switch.
2. Unplug power cord
Important
: Remove the AC power cord from the display.
3. Grasp the screen on
each side at the
bottom
The “screen” you are removing is 5 inches thick. Pull out at the
bottom first, to separate the latch-hooks from the latches. It
comes out with a “pop.” The screen should now be loose at the
bottom, but still attached at the top. If the display unit is part of a
video wall, see Note below about screen removal tool.
4. Slip fingers between
the screen frame
Slip fingers between the screen frame and the display chassis,
as close to the top latches as possible and pull the top of the
screen from the latches.
5. Using both hands…
Carefully remove the screen and set it aside.
6. Open the projector
compartment hood
There are two spring latches on the projector compartment
hood. Pull these latches towards each other and pull the hood
towards the front of the display to open it.
7. Remove the lamp
access door
On the left side of the optical engine is the lamp access door.
Pinch the latch to open and remove the door.


