Configuration
92
Setting Up the Callback Center to Contact a Computer
From the Main menu, select Network, then highlight Callback Center and press .
The Callback Center (LAN) setup screen appears because you selected LAN as the
network connection type in the Network Setup screen (see Setting the Connection Type
on page 83).
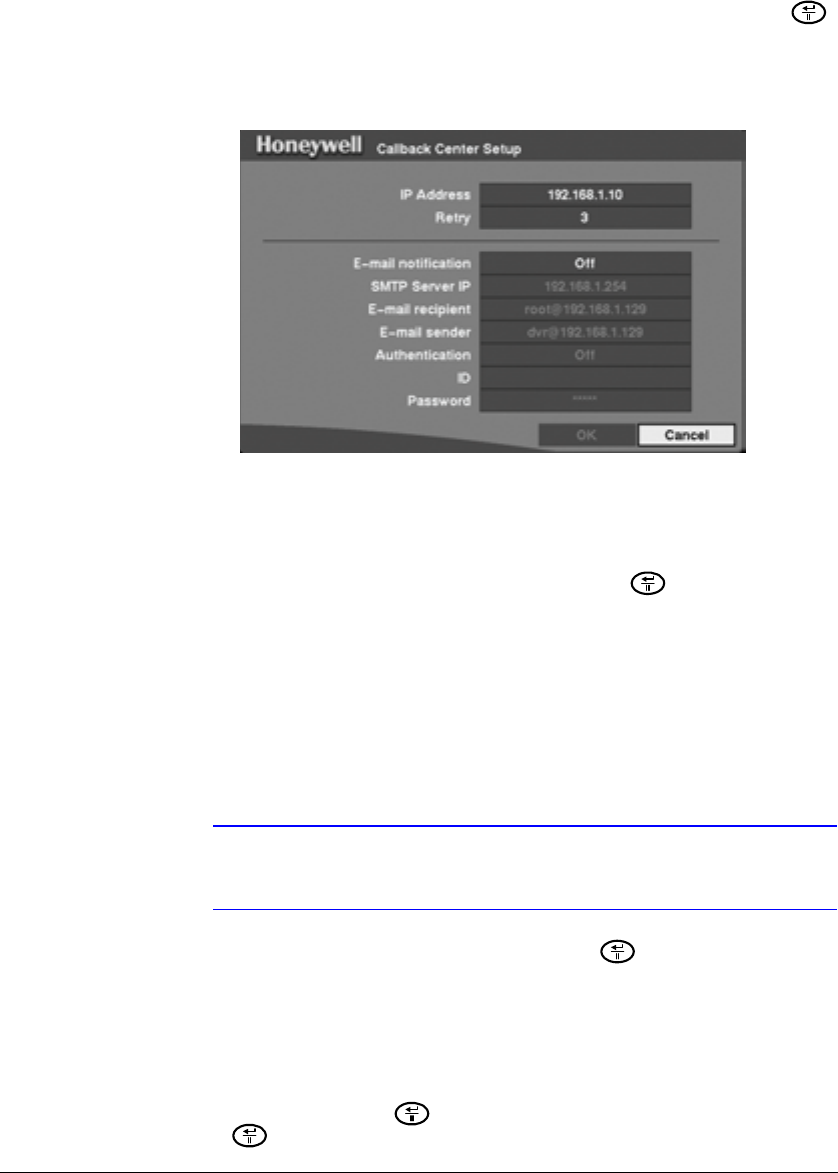
Figure 3-57 Callback Center (LAN) Setup Screen
1. Highlight the field beside IP Address and enter the IP address of the computer
you want contacted during an event.
2. Highlight the field beside Retry and enter the number of times you would like the
DVR to try contacting the computer. You can select from 1 to 10 retries.
3. Highlight the field beside E-mail notification and press to toggle between
On and Off. When On, the entire Callback Center Setup screen becomes active.
4. Highlight the field beside SMTP Server IP and enter the SMTP server IP address
obtained from your system administrator.
5. Highlight the field beside E-mail recipient and use the virtual keyboard to enter
the recipient's e-mail address.
6. Highlight the field beside E-mail sender and use the virtual keyboard to enter the
sender's e-mail address.
Note The e-mail address must include the “at” character (@) to be a
valid address.
7. Highlight the field beside Authentication and press to toggle between On
and Off. When turned On, the Password field becomes active.
8. Highlight the field beside ID and enter the SMTP ID. A virtual keyboard appears
with which you can enter the ID.
9. Highlight the field beside Password and enter the SMTP password. A virtual
keyboard appears with which you can enter the password.
10. Select OK and then press to save your settings. Select Cancel and then
press to close without saving your settings.


