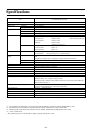
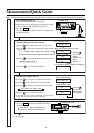
17
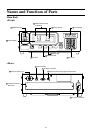
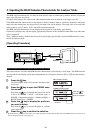
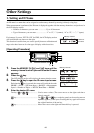
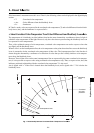
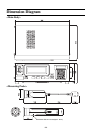
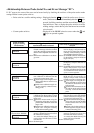
Installation/Connection
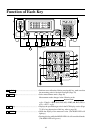
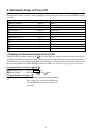
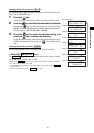
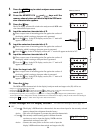
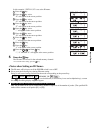
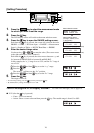
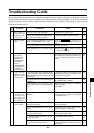
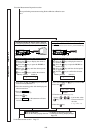
5 REMOTE key ....................................... • Sets the instrument in remote mode (i.e. communication with the
PC is possible via RS-232C or USB).
(The REMOTE LED will light up. See page 86.)
•Pressing this key while the REMOTE key is lit will cancel remote
mode. (The REMOTE LED will go out.)
(Note) Remote mode should not be activated unless you are going to communi-
cate with the PC.
Otherwise, the other keys will be inoperative.
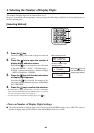
6 MEMORY CH key ........................ • Used to select a memory channel (CH00 to 99).
key Pressing the key will switch memory channel in the order
“00→01→02
…
98→99→00
…
”.
Pressing the
key will switch memory channel in the order
“00→99→98
…
01→00→99
…
”.
The memory channel switches from one to another each time the
key is pressed, and switches continuously if the key is left held
down.
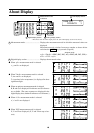
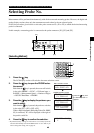
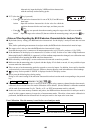
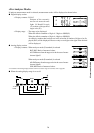
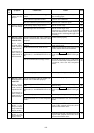
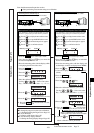
<Keys on Key Panel>
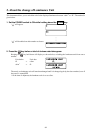
1 Number-key ( ~ , ).................. • Used to enter calibration data for user calibration (page 50), target
color (page 61), ID name (page 66) and analog display range (page
68).
2 ALPHA key ( ) ................................... • Used to enter alphabets. This key enables you to use the number-
key as alphabet keys. Pressing this key again will restore the origi-
nal function of the ten-key.
3 Alphabet keys ( ~ , ) ................ • Used to enter alphabets for the ID name.
4 MENU key ( )..................................... • Switches the LCD display section to the menu selection screen.
Pressing this key again will restore the original function of the LCD
display section.
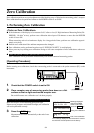
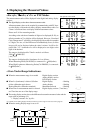
5 CAL key ( ) ........................................ Normal Screen
• When CH00 is selected as the memory channel
You can enter a value for the target color. (Page 64)
•When thememory channel other than CH00 is selected as the memory
channel
You can set CA-100 for input of WRGBdata for user calibration.
(Page 50)
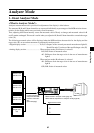
• When an analyzer measurement mode is selected
You can set CA-100 for input of RGB emission characteristic and
target color (W). (Page 58)
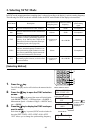
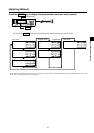
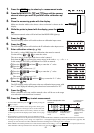
Menu Selection Screen
•Pressing the
key in the menu selection screen causes the screen
to switch as follows.
PROBE selection → SYNC selection → ID Name input → RANGE
setting → Measurement Speed selection → Number of Digits set-
ting → RS232C Baud Rate selection → PROBE selection