124 English
GENERAL SET3
INTRODUCTION SETTINGS NETWORK
CONTROL
NETWORK
OPERATION
NETWORK
SETTINGS
OTHEROPERATION
When mirroring is set to “ON” and a recording error occurs,
change the hard disk used for playback.
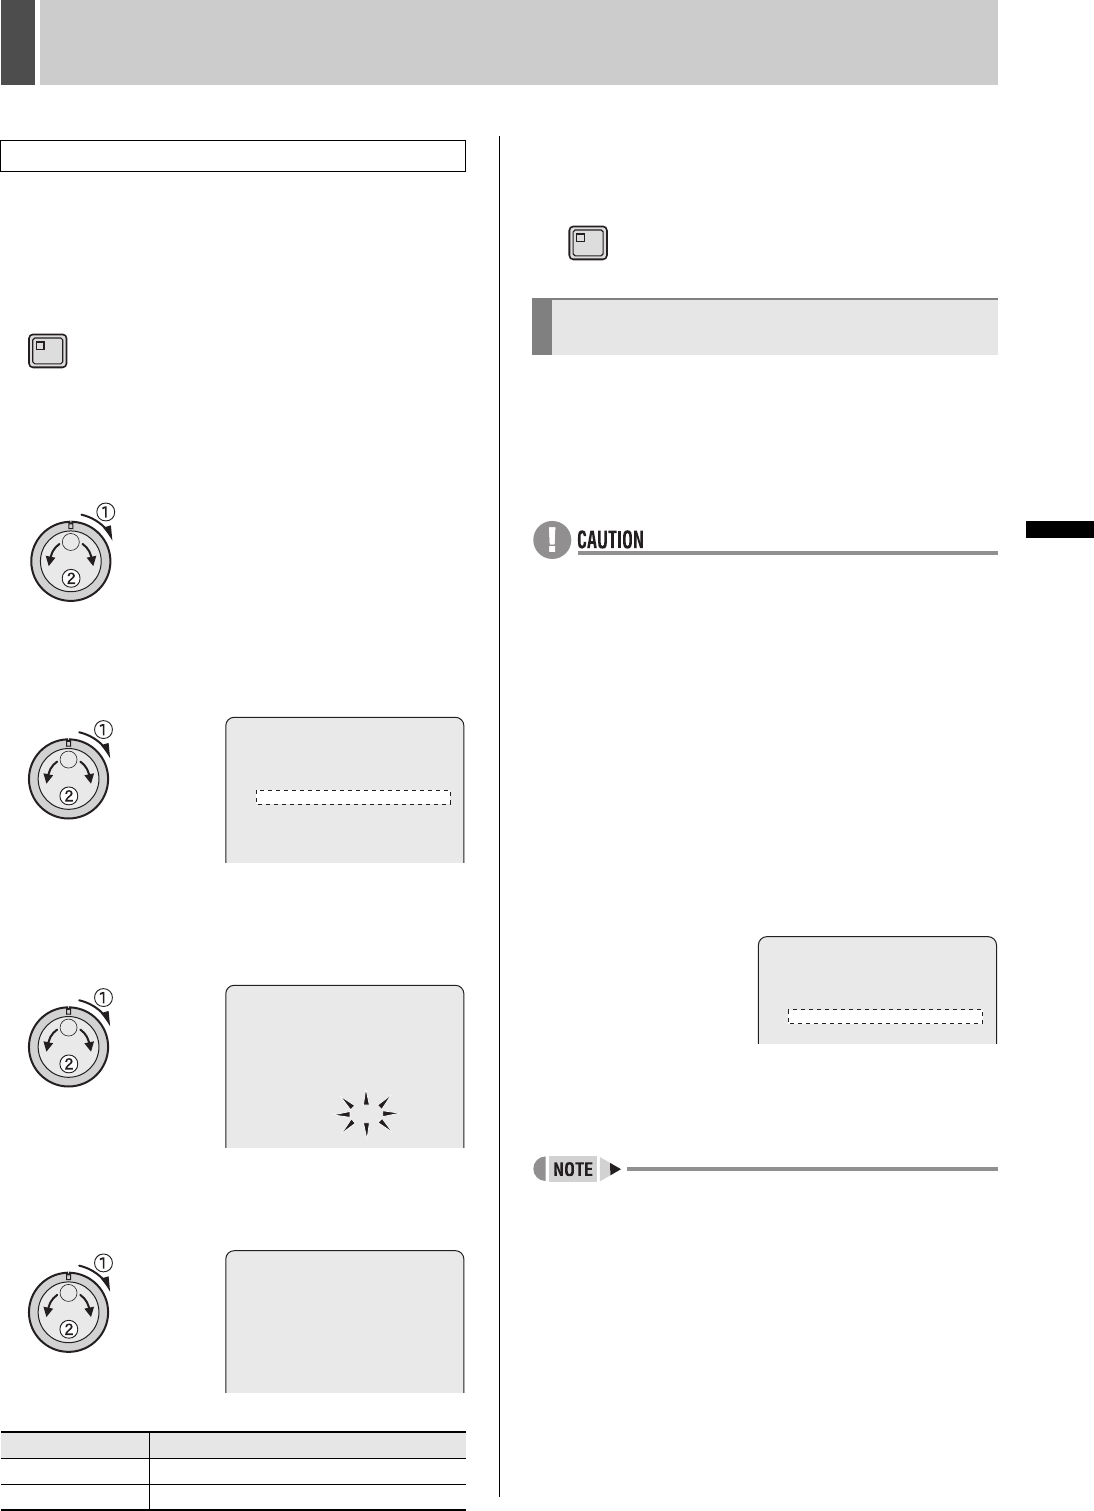
1 Press the [MENU] button.
The MENU indicator lights up and the <MAIN MENU> is
displayed.
2 Turn the jog dial to select “3.GENERAL
SET” and then turn the shuttle dial
clockwise.
The <GENERAL SET> screen is displayed.
3 Turn the jog dial to select “5.HDD SET”
and then turn the shuttle dial clockwise.
The <HDD SET> screen is displayed.
4 Turn the jog dial to select “PLAYBACK
DRIVE” and then turn the shuttle dial
clockwise.
“MASTER” flashes.
5 Turn the jog dial to select “MASTER” or
“SLAVE” and then turn the shuttle dial
clockwise.
[Settings] ( indicates default setting)
6 Press the [EXIT/OSD] button.
The setting is completed and the display returns to the normal
screen.
Please contact the dealer from whom you purchased this
digital video recorder regarding hard disk expansion
(replacement). An optional S-ATA board and an external hard
disk drive expansion unit (VA-EXH series), or optional SCSI
board and RAID unit can be used with this digital video
recorder. All of these optional components are sold
separately.
z Initialization must always be performed after expanding the
hard disk.
z
All important recordings should be copied to USB memory or
other storage media before expanding the hard disk.
z
When connecting an expansion unit to the DVR, install two
internal hard disks to the DVR. If internal hard disks are
installed after the expansion unit is connected, all hard disks
must be initialized.
z
The expansion unit is not interchangeable on a single DVR
unit.
z When turning on the system in connection to an external
expansion unit, first turn power on to the external unit, and
then to the digital video recorder. When turning off the
system, first turn power off to the digital video recorder,
and then to the external unit.
The <HDD SET> screen is displayed in the following manner
when hard disk expansion is carried out for the DVR or
external expansion unit.
To initialize a recently expanded hard disk, select “NEW DISK
INITIALIZE”.
To initialize all connected hard disks, select “ALL DISK
INITIALIZE”.
z When a RAID unit is connected, “ARRAY” is displayed
instead of “EX-DISK”.
z When a RAID unit is connected, recording and playback
cannot be carried out on the internal hard disk of the DVR.
z The digital video recorder does not support the disk space
change of the RAID unit currently used for recording. When
you change disk space, you must separate ARRAY before
you start the reconfiguration of the system, regardless of
the functions of the RAID unit. Then reboot the digital video
recorder and initialize ARRAY.
Switching playback disks
Setting Description
MASTER
Playback from the master disk.
SLAVE
Playback from the slave disk.
MENU
<HDD SET>
DISK 1 : 250GB <- DISK 2 : 250GB
EX-DISK 1 : 250GB <- EX-DISK 2 : 250GB
EX-DISK 3 : 250GB <- EX-DISK 4 : 250GB
DISK INITIALIZE ->
CAUTION : ALL RECORDING WILL BE ERASED!
MIRRORING : ON
PLAYBACK DRIVE : ***
<HDD SET>
DISK 1 : 250GB <- DISK 2 : 250GB
EX-DISK 1 : 250GB <- EX-DISK 2 : 250GB
EX-DISK 3 : 250GB <- EX-DISK 4 : 250GB
DISK INITIALIZE ->
CAUTION : ALL RECORDING WILL BE ERASED!
MIRRORING : ON
PLAYBACK DRIVE : MASTER
<HDD SET>
DISK 1 : 250GB <- DISK 2 : 250GB
EX-DISK 1 : 250GB <- EX-DISK 2 : 250GB
EX-DISK 3 : 250GB <- EX-DISK 4 : 250GB
DISK INITIALIZE ->
CAUTION : ALL RECORDING WILL BE ERASED!
MIRRORING : ON
PLAYBACK DRIVE : MASTER
Expanding (Replacing) and
initializing the hard disk
EXIT/OSD
<HDD SET>
DISK 1 : 160GB NEW DISK 2 : 160GB NEW
EX-DISK 1 : 160GB NEW EX-DISK 2 : 160GB NEW
EX-DISK 3 : 160GB NEW EX-DISK 4 : 160GB NEW
NEW DISK INITIALIZE ->
PLEASE INITIALIZE THE NEW DISK
“NEW” is displayed to
the right of the hard
disk capacity for new
hard disks.


