


D-160 Owner's manual (SETUP mode)
142
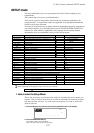
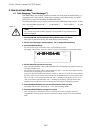
44.1kHz
SETUP
91011121314151687654321
42
OL
0
30
24
18
12
9
6
3
∞
_
2. How to set each Mode
2-1. Track Swapping ("Track Exchange?")
This mode allows you to swap a mono track with one of the other recorded tracks, e.g.
swapping track 1 with track16. Mono track swapping can be done on any two tracks
from track 1 to track 24 including the additional tracks.
The mode also allows you to swap 8 real tracks with 8 additional tracks at once. In this
case, you can either swap tracks 1 ~ 8 with tracks 17 ~ 24 or tracks 9 ~ 16 with
tracks 17 ~ 24.
<Note>
You can only swap tracks within a program. It is not possible to swap tracks between
different programs.
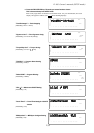
1. Press the DISP SEL key and choose the flashing SETUP mode on the display.
Then, press the EXECUTE/YES key. The SETUP display will stop flashing.
2. Choose "Track Exchange?" with the JOG dial. The "?" display will start flashing.
3. Press the EXECUTE/YES key.
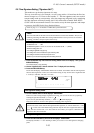
You have arrived at the second step of the "Track Exchange?" menu.
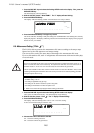
The display will now show "Trk=01<->Trk=01" in the current program as in the figure below.
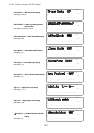
4. Use the JOG dial to enter the track you want.
Then, use either the HOLD/> key or SHUTTLE dial to move the flashing track number so that you
can choose another track.
For example, If you choose "02" on the left hand side "Trk=**" and "08" on the right hand side,
it means you are swapping Track 2 with Track 8.
Even if you chose the numbers the other way round, i.e. Trk=08<->Trk=02, the result would be
the same. In the case you want to swap 8 tracks with the additional tracks, you can choose either
Trk=1-8<->Trk=17-24 with the left hand side "Trk=**" flashing on the display or Trk=17-24<-
>Trk=9-16 with the right hand side "Trk=**" flashing on the display. because these 8 track
settings are situated between Track 24 and Track 01, find them by rotating the JOG dial.
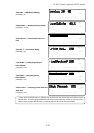
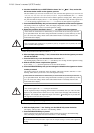
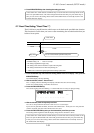
5. Press the EXECUTE/YES key after you have chosen the two tracks you want.
The display will now show "Exchange 02 <-> 08" and be flashing "SURE?".
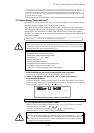
6. Press the EXECUTE/YES key once again to proceed.
After swapping the recorded data on track 2 with one on track 8, the display will show
"COMPLETED!". Then go back to the normal time base display as before you entered SETUP
mode.