


D-160 Owner's manual (SETUP mode)
154
2-12. Slave Mode Setting (“Slave Mode”)
This mode allows you to choose the D-160 slave mode setting either ON or OFF.
If you set the mode to ON, the D-160 will synchronize to the incoming MTC(MIDI time
code)from master unit. It will also synchronize to a type of external sync signal which
you have chosen with the section “2-14. Sync Signal Setting”.
You can make up a multi track recording system using Fostex D-90, D-80 (Ver 2), DMT-8
(Ver 2) or DMT-8VL, and also with some sequencer software.
* See Page "117" for MIDI synchronization for more details.
* Initial setting : Off
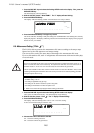
* Available setting : On, Off
* This setting is applicable song by song.
* This setting can be saved or loaded as a part of the song data.
* The setting is memorized even when the power is off.
*
Make sure to choose the right program before setting up this mode.
*
Make sure you choose the right sampling frequency before setting up this mode.
1. Press the DISP SEL key and choose the flashing SETUP mode on the display. Then, press the
EXECUTE/YES key.
The SETUP display will stop flashing.
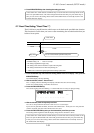
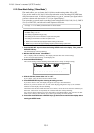
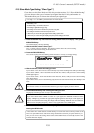
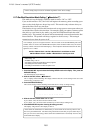
2. With the JOG dial, choose “Slave Mode?”.
The “?” display will start flashing. The display will also show the current setting.
In the case of the initial setting, it will display Off.
3. Press the EXECUTE/YES key.
The current setting will start flashing which indicates it is ready to change setting.
44.1kHz
SETUP
91011121314151687654321
42
OL
0
30
24
18
12
9
6
3
∞
_
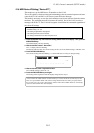
4. With the JOG dial, choose either “On” or “Off”.
If you choose “Off”, the slave function will not work.
5. Press EXECUTE/YES key after choosing the setting you want.
If you have chosen “Off”, the display will go back to step 2 described above.
However, if you have chosen “On”, as well as the display going back to step 2, the “CHASE”
indicator on the display will start flashing.
This means that the Slave Mode has been set to On but, “Chase Lock” has not been achieved yet.
When the “Chase Lock” is completed, the “CHASE” indicator will stop flashing.
You can now choose which type of sync signal the D-160 should follow, after you have set this
mode to On. Refer to next section “2-13. Slave Type Setting” for more details.
6. Press either the STOP button or EXIT/NO key to go back to the normal time base display before
entering the SETUP mode.