


62
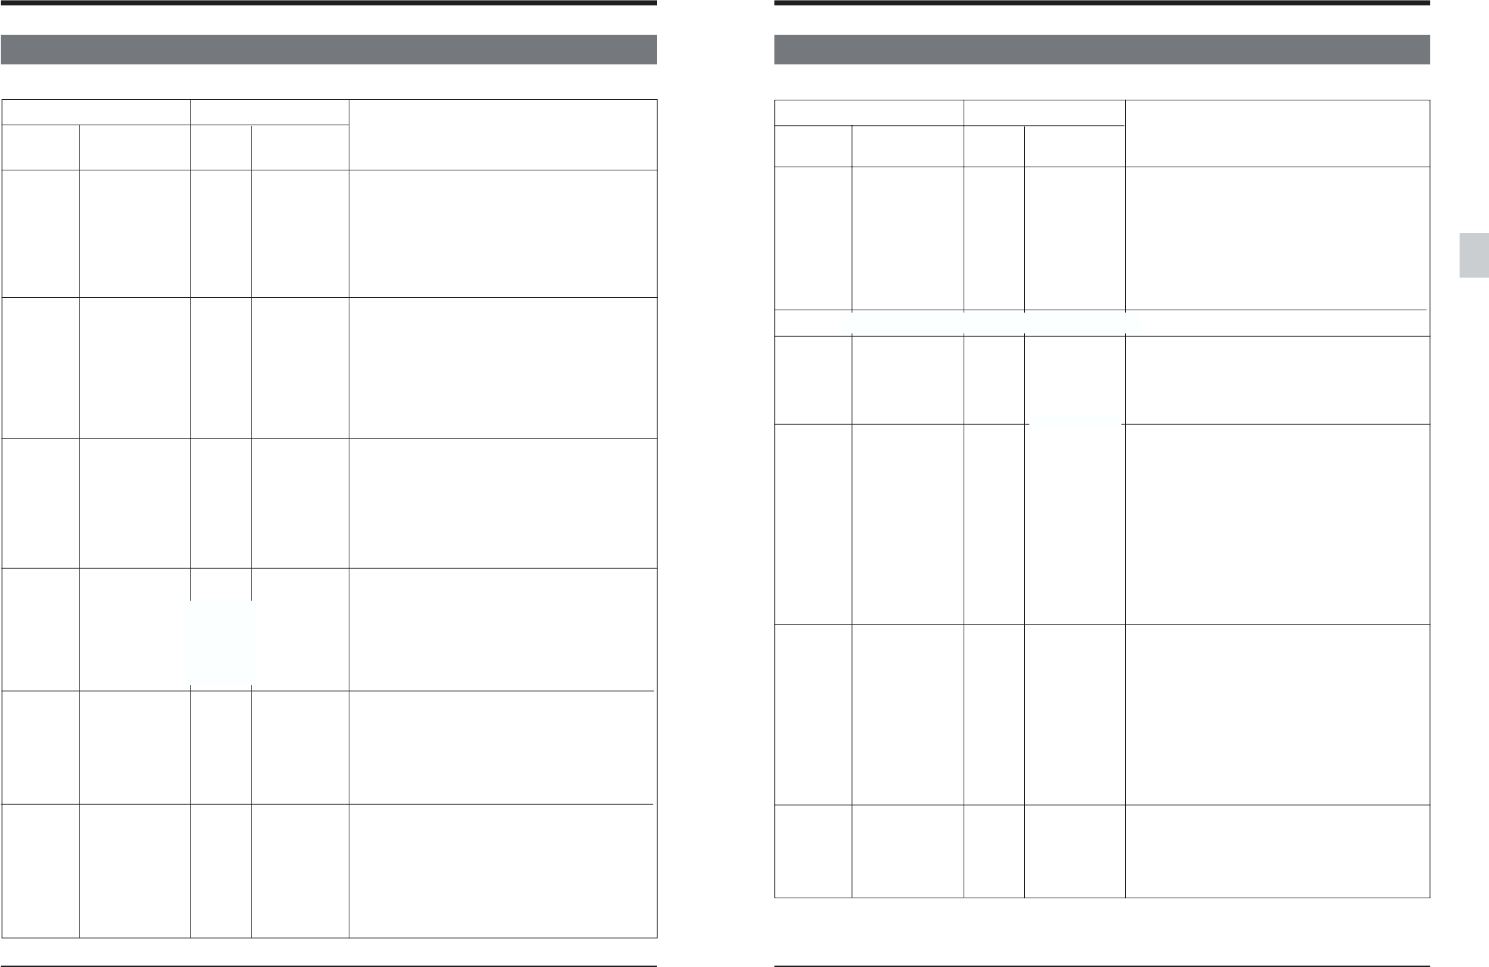
5-2 MENU SWITCH SETTING CONTENT
[ ] : Factory setting
Menu SW On-screen Counter On-screen
No. display display display
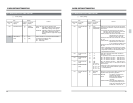
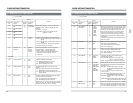
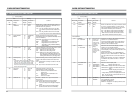
409 EXT [0] [LTC]
REGEN TC 1 VITC
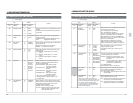
410 AUTO REGEN [0] [ASM+INS]
MODE 1 ASM
2 INS
3 0FF
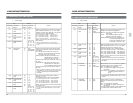
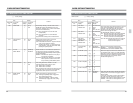
421 TCG CF FLAG [0] [OFF]
1ON
2 AUTO
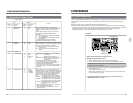
450 SUB TC(VITC) 0 OFF
REC [1] [ON]
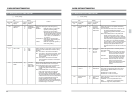
451 VITC OUT 0 SUB TC
SELECT [1] [TC]
2 OFF
452 SEARCH LTC 0 OFF
[1] [ON]
Selects LTC or VITC as the time code source for
locking the BR-D95’s built-in TC Generator to an
external master TC generator.
LTC :The TC generator locks to the LTC data
from the rear panel connector labeled TC
IN.
VITC :The TC generator locks to the VITC data
from the rear panel connector labeled VIDEO IN.
Selects incoming VITC or memory preset as the
source of the data recorded onto the Sub-Time
Code
OFF:“00.00.00.00” is always recorded on the sub
time code.
ON :Input VITC is recorded in sub time code.
Selects the source for the VITC TC
superimposed on video output signal.
SUB TC :Sub time code is delivered to the
output VITC.
TC :Main time code is delivered to the
output VITC.
OFF :VITC is not output.
Selects the edit mode in which time code is
regenerated (even if the [PRESET/REGEN] switch
is set to “PRESET”).
ASM+INS :Regenerates in the Assemble and
Insert modes.
ASM :Regenerates in the Assemble mode.
INS :Regenerates in the Insert mode.
OFF :The setting of the [PRESET/REGEN]
switch is used.
Enables or disables LTC output in the shuttle
Search mode.
LTC is output from the [TC OUT] connector.
OFF:LTC is output only in X1 tape speed.
*LTC is not output in the Program Playback
mode.
ON :LTC is output in all search speed modes.
(Continuous time code is not available).
Item
Content
Setting
Selects whether the color frame flag is set to ON or
OFF for a vacant bit in the time code.
OFF :Sets the color frame flag to OFF.
ON :Sets the color frame flag to ON.
AUTO:Sets the color frame flag to ON or OFF
according to the relationship between the
video signals being recorded and the color
framing of the time code. (See page 106)
5 MENU SWITCH SETTING DETAILS
*If this menu switch is set to “OFF” and menu
switch No. 451 <VITC OUT SELECT> is set to
“OFF” or “TC”, the on-screen sub time code
indication will not advance in the Play mode.
This is the case even when playing back a tape
with sub time code recorded.
63
5-2 MENU SWITCH SETTING CONTENT
5 MENU SWITCH SETTING DETAILS
[ ] : Factory setting
Menu SW On-screen Counter On-screen
No. display display display
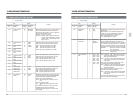
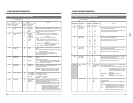
457 UB PRESET [0] [OFF]
AUTO 1 ON
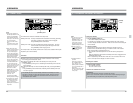
501 CHARA [0]
H POSITION 6
502 CHARA [0]
V POSITION 11
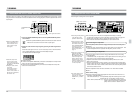
504 INFORMATION 0 TIME
SELECT [1]
[TIME+MODE]
3
TIME+SUB TC
4
TIME+SUB TC
+MODE
505 REMAIN ENABLE [0] [DISABLE]
1 ENABLE
When user bit data is TC-preset, the data is stored
in memory. Selects whether or not the user bit
data is automatically preset based on the stored
user bit data when the power is turned on.
OFF: The UB auto preset function is disabled.
ON : The UB auto preset function is enabled.
*When this is set to ON, user bit data from the
9-pin remote controller cannot be preset.
<ON-SCREEN>
Selects the On-Screen data display's horizontal
position from 7 possible locations.
The factory default position [0] is at the extreme
right of the monitor display. The position shifts
leftward as the numbers increase.
Selects the On-Screen data display’s vertical
position from 12 possible locations.
The factory-set 0 position is at the bottom of the
monitor display. The position shifts upward as the
numbers increase.
When menu switch No. 504 <INFORMATION
SELECT> is set to “TIME+MODE” or “TIME+SUB
TC”, the position set with 10 is the same as that
with 11.
When menu switch No. 504 is set to “TIME+SUB
TC+MODE”, the position set with 9 or 10 is the
same as 11.
Selects on-screen display data.
TIME :Displays time data only.
TIME+MODE :Displays time data and mode data.
TIME+SUB TC:Displays time data and sub time
data.
TIME+SUB TC+MODE: Displays time data, sub
time data and mode data.
* A slight delay occurs in the displayed time code
data. Do not dub the on-screen data as it is to a
tape for off-line editing.
With these menu
switches, the
menu switch
setting screen
changes to the
normal on-
screen data
display.
The actual
position of the
on-screen data
display is
moved.
Selects whether of not the tape remaining informa-
tion is displayed on screen.
DISABLE :Not displayed.
ENABLE :Displayed. For display contents, refer
to page 23.
Item
Content
Setting