


Installing a new G700 with an S8300 using the Avaya Installation Wizard
168 Installing and Upgrading the Avaya G700 Media Gateway and Avaya S8300 Media Server
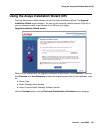
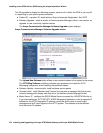
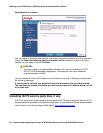
Firmware File Upload screen
You must upload one firmware file at a time from your laptop. Browse to the file location on your
laptop and then click Continue.
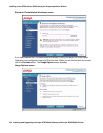
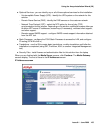
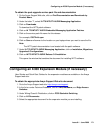
After you get a confirmation that the download is complete, you can click Action on the
Firmware screen, and then check to see that the firmware is listed in the Firmware Available
Version column.
Check the checkbox for the device for which you want to upgrade firmware and click Continue.
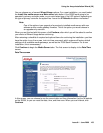
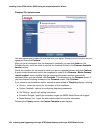
A green-circled checkmark next to the component’s name on the Firmware - Media Gateway
<serial number> screen signifies that the component firmware has been successfully
uploaded. When you are finished, click Continue. This returns you to the Firmware screen. If
you have finished checking firmware on the Firmware screen, click Continue.
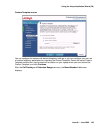
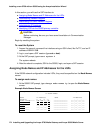
If you chose to add translations earlier, several screens related to Telephony display, including:
● Country - select the country for the location of this installation
● Custom Template - options for configuring telephony parameters
● Call Routing - specify call routing information
● Extension Ranges - specify the extension ranges the S8300 Media Server will support
● Name/Number List - import file with name/number list and user information
Following the Country screen, the Custom Template screen displays.