INSTALLATION AND SET UP
Front Panel
350-8697 DGy Model 201 User Guide 13
. . . . .
• Rack mount the unit from the front rack ears using four rack
screws (not supplied). Rack threads may be metric or otherwise
— depending upon the rack type.
• Install the lower of the two mounting holes first.
Important Do not use the DGy 201 as a shelf to support other
pieces of equipment. If you do, the rack ears and
mounting screws may be damaged.
• The DGy 201 is provided with a rear rack bracket and arm to
support the rear of the chassis. It is recommended that you use
the bracket to provide additional stability.
• Attach the rear brackets to the rack adapter at the rear of your
chassis.
• Slide an arm through the slot on the rack adapter and attach the
arm to the chassis.
• Attach the arm to the rear bracket by means of the fasteners
located in the arms.
. . . . . . . . . . . . . . . . . . . . . . . . . . . . .
FRONT PANEL
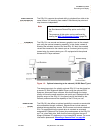
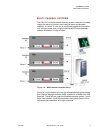
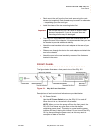
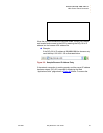
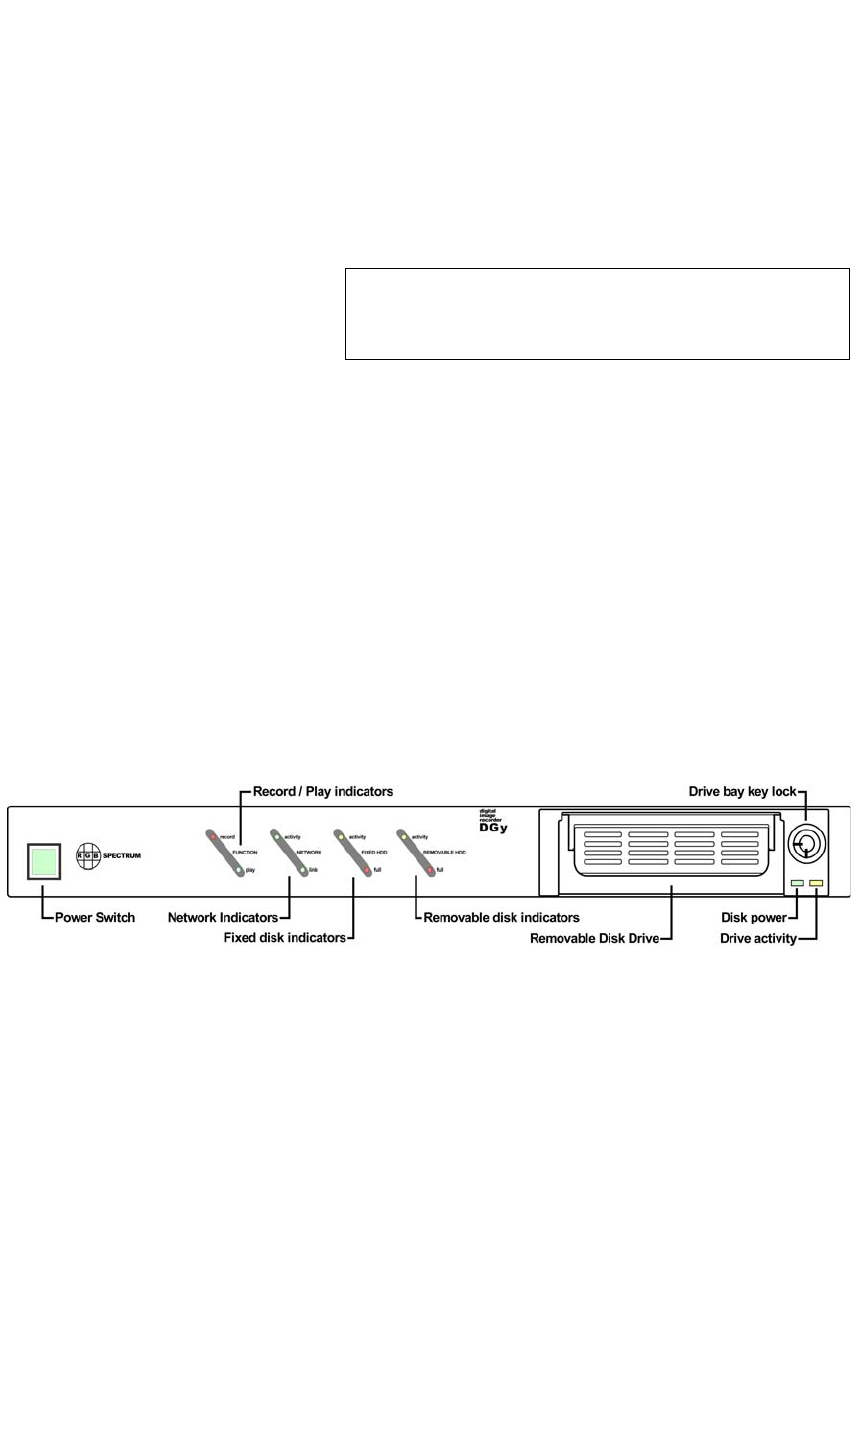
The figure below illustrates a front panel view of the DGy 201.
Figure 2-1. DGy 201 Front Panel View
Descriptions of each control and indicator are provided below:
1) AC Power Switch
Use the AC Power Switch to turn the DGy 201 on and off.
When the unit is on, the switch is illuminated.
NOTE: When you turn the power off from the front panel, the
DGy 201 first closes any open files on the disk before
completing power down. This delay is normal and the power
indicator will stay lit during this interval. Do not turn off the DGy
201 by disconnecting the power cord, as this may result in
corruption of data on the disk.


