20 PARAGON II USER GUIDE
Front Panel Components and Functions:
1. The ESC button is used for canceling displayed function and returning system to normal state.
2. The FUNC button is used to select various functions.
3. The LCD displays system status and indicates functions that can be selected by pressing front
panel control buttons.
4. The Y, U, Z, and V buttons are used for selecting or setting various options, depending on
the function being performed.
5. The ENT button is used for confirming and executing selected function.
Start-Up Display:
When a Paragon switch is powered ON, it performs a start-up test at the beginning. It checks each
channel and user port to ensure proper operation.
Normal Display:
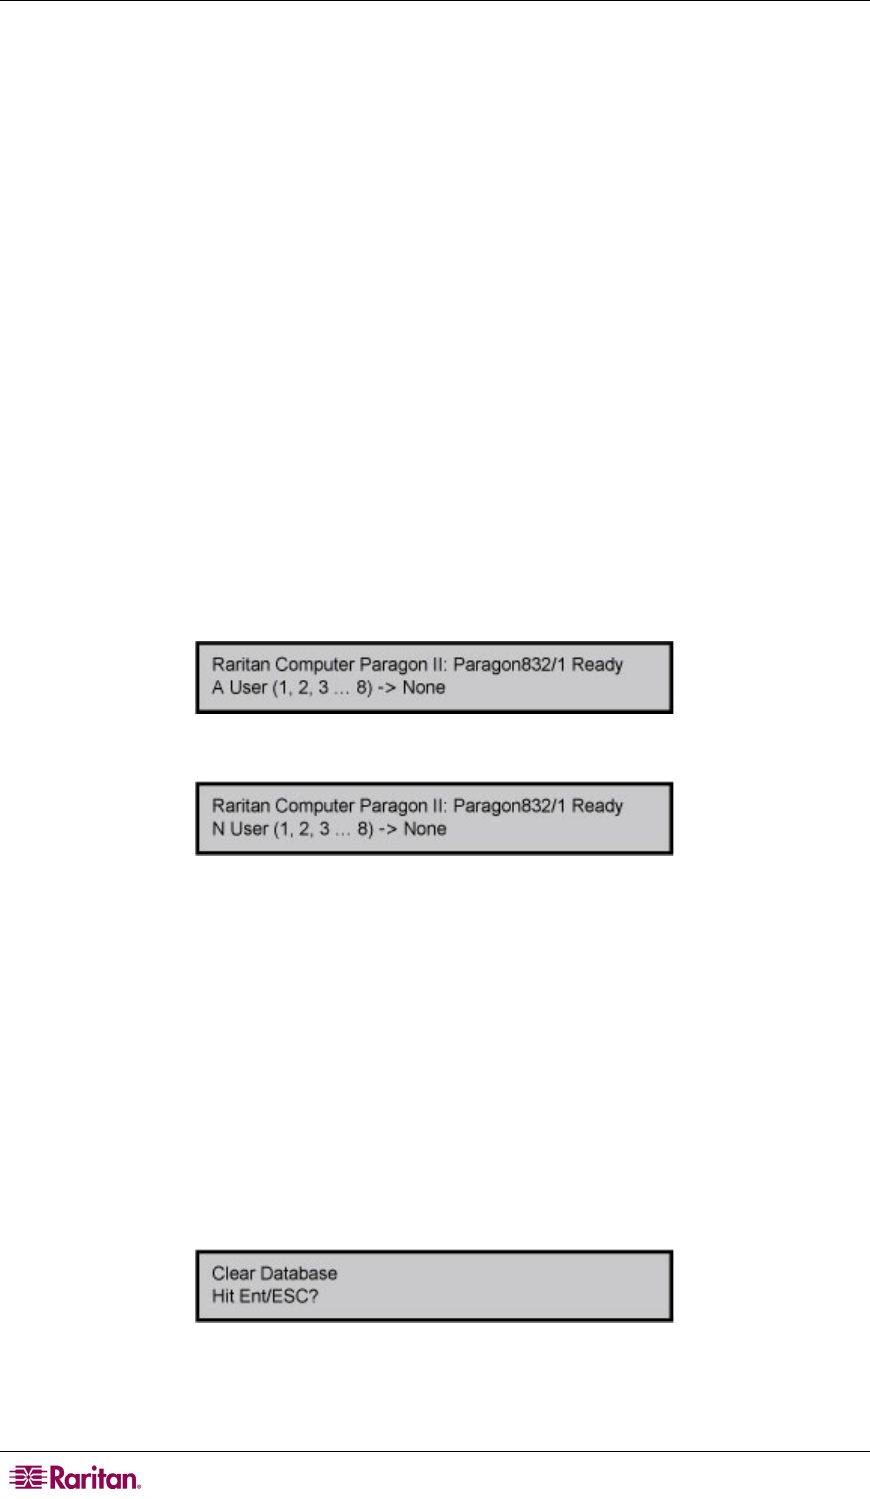
After the start-up test, LCD panel displays two lines of messages:
1. Line 1: Running message: “Raritan Computer Paragon II: Paragon832/1 Ready”
For a Paragon II model P2-UMT832M, “Paragon832” is the default name (this name may be
changed through the OSUI’s System Configuration submenu).
2. Line 2: User port status message: “A/N User (1, 2, 3 …) → None”
User port status displays a scrolling status of all user ports, one user port per second. The
User’s active channel, 1 through 128, is displayed after the user port number.
A=Active User # 1-8
- OR -
N=Non-Active User # 1-8
Figure 9 LCD Normal Display
Power Up Option:
If you hold down the FUNC button on the front panel of the Paragon switch during Power Up,
the Paragon switch will clear its database and reset to factory defaults. Confirm functions by
pressing the ENT button on the front panel.
When “Clear Database Hit Ent/ESC?” appears on the LCD, press the ESC button if you want to
exit the screen without clearing the database. To clear the database, press the ENT button; “Clear
All?” appears on the LCD. If you press the ESC button once more, the channel configuration
will be cleared and will be rebuilt later by the Paragon switch. This is called a Partial
Reset. However, if you press the ENT button, both the channel configuration and the user profile
and system settings will be cleared.
Figure 10 Power Up Clear Database
Function Selection Screen:
