CHAPTER 2: INSTALLATION 27
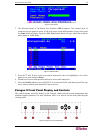
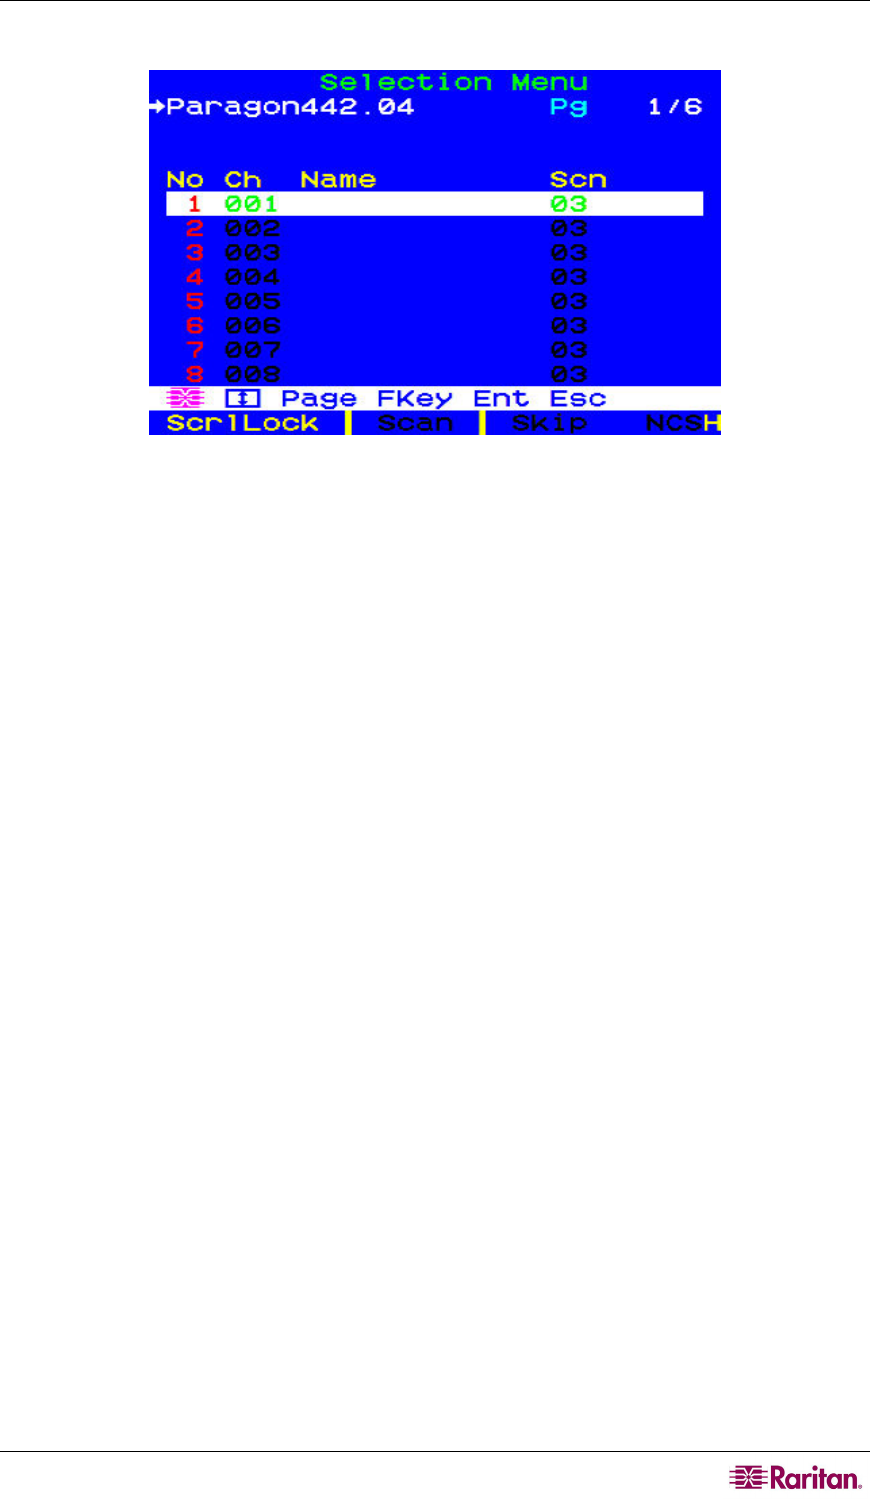
c. The OSUI’s Selection Menu appears, indicating that the user station is correctly installed.
Figure 22 Selection Menu
4. Repeat steps 2 and 3 for each user station you want to connect to the Paragon switch.
5. Connect a CIM and the desired server.
a. Connect the cable strands of an appropriate CIM to the appropriate ports on a server:
P2CIM-APS2 (IBM PS/2 compatible servers) or P2CIM-APS2-B (IBM BladeCenter
chassis with PS/2 ports):
Plug the HD15 strand into the server’s HD15 VGA video port. Plug the purple 6-pin
mini-DIN keyboard strand into the server’s 6-pin mini-DIN keyboard port. Plug the
light green 6-pin mini-DIN strand into the server’s 6-pin mini-DIN mouse port.
P2CIM-ASUN (Sun compatible servers):
Plug the HD15 strand into the server’s HD15 VGA video port. Plug the 8-pin mini-
DIN strand into the server’s 8-pin mini-DIN keyboard/mouse port.
P2CIM-AUSB, P2CIM-AUSB-C, or P2CIM-AUSB-B (IBM BladeCenter chassis
with USB ports):
Plug the HD15 strand into the server’s HD15 VGA video port. Plug the USB Type A
strand into one of the server’s USB Type A ports.
P2CIM-APS2DUAL (IBM PS/2 compatible servers):
Connect keyboard, monitor, and mouse cables attached to the CIM to the appropriate
15-pin female video port and 6-pin mini-DIN mouse and keyboard ports on the server.
P2CIM-SER, P2CIM-SER-EU and AUATC (serial servers, routers, etc.):
Please see Appendix E: Connecting Serial Devices to Paragon II System for
installation instructions.
P2ZCIM and
Z-CIM (local single-user IBM PS/2 compatible servers):
Please see Chapter 5: Paragon II and P2ZCIMs for installation instructions.
b. Plug in and power on the server. If the CIM is installed and operating properly, the CIM’s
green LED will start blinking: once per second while the CIM is idle, more quickly while
data is passed in either direction.
c. Connect one end of a CAT5 UTP cable to RJ45 port #1 on the back of the Paragon switch.
Connect the other end of the cable to the RJ45 port on the CIM.
6. Configure the CIM and the attached server.
a. The monitor attached to the user station will display the Selection Menu; with the server
you just connected displayed in green. Use the Ç and È keys to move the highlight to
that entry and press Enter. If you can access and operate the server normally, the CIM is
connected successfully. Raritan recommends you give the server a meaningful system
name at this time, as described in the next steps.


