


102 C2630M-C (7/09)
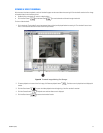
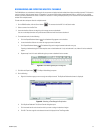
7. Click Finish. The newly mapped drive is added as a remote drive and is displayed in the Device area. The mapped drive can now be
accessed just like a local drive.
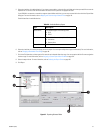
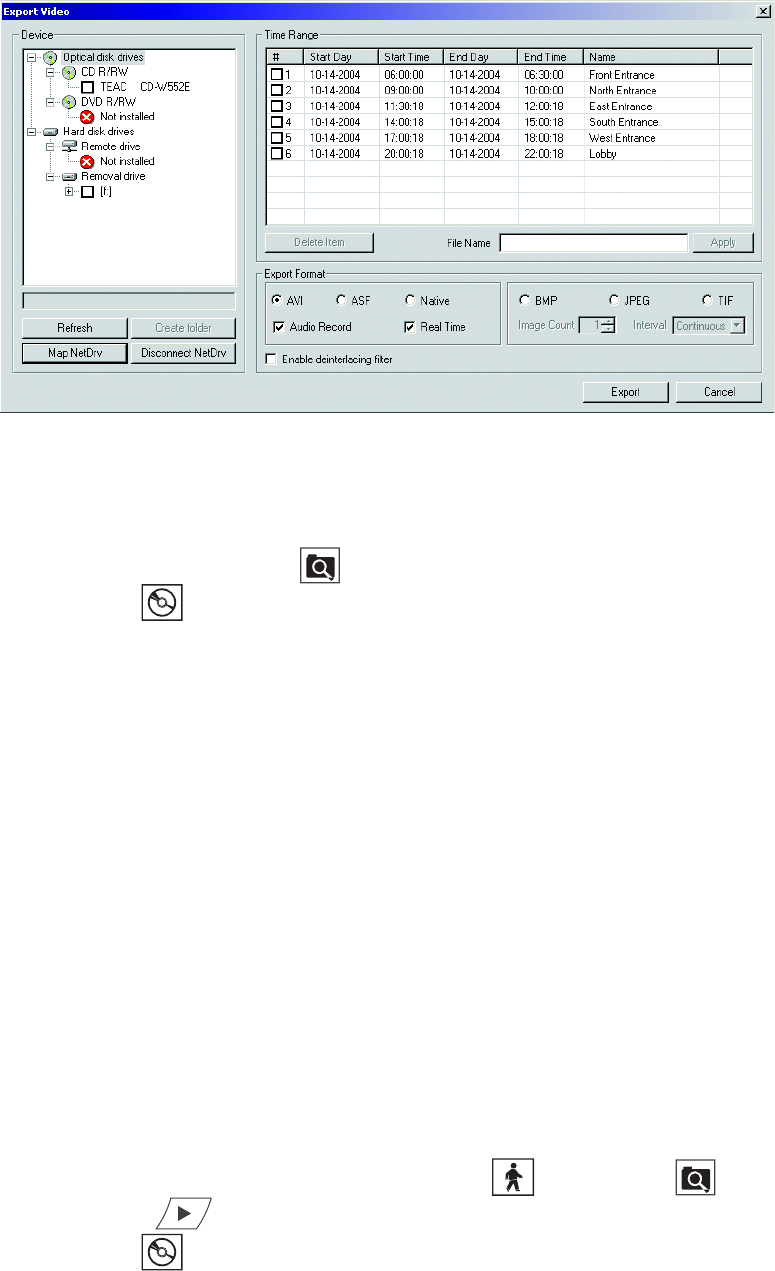
Figure 66. Export Video Dialog Box
DISCONNECTING A NETWORK DRIVE
To disconnect a network drive:
1. On the DX8100 toolbar, click the Search button . The DX8100 is in the Search mode.
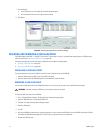
2. Click the Export button . The Export Video dialog box opens.
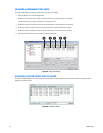
3. Click Disconnect NetDrv. The Disconnect Network Drive dialog box opens.
4. Select the network drive that you want to disconnect.
5. Click OK. The drive is disconnected and removed from the Export Video dialog box Device area.
PERFORMING THE EXPORT
This section describes how to export data and includes the following topics:
• Starting an Export Process
• Changing a Bookmarked Time Range on page 104
• Assigning a Custom Export Video File Name on page 104
• Selecting the Export Format on page 106
• Exporting a Sequence of Still Images on page 107
• Finalizing an Export Process on page 108
• Stopping an Export While in Process on page 108
• Working with DX8100 backed up Video on page 109
STARTING AN EXPORT PROCESS
To start the export process:
1. Make sure the HVR is in Playback or Search mode by clicking the Live button or the Export button .
2. Click the Forward button if you are in Live mode, or proceed to step 3 if you are in Search mode.
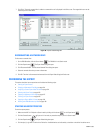
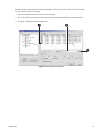
3. Click the Export button . The Export Video dialog box opens.
4. Click the plus (+) sign next to a drive in the Device list. Available devices are indicated by a check box to the left of the device name.