


206 C2630M-C (7/09)
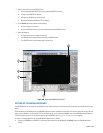
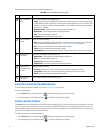
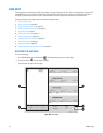
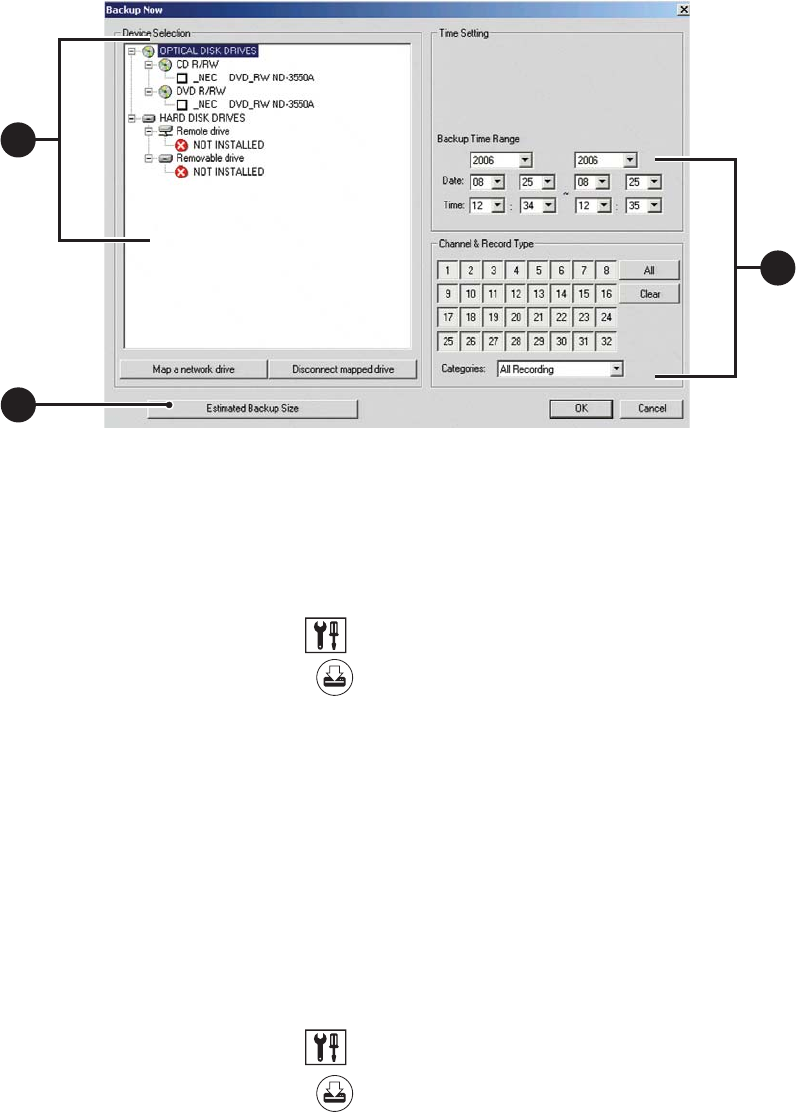
Figure 162. Instant Record Backup Now Dialog Box
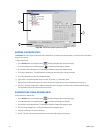
MAPPING A NETWORK DEVICE
The DX8100 allows you to map to or disconnect from a network drive. You need to know the drive letters, as well as the path to the folder to
which you want to map.
To map a network drive:
1. On the DX8100 toolbar, click the Setup button . The Setup dialog box opens to the Camera page.
2. In the Setup dialog box, click the Backup button . The Backup schedule page is displayed.
3. Click the Add or Instant Backup button. The Add Backup Schedule or Backup Now dialog box opens.
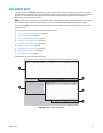
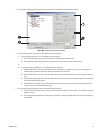
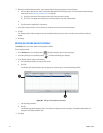
4. Click “Map a network drive.” The Map Network Drive dialog box opens asking for a drive letter and path.
5. In the Drive drop-down box, select an available drive letter.
6. Type the path in the Folder drop-down box (for example, \\IP_address_of_server\folder_name).
7. (Optional) Click the “Reconnect at logon” box if you do not want the mapped drive to remain connected each time you log on.
8. Click Finish. The newly mapped drive is added as a remote drive and is displayed in the Device area of the Export Video dialog box.
The mapped drive can now be accessed just like a local drive.
DISCONNECTING FROM A NETWORK DRIVE
To disconnect from a network drive:
1. On the DX8100 toolbar, click the Setup button . The Setup dialog box opens to the Camera page.
2. In the Setup dialog box, click the Backup button . The Backup schedule page is displayed.
3. Click the Add or Instant Backup button. The Add Backup Schedule or Backup Now dialog box opens.
4. Click “Disconnect mapped drive.” The Disconnect Network Drive dialog box opens.
5. Select the network drive you want to disconnect
6. Click OK. The drive is disconnected and removed from the Export Video dialog box’s Device area.
4
b
3
b
4a
4a