


104 C2630M-C (7/09)
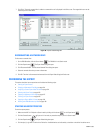
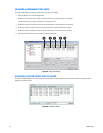
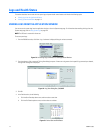
CHANGING A BOOKMARKED TIME RANGE
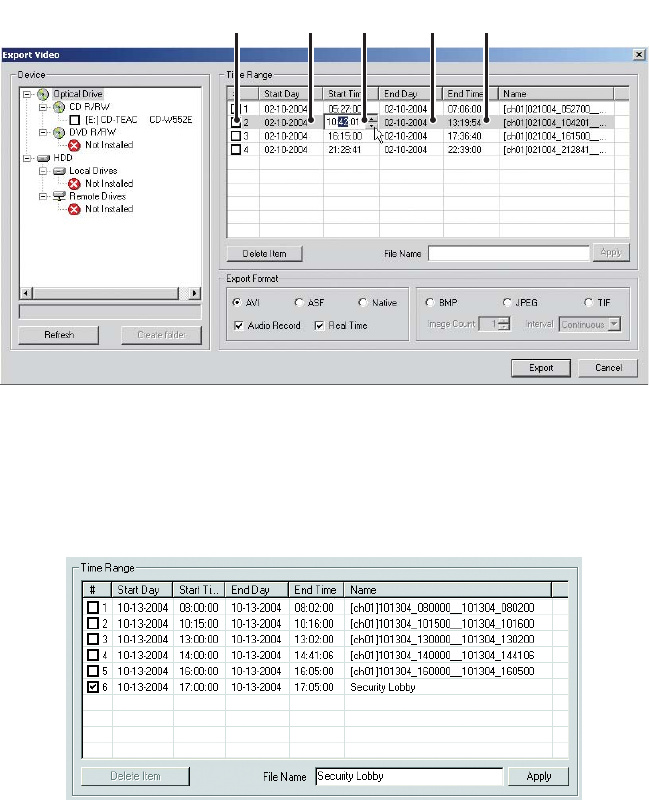
To change a bookmarked time range or create a new time range to be exported:
1. Select the desired row in the Time Range table.
2. Double-click the Start Day field, and then use the spinner buttons to set the start date for the export.
The start days and times cannot be set later than end days and times.
3. Double-click the Start Time field, and then use the spinner buttons to set the start time for the export.
4. Double-click the End Day field, and then use the spinner buttons to set the end date for the export.
5. Double-click the End Time field, and then use the spinner buttons to set the end time for the export.
6. Select the check box next to each time range you would like to export.
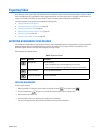
Figure 68. Export Time Range
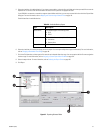
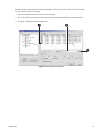
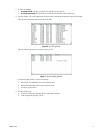
ASSIGNING A CUSTOM EXPORT VIDEO FILE NAME
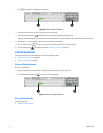
By default, the DX8100 assigns a file name to each time range. When the video channel selected is exported, the file is assigned the name
appearing in the Name column.
Figure 69. Default File Names
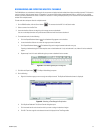
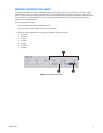
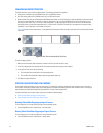
ᕢᕦᕣᕤᕥ