


50 C2630M-C (7/09)
OPERATING THE ON-SCREEN PTZ CONTROLS
Users with PTZ access rights (Standard User by default) and higher can operate PTZ lens functions of cameras that support such features. PTZ
functions can be controlled on the screen in Live mode using the mouse.
PTZ control is available for cameras that support PTZ functions using Pelco’s P, D, or Coaxitron
®
protocols. It is also available for supported
third-party dome cameras. For more information about configuring PTZ ports, refer to Setting Up COM1 Port Properties on page 179 and Setting
Up RS-422/RS-485 Communication Port Properties on page 180.
In addition, the PTZ option must be enabled and a protocol must be assigned to the camera channel. For more information, refer to Camera Setup
on page 116.
This section describes how to use the PTZ controls and includes the following topics:
• Operating the PTZ Controls
• Adjusting the Camera Lens on page 51
• Adjusting the Camera Lens on page 51
• Adjusting the Camera Zoom on page 51
• Using Keyboard Shortcuts to Operate PTZ and Lens Functions on page 52
OPERATING THE PTZ CONTROLS
To operate the on-screen PTZ controls:
1. On the DX8100 toolbar, click the Live button .
2. Select a PTZ-enabled camera from the Site Tree.
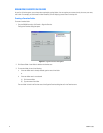
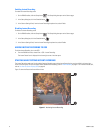
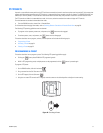
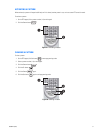
3. Place the mouse pointer in the middle of the camera’s view pane. The mouse pointer will change to a black cross when on-screen PTZ
control is available.
Figure 18. On-Screen PTZ Control
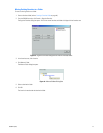
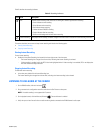
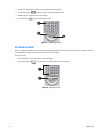
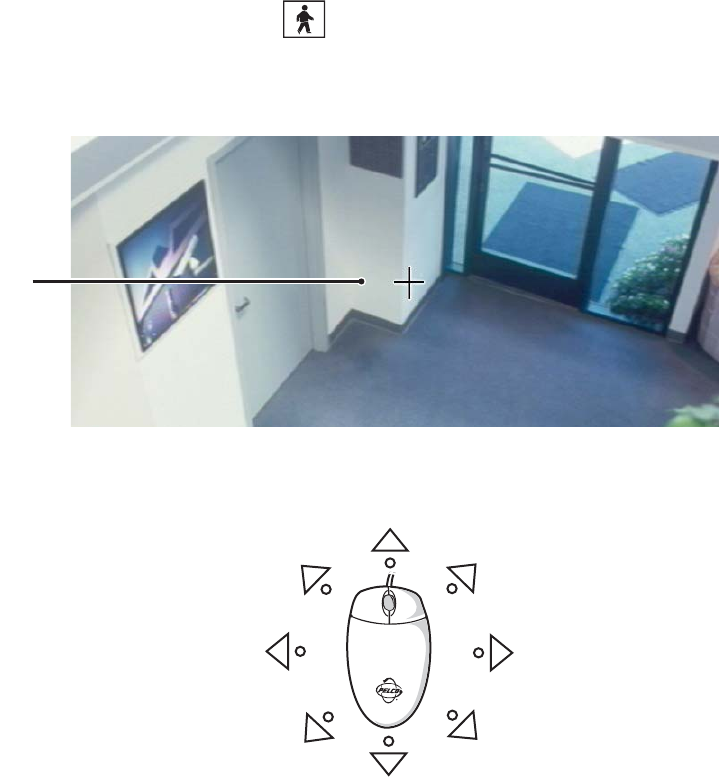
4. Click and hold the left mouse button, and then drag the mouse pointer in the direction you want to move the camera. The display changes
to an arrow, indicating the direction of the mouse.
Figure 19. On-Screen PTZ Movement
5. Release the mouse button when you have repositioned the camera to the desired location.
ᕣ