dvanced Guide
> Printing from a Computer >
Printing with the Bundled Application Software
>
Printing Photos
>
Selecting a Photo
Selecting a Photo
1.
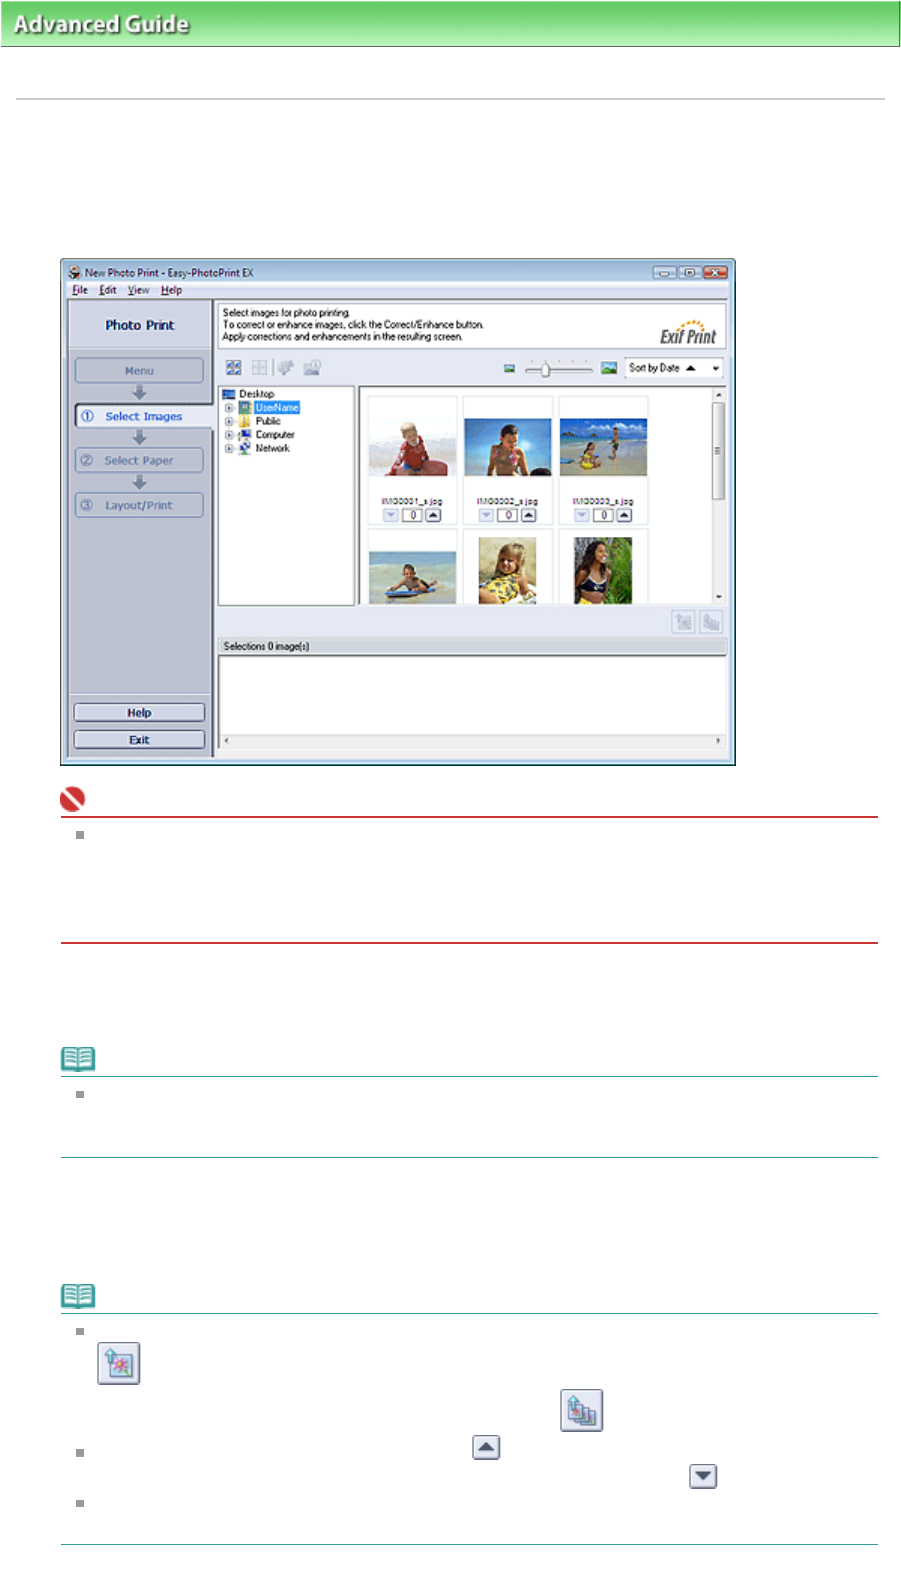
Click Photo Print from Menu.
The Select Images screen appears.
Important
The reduced images (thumbnails) displayed in the screen may appear as follows:
- A black line appears along an edge of the image.
- An edge of the image appears cropped.
However, such images will be displayed normally when enlarged or previewed, and print
results will not be affected.
2.
Select the folder that contains the image you want to print from the folder tree area.
The images in the folder will be displayed as thumbnails (miniatures).
Note
If Easy-PhotoPrint EX is started from another application (MP Navigator EX, ZoomBrowser EX
or Digital Photo Professional), the folder tree area will not be displayed.
The images opened in the application will be displayed as thumbnails.
3.
Click the image you want to print.
The number of copies appears as "1" below the clicked image, while the selected image itself will
appear in the selected image area.
Note
To delete an image in the selected image area, select the image you want to delete and click
(Delete Imported Image).
To delete all images from the selected image area, click (Delete All Imported Images).
To print two or more copies of an image, click (Up arrow) until the number of copies you
want is reached. To reduce the number of copies shown in the box, click
(Down arrow).
You can change the order of photos using the list located at the top right corner of the screen.
You can select the printing order from Sort by Date and Sort by Name.
Page 121 of 628 pagesSelecting a Photo


