(1)
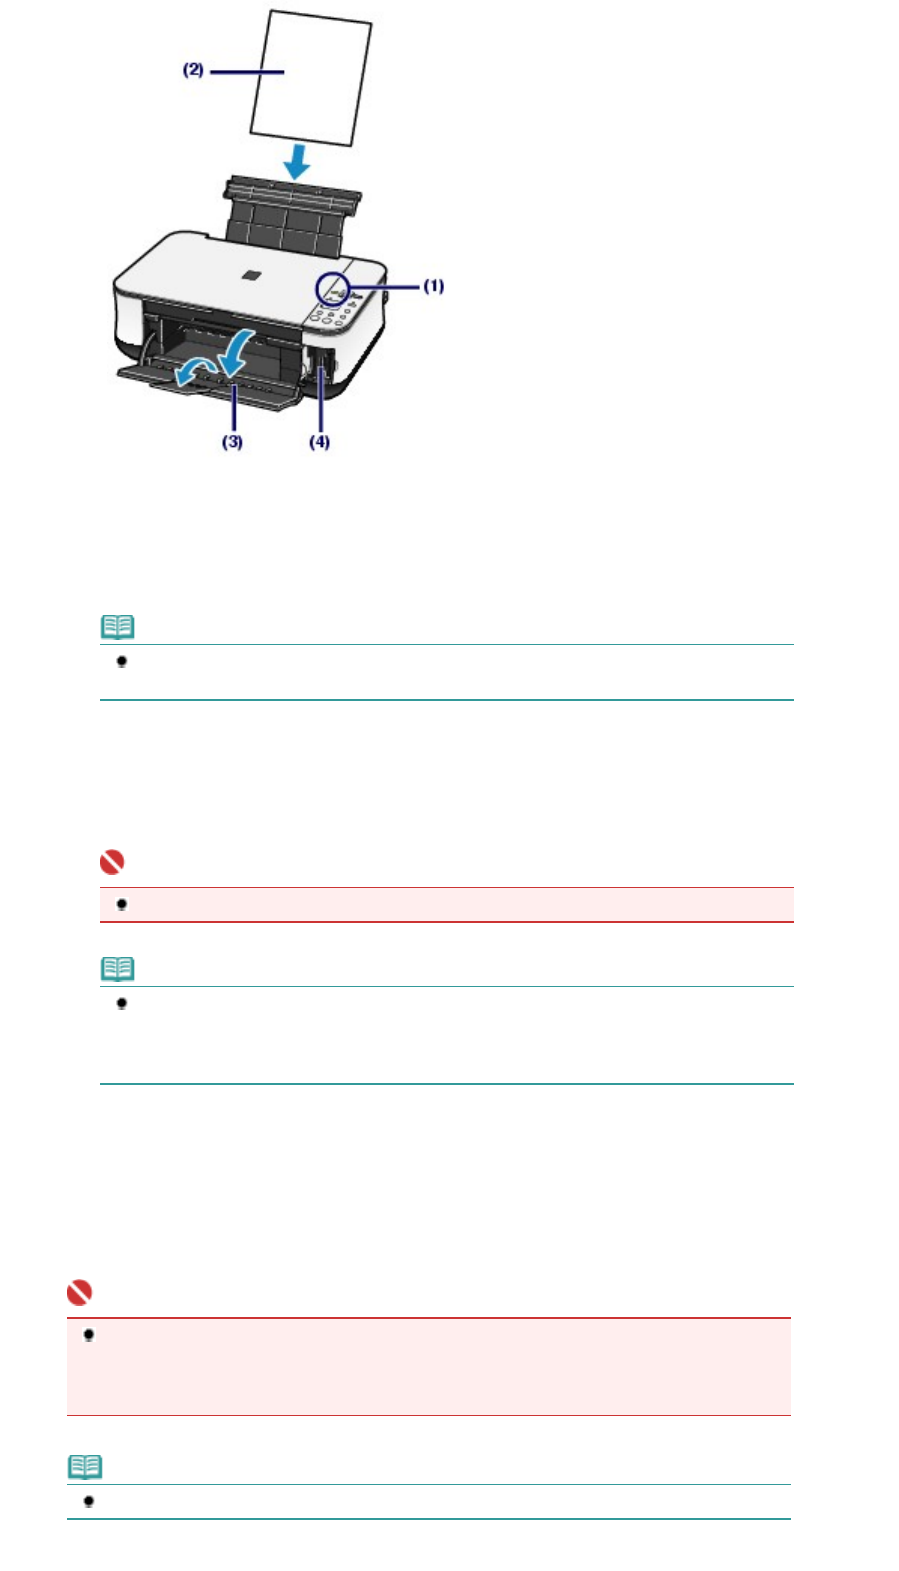
Turn on the power.
See
Operation Panel
.
(2)
Load two or more sheets of A4 or Letter-sized plain paper in the Rear Tray.
See
Loading Paper
.
Note
If there are more than 30 photos on the memory card, two or more Photo Index Sheets will
be printed.
(3)
Open the Paper Output Tray gently, and open the Output Tray Extension.
(4)
Insert a memory card into the Card Slot.
For the types of memory cards you can use and the locations to insert them, see
Inserting the Memory Card
.
Important
Do not remove the memory card until printing with the Photo Index Sheet is completed.
Note
When the read/write attribute of the Card Slot is set to the "Writable from PC" mode, you
cannot print photos on a memory card with the Photo Index Sheet. Set the read/write
attribute to the "Not writable from PC" mode. See Setting the Read/Write Attribute of the
Card Slot
.
2.
Make sure that no original is left on the Platen Glass, and press the
Photo Index
Sheet
button to start printing the Photo Index Sheet.
The Photo Index Sheet(s) will be printed.
Thumbnails of all photos saved on the memory card are printed in order from the latest photo first.
Important
Depending on the country or region of purchase, the Language Selection Sheet will be printed
when you press the
Photo Index Sheet
button if the language for the Photo Index Sheet has
not been selected. To set the language used to print the Photo Index Sheet, follow the
procedures from step 4 onwards in
Setting the Language for the Photo Index Sheet
.
Note
To cancel printing, press the
Stop/Reset
button.
Page 14 of 628 pagesPrinting Photos Saved on the Memory Card


