Note
If you scan without preview, colors are adjusted based on the document type selected in Select
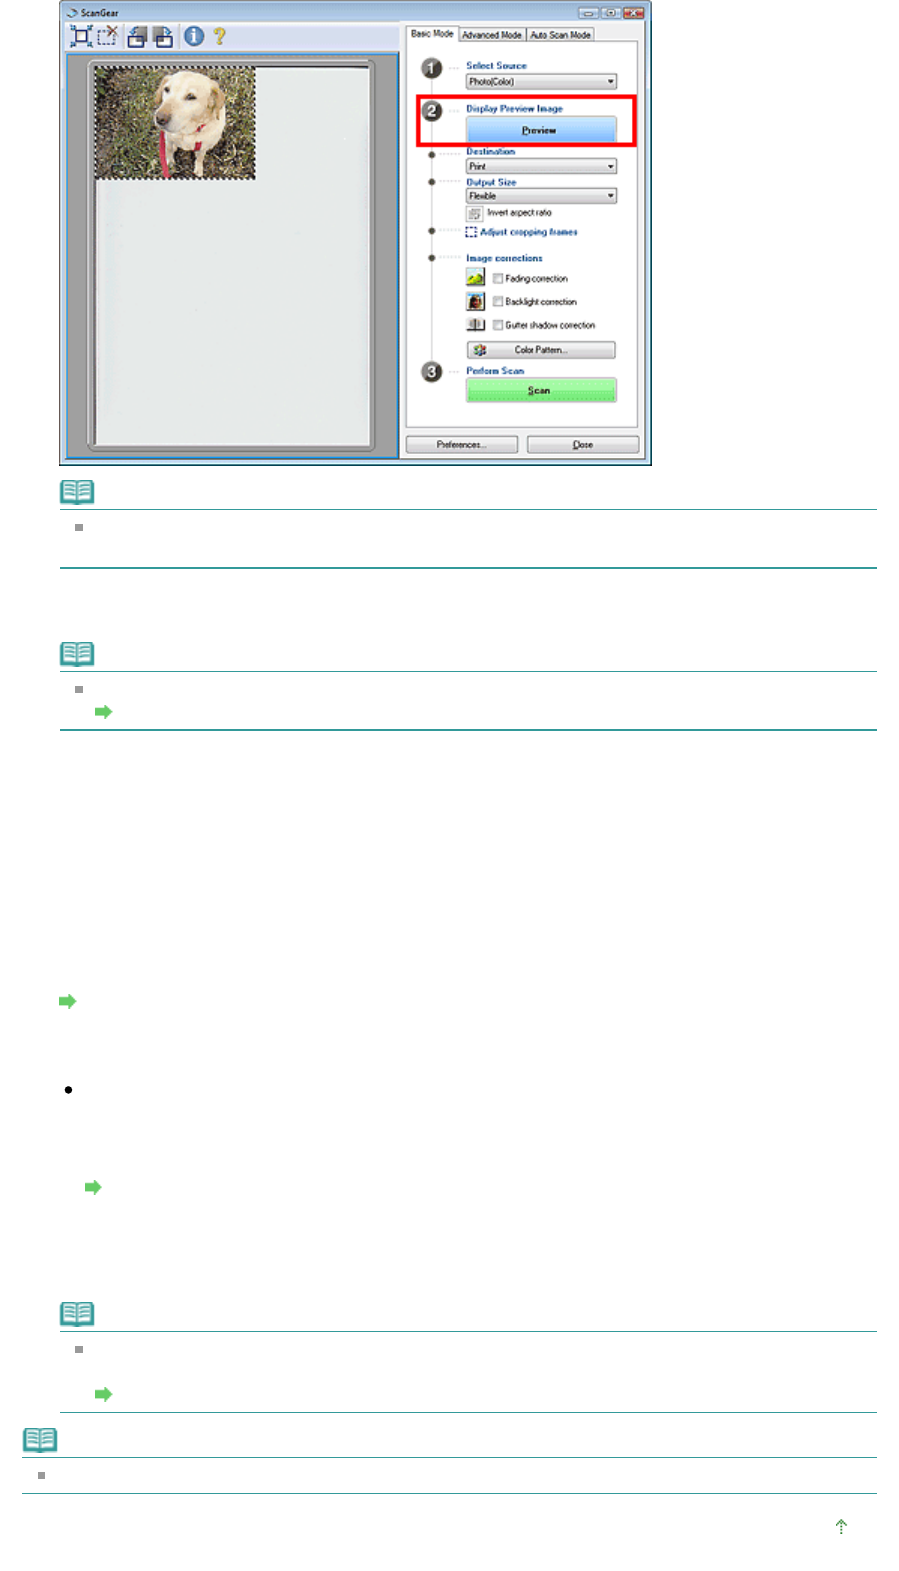
Source.
4.
Set Destination.
Note
To scan at 301 dpi or higher, scan in Advanced Mode.
Scanning in Advanced Mode
5.
Set Output Size.
Output size options vary by the items selected in Select Source and Destination.
6.
Adjust the scan area (cropping frame) as required.
djust the size and position of the scan area (cropping frame) on the preview image. You can also
create two or more cropping frames.
If an area is not specified, the document will be scanned at the document size (Auto Crop). If an area
is specified, only the portion in the specified area will be scanned.
djusting Cropping Frames
7.
Set Image corrections as required.
Color Pattern...
Click Color Pattern... to open the Color Adjustment dialog box in which you can adjust the overall
image color. You can correct colors that have faded due to colorcast, etc. and reproduce natural
colors.
djusting Colors Using a Color Pattern
8.
Click Scan.
Scanning starts.
Note
ScanGear's response after scanning can be specified in Status of ScanGear dialog after
scanning on the Scan tab of the Preferences dialog box.
Scan Tab
Note
See "
Basic Mode Tab" for details on the Basic Mode Tab.
Top of Page
Page 435 of 628 pagesScanning in Basic Mode


